DIY: Summer Essential Wrap Dress Collab

Towards the end of 2017 I came together with Ellen, from The Great State and created the steps for this minimal, linen wrap dress for the ultimate summer essential outfit. It was so nice catching up on life and getting lost in the creative process together. I soon found out that I was in the presence of Miss Home Ec queen herself and was lucky enough to pick up on some extra tips of the trade.
Collaborating is the best thing to do as creative - especially freelancers. It's so easy to get caught up in your own makers nook and lose touch of simple interactions. Making time to connect with like minded people is incredibly eye opening and for myself helps me realise that a lot of us are in the same boat with ebbs and flows and it just ignites this drive and reminds me how good of a thing it is to get down and creative.
We're both so stoked with how the dress turned out and can't wait to see others add a new staple piece to the wardrobe by giving this tutorial a go!
-
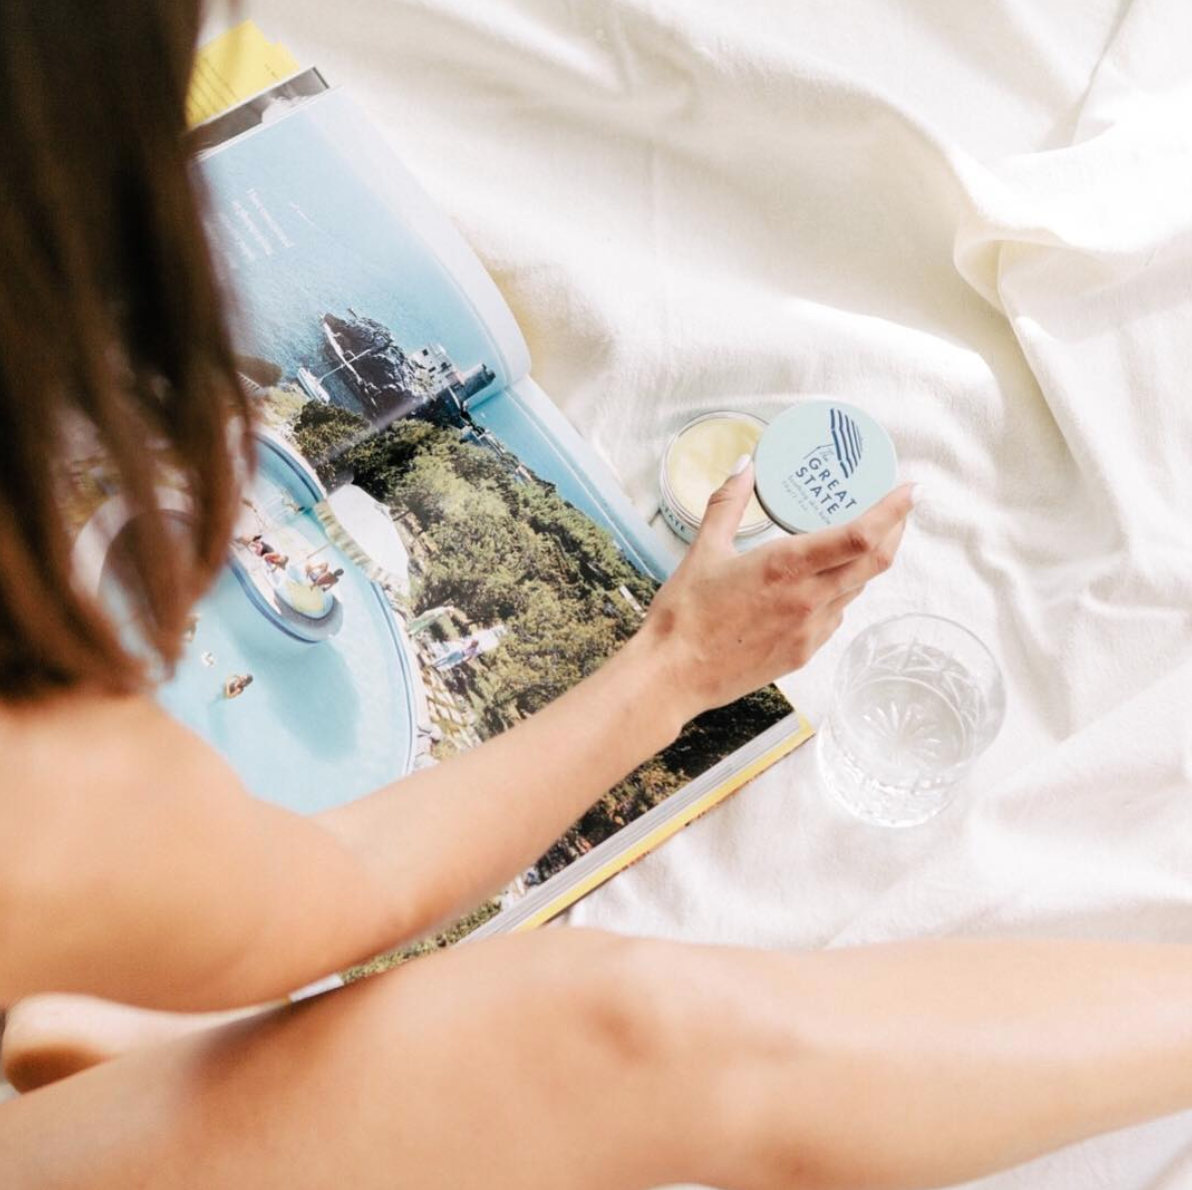
Before we dive into the steps to make the wrap dress here's a little insight into the story behind The Great State.
How did The Great State evolve into what it is today - what’s the story behind the brand/business and how did the idea come about?
The Great State was created with a desire to offer a quality, useful product that was good for people and the environment and was presented in beautifully designed packaging. These were always the "not-negotiables". The product and brand that have evolved from this foundation, encapsulate these principles in ways that are authentic and sustainable. After having my boys, I was learning about detoxing our home and getting into minimalism and one day, when I was cleaning out the bathroom cupboards, I realised that a lot of the products I had did more or less the same thing and that's when I had the idea of creating one product that was truly multipurpose and could replace many of the traditional, chemical-laden ones.
What’s your background and how did it lead you to what you do now?
Out of school I went to uni to study teaching. I still don't know why. When it came time to do my QTAC application, I thought "What do I like?" and realised I loved school and loved school holidays...ergo I decided to become a teacher. I was a terrible uni student. After two years of my course, I deferred and went to the US to be a nanny, hated it, came back and worked in a heap of places: bars, restaurants, gyms, real estate, events, phone shops... let's just say I've had a lot of different jobs. It was during my hiatus from study that I met Luke and fell in love with his unique way of seeing the world and finally felt like I had someone to dream big, crazy, ridiculous dreams with. We have come up with so many different ideas for businesses over the years. I eventually returned to uni and became a Home Ec teacher. I actually ended up loving a lot of it. I taught at an all-girls school and loved investing into the lives of young women; there were some amazing characters... I left teaching to become a mum to my two boys, Hensley and Stirling, and took the opportunity of not having to go to a day job to develop my business ideas and create The Great State.
Where do you call home and what's it like running a business there?
Home for me is Peregian Beach, although as of last week, my house is in Brisbane. The creative and start-up community on the Sunshine Coast is growing and the business women I met there were incredibly supportive and encouraging. Brisbane is a much busier pace which will likely prove stimulating and I have some great personal support systems here that will help with the kids and in other practical ways. It's also easier to connect with my retail partners both up and down the coast and it will be great to meet a whole new group of amazing local businesswomen.
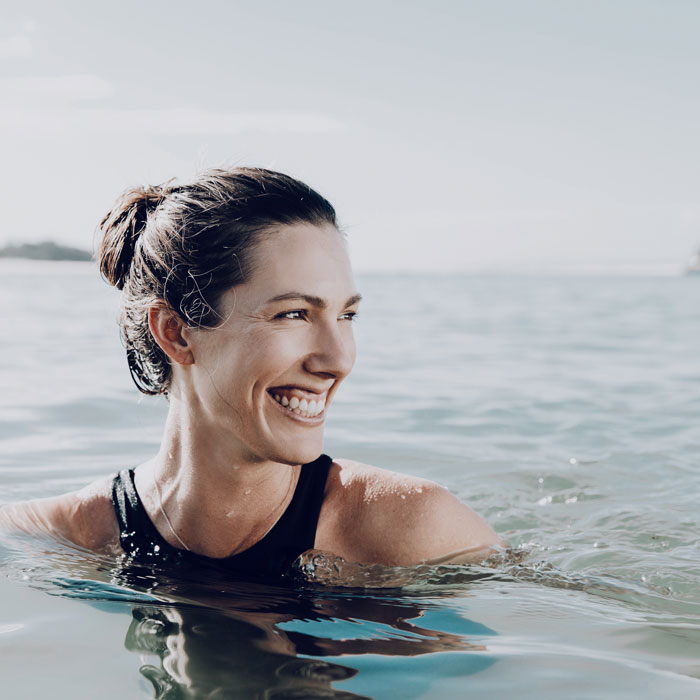
As a mum and business owner what are your essentials to keeping fresh/motivated?
Oh heavens, the juggle is REAL. I actually really love working. I feel inspired and energised when I sit down to work knowing that I am building something. Some days are just a grind, but other parts of the business are a real creative outlet. Exercise is really important for me; I have to make it a priority, so most mornings start with a workout. I have set my office up so that it is a beautiful space to be in. I have artwork up and special items on shelves and I light a scented candle so that going in there to work isn't depressing. Its also important for me to connect with people regularly. It can be a lonely existence in the early days of a startup so I make sure I get out for a coffee or lunch just to be around people.
Thinking back to when you started the business what’s one piece of advice you’d give yourself then?
It takes longer than you think it will, but be sure to celebrate all of the little wins.
Make The Dress
The Essentials
- Light/flowy Fabric - approx 2.5m
- Thread
- Fabric Scissors
- Sewing Machine
Steps.
01
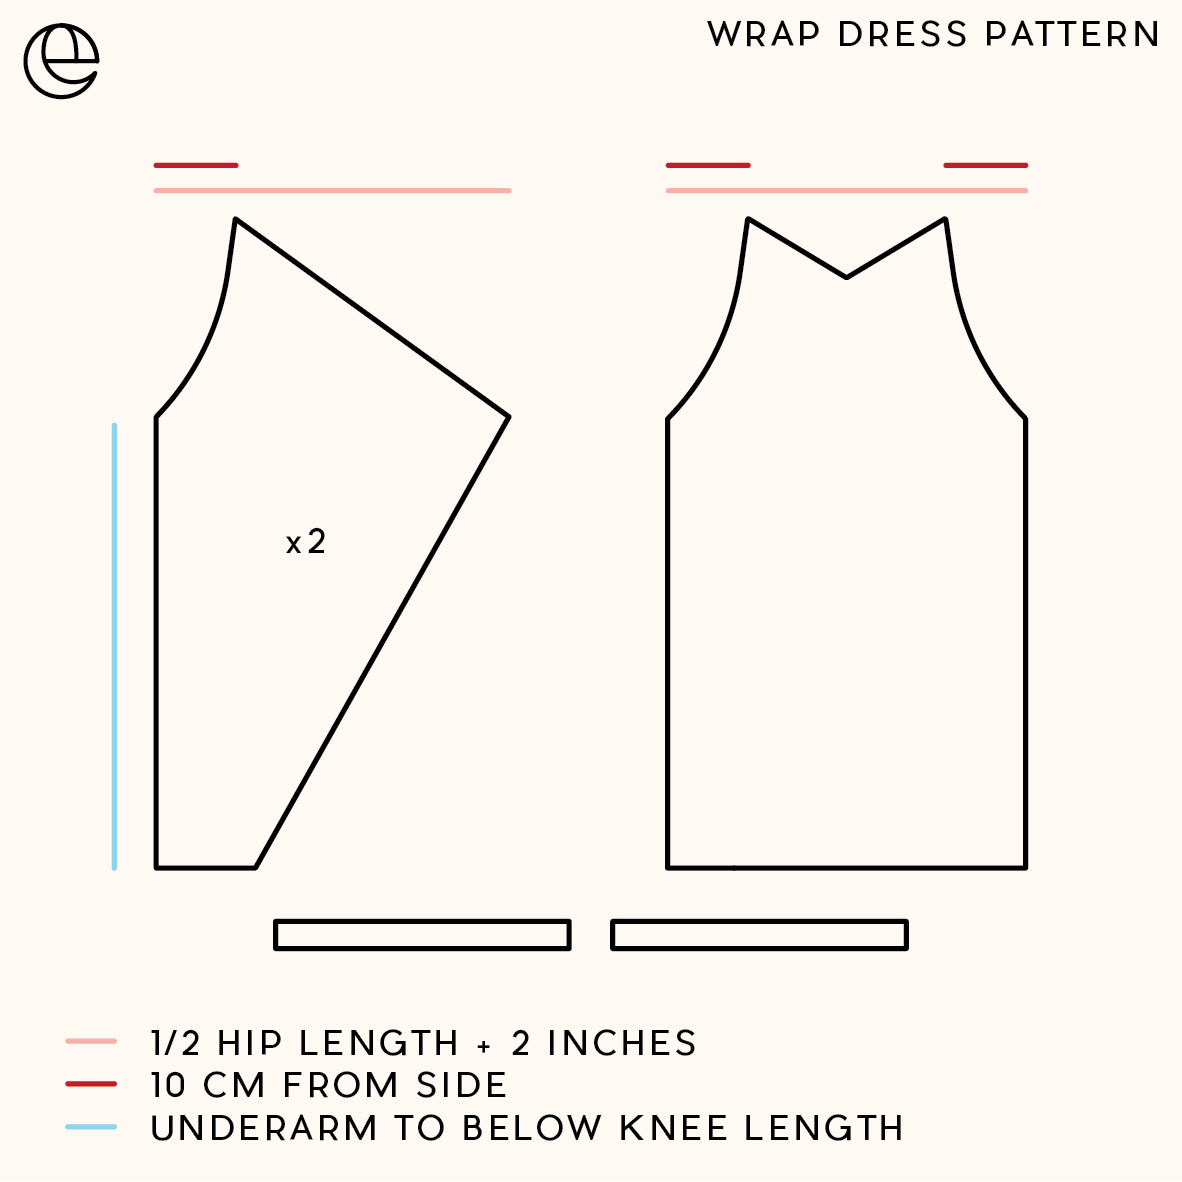


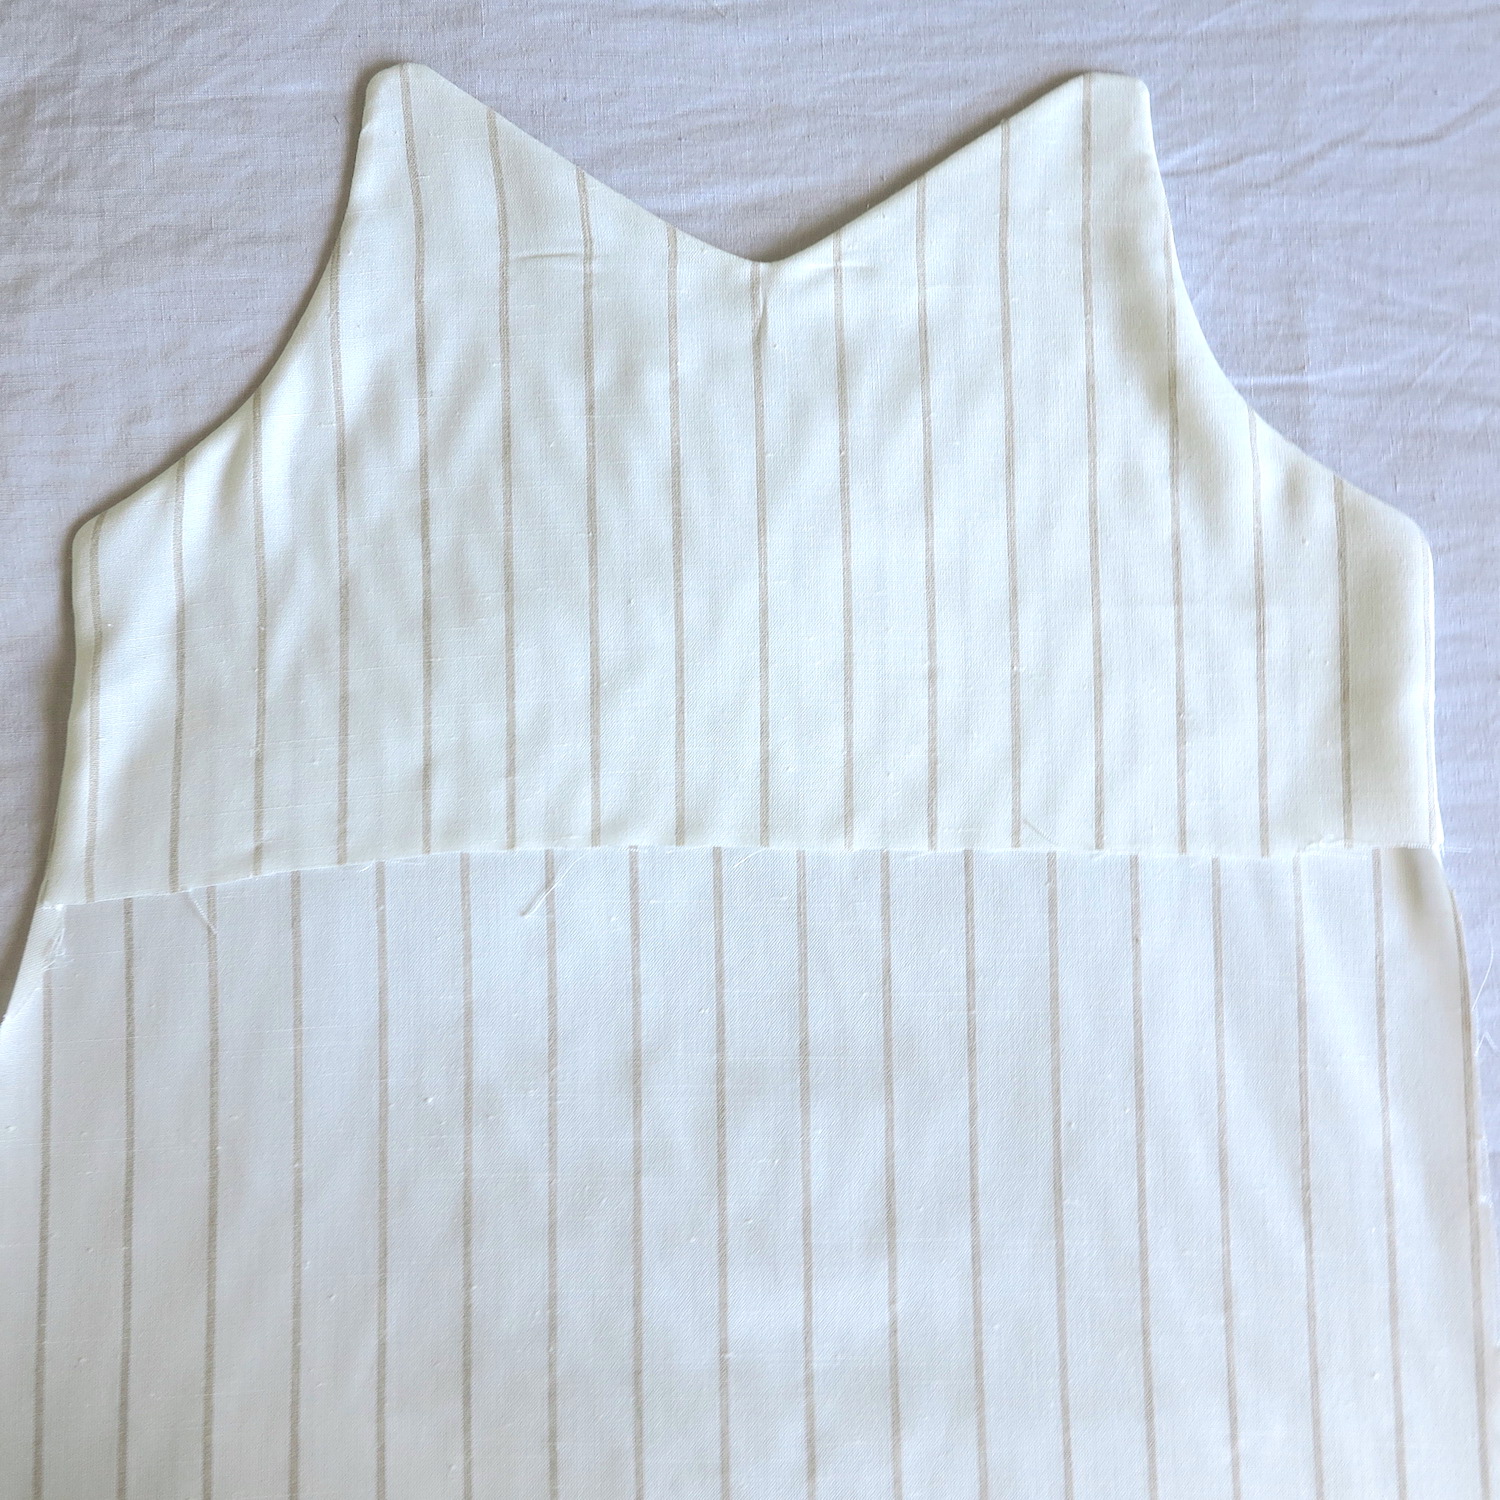
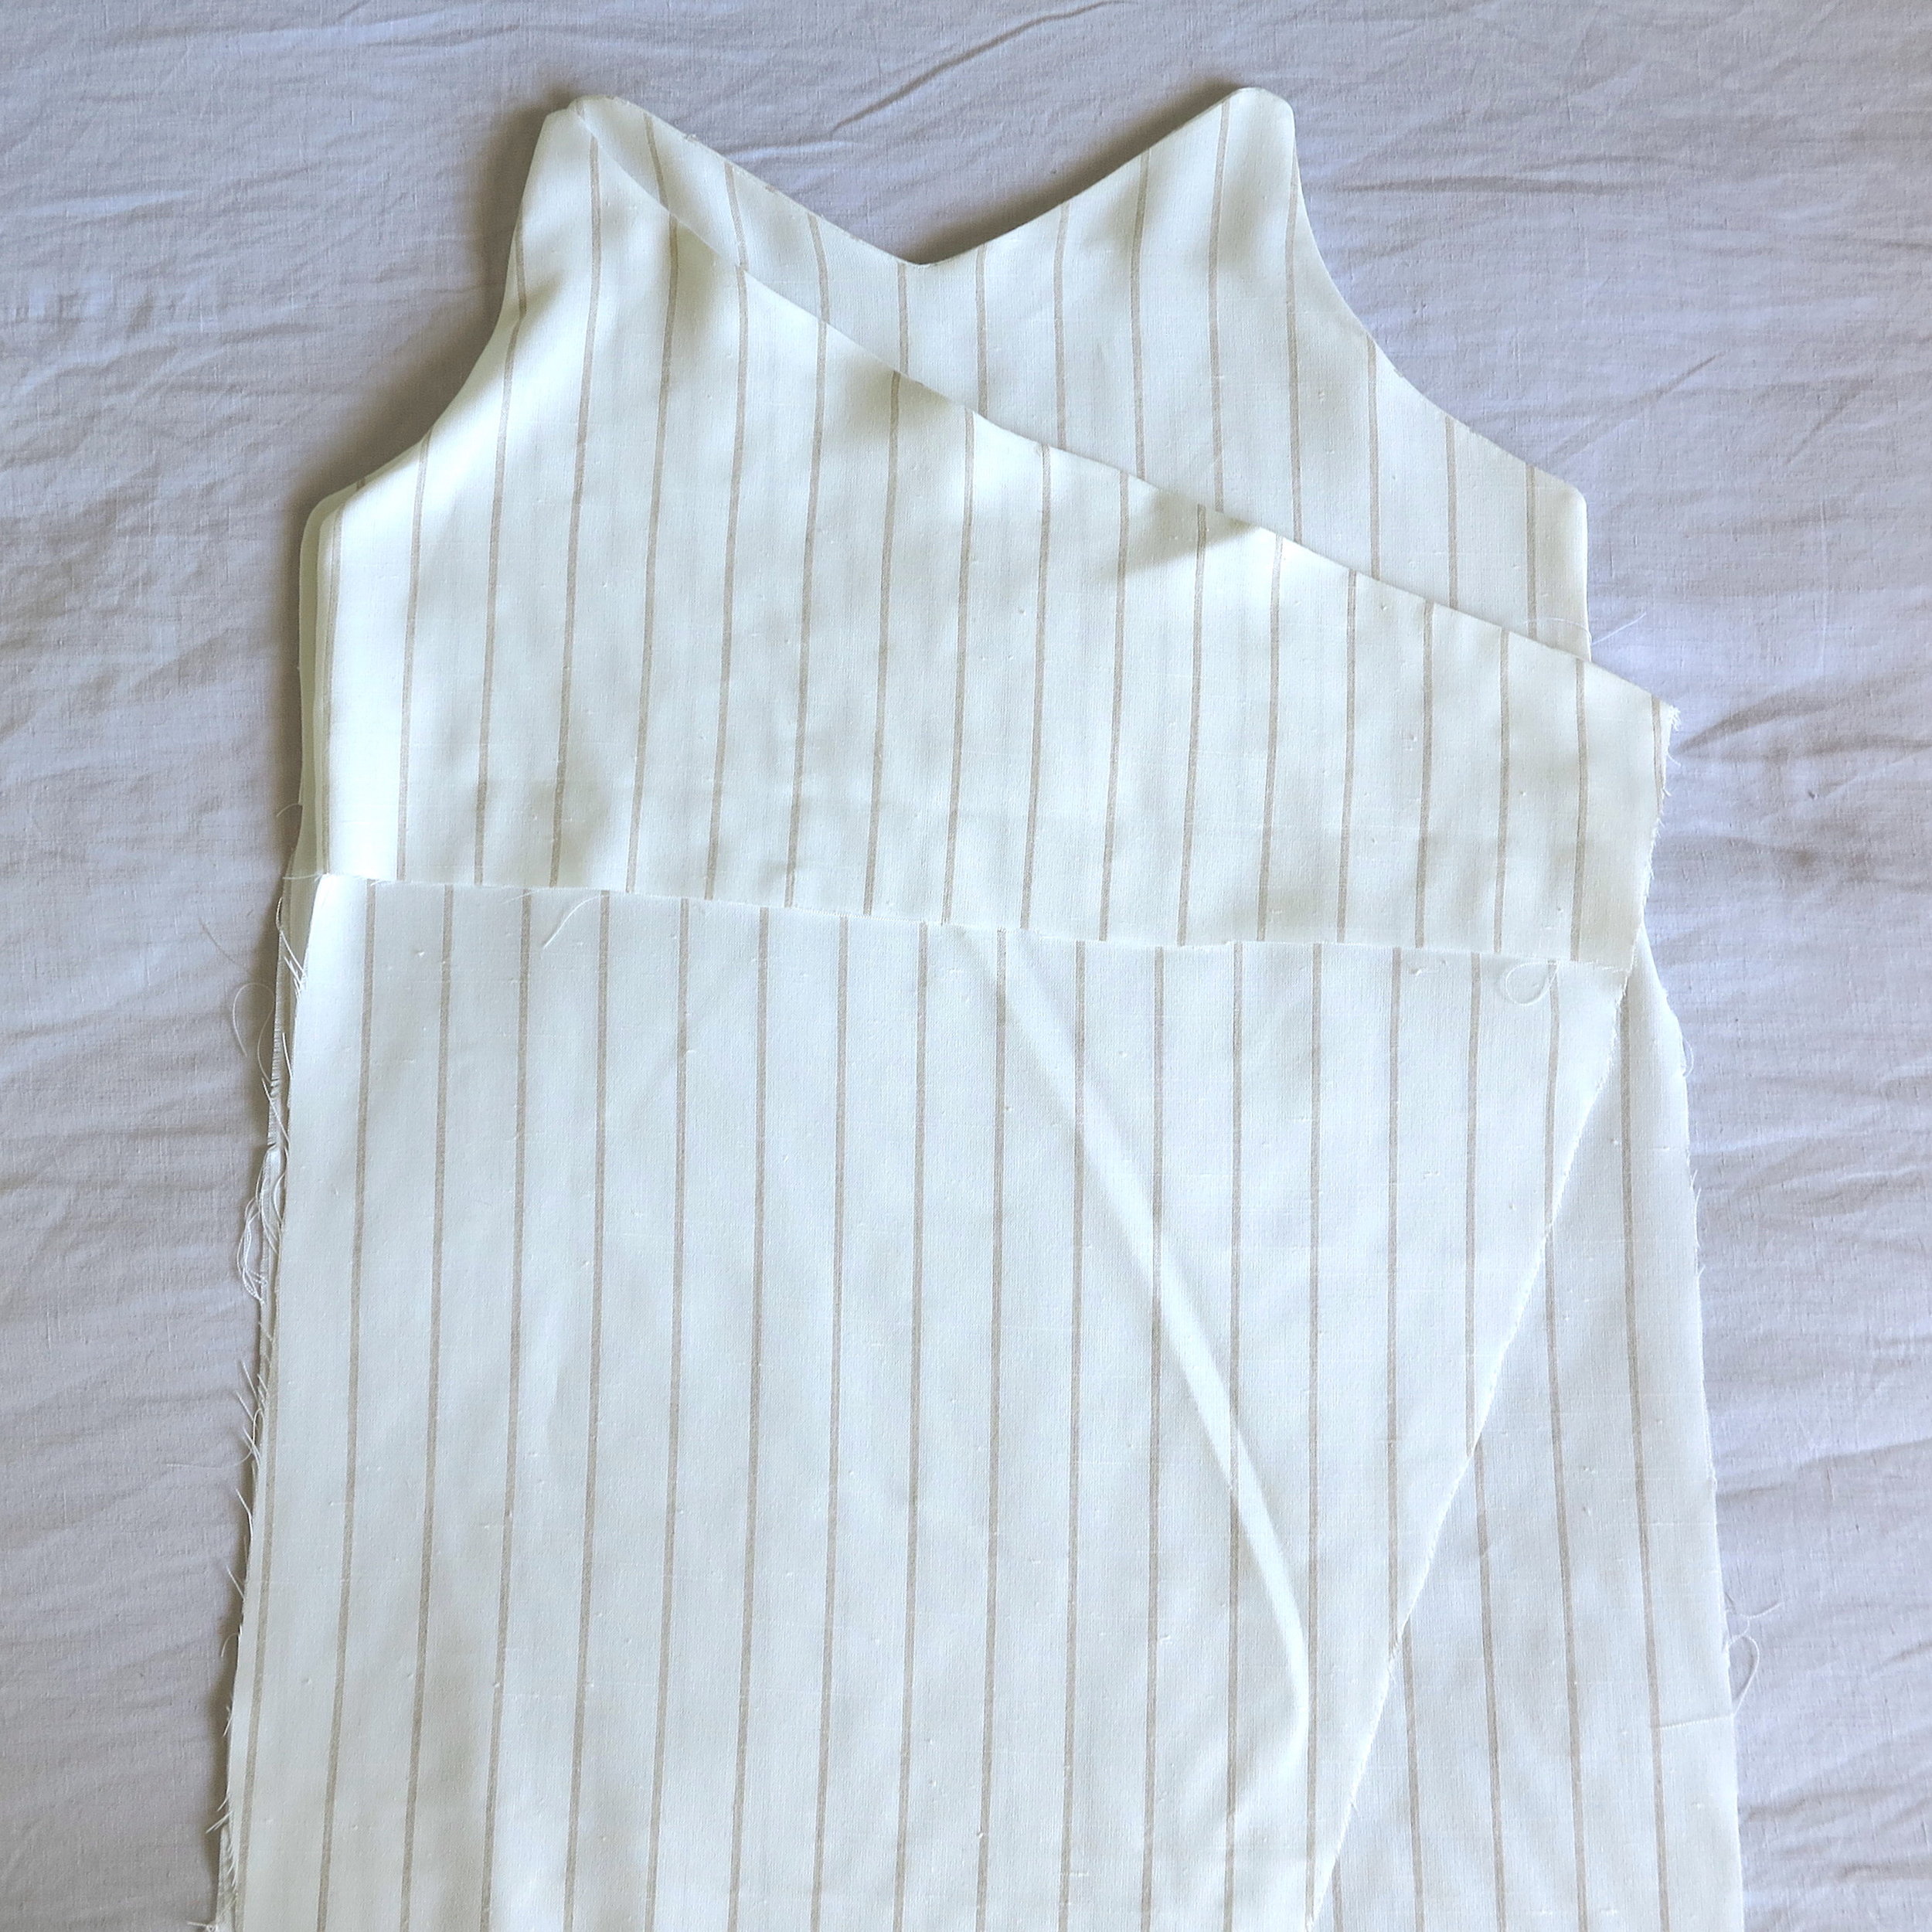
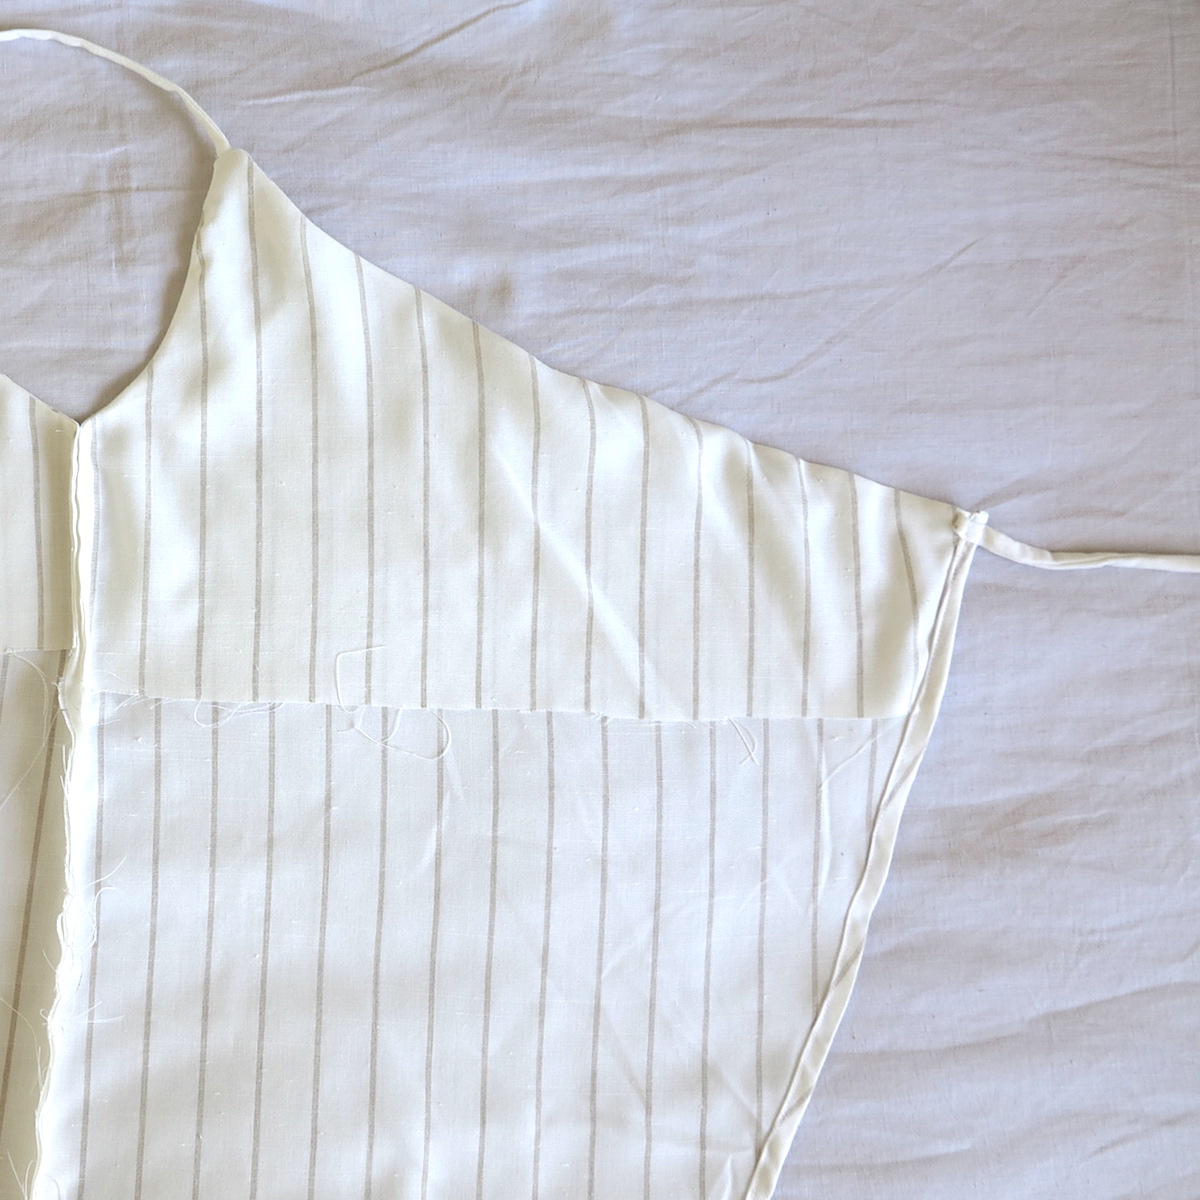
The easiest way to do this is to find a dress (or top) with a similar fit you would like to replicate in your dress. We were lucky to have a wrap dress that we loved enough to know we’d wear in another colour.
Usually wrap dresses are made of three main panels (right front, left front and back) but we also made a front and back facing because the cotton we used was white and quite fine and also using a facing gives the neckline edge a nicer finish.
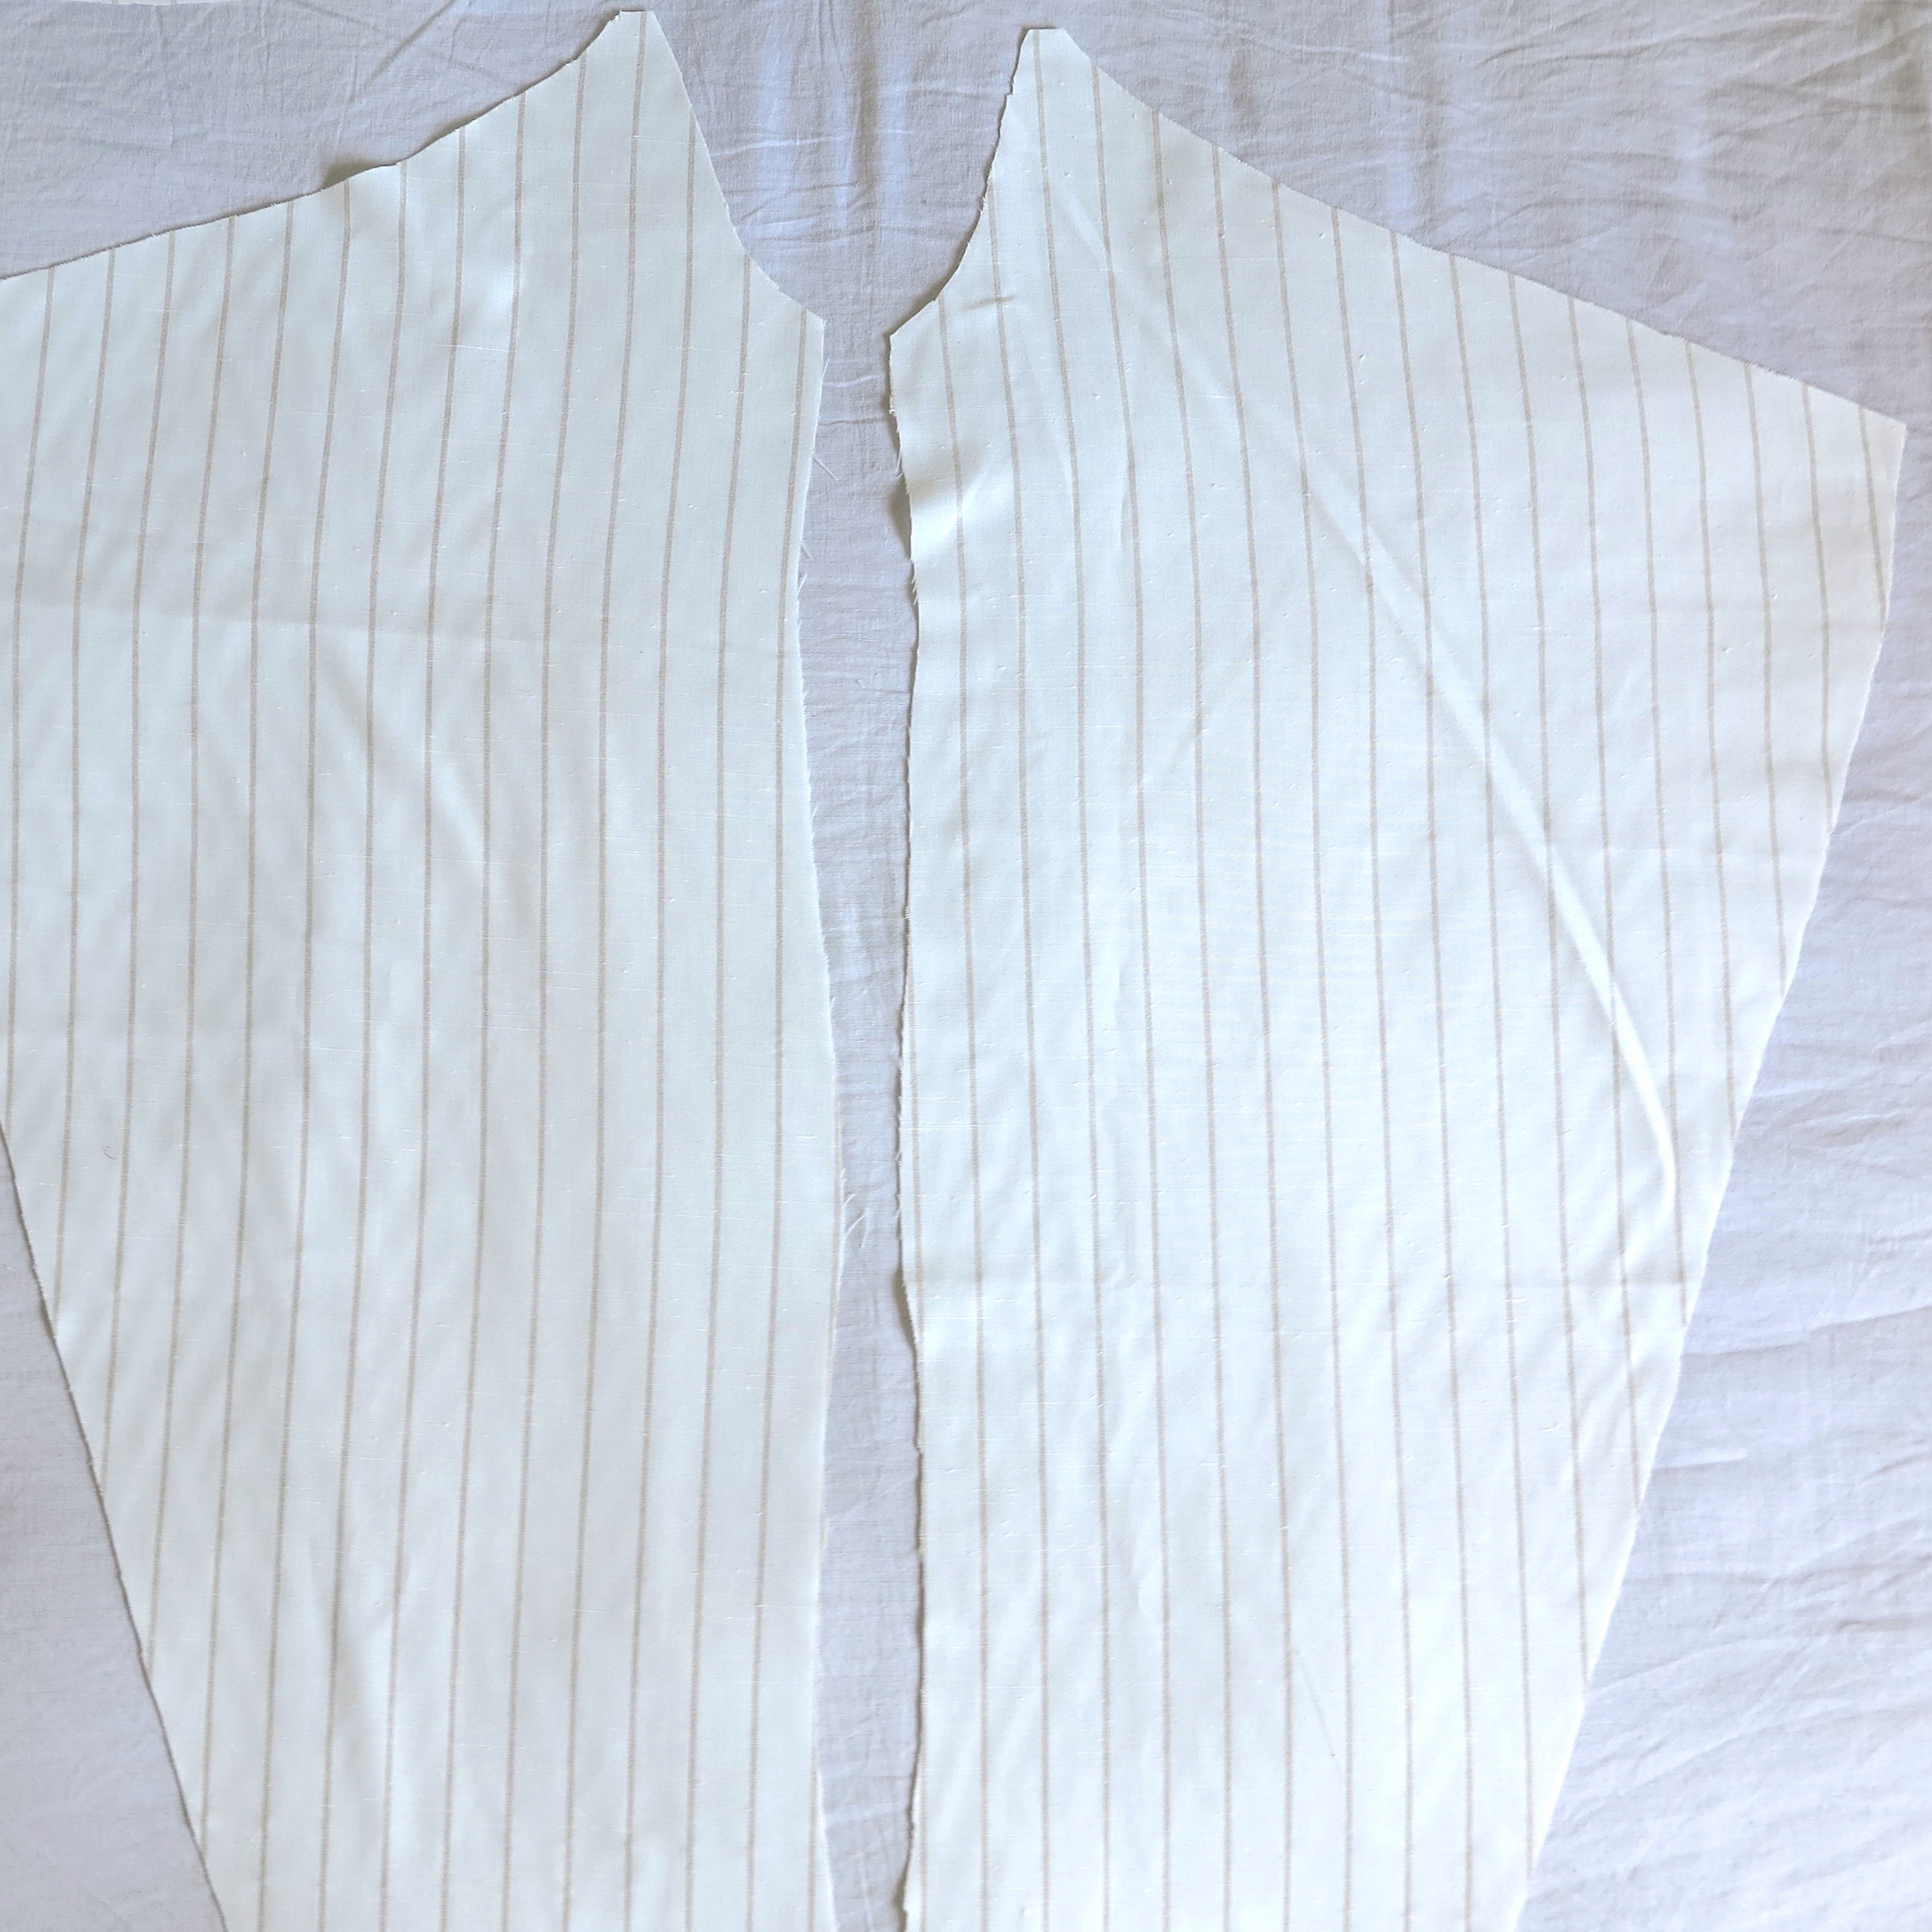
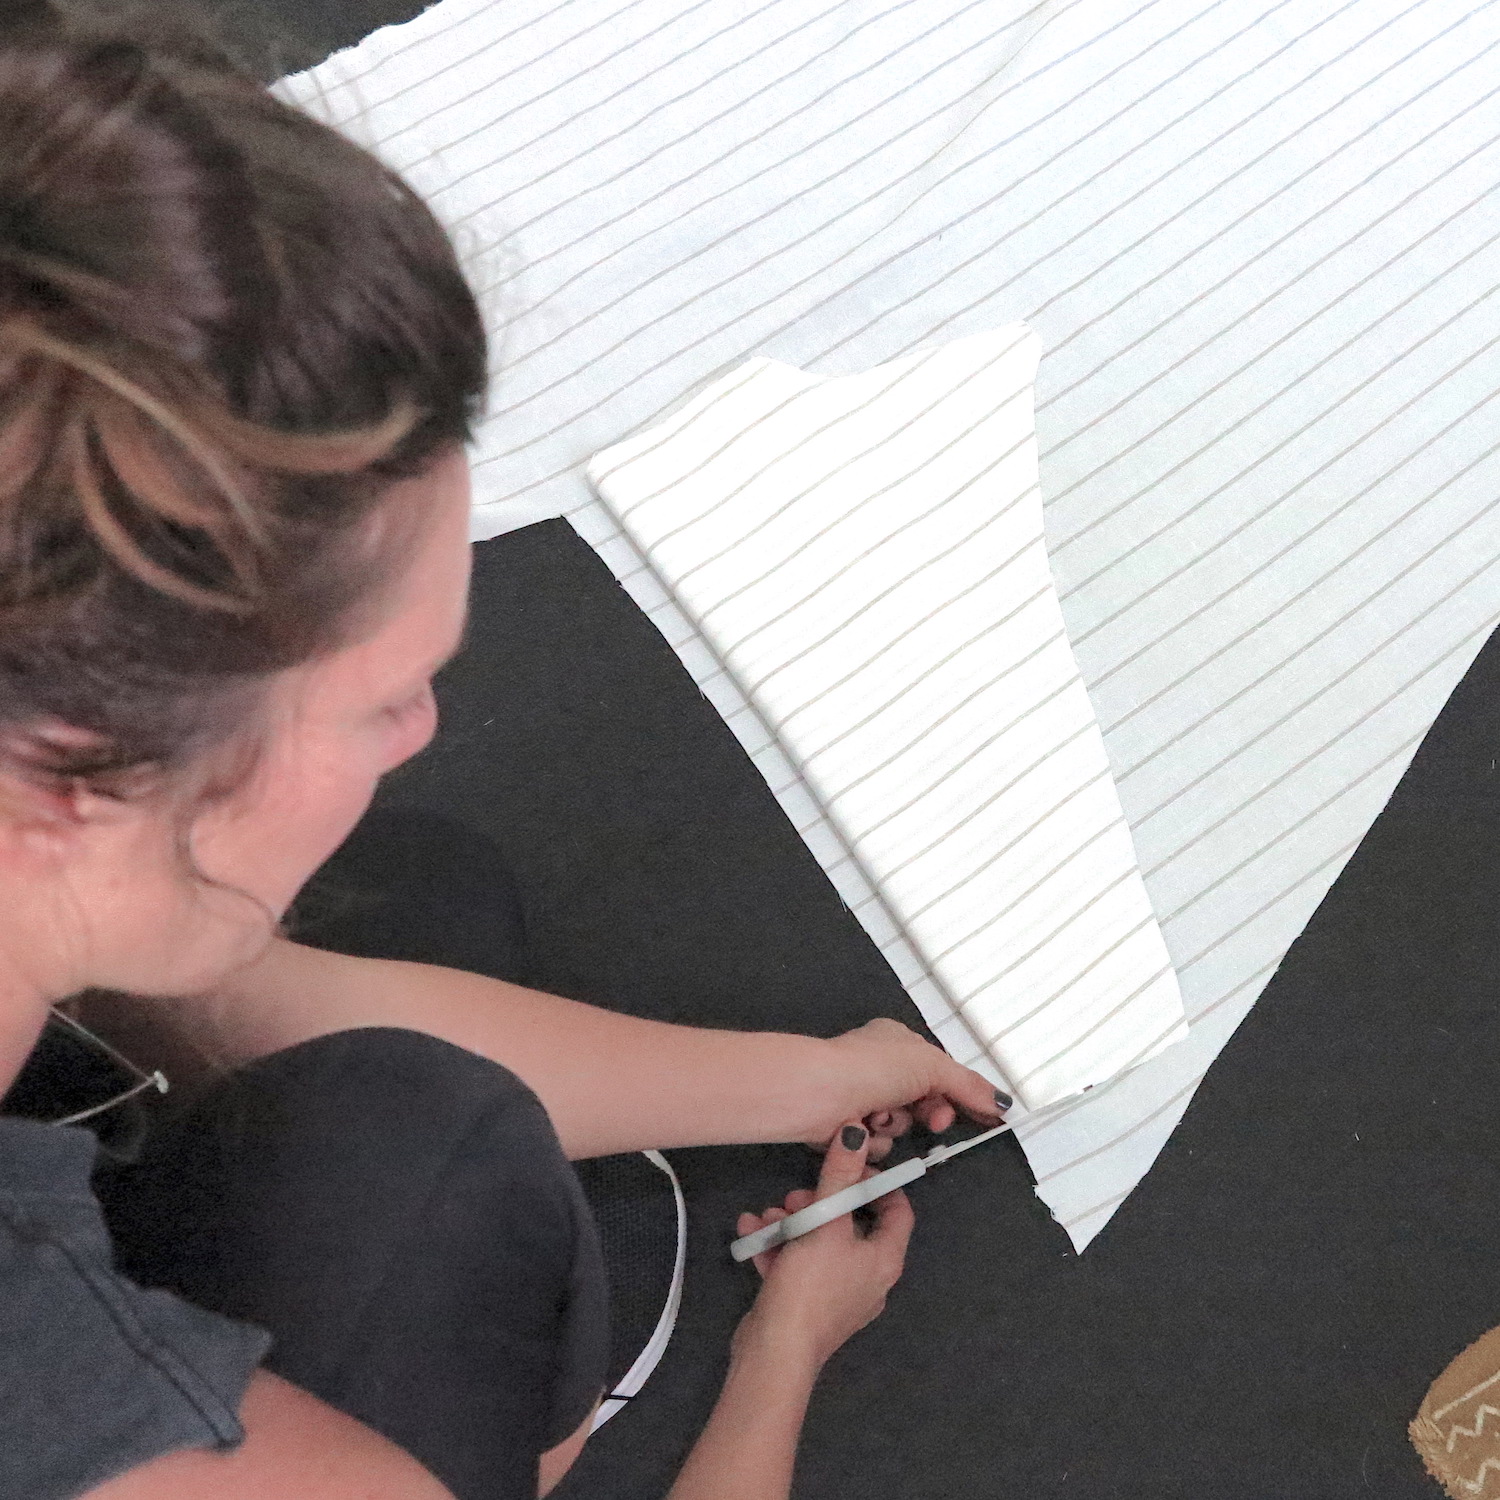
Using the dress you have as a pattern, trace each of the panels onto your fabric using tailor’s chalk (or a soft lead pencil). Cut out each piece.
02
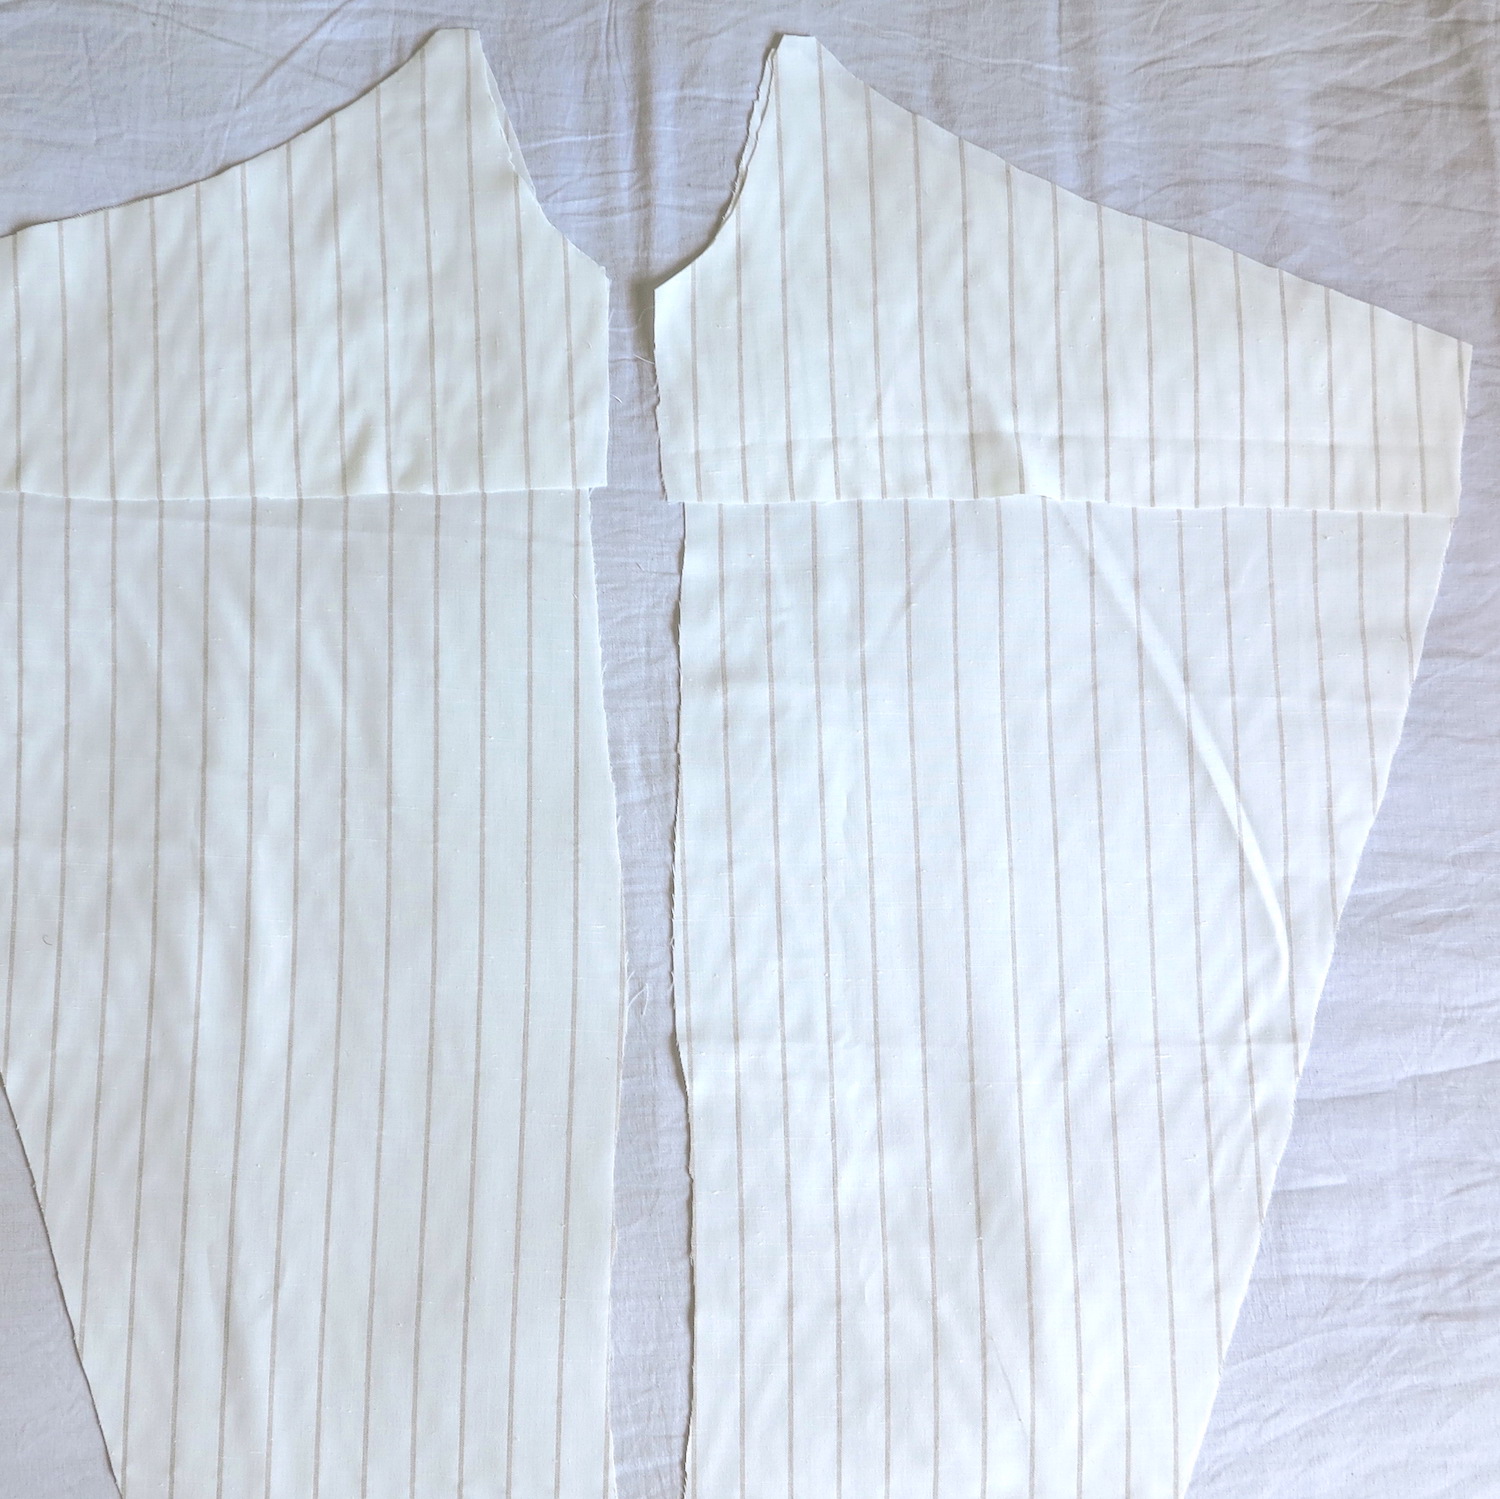
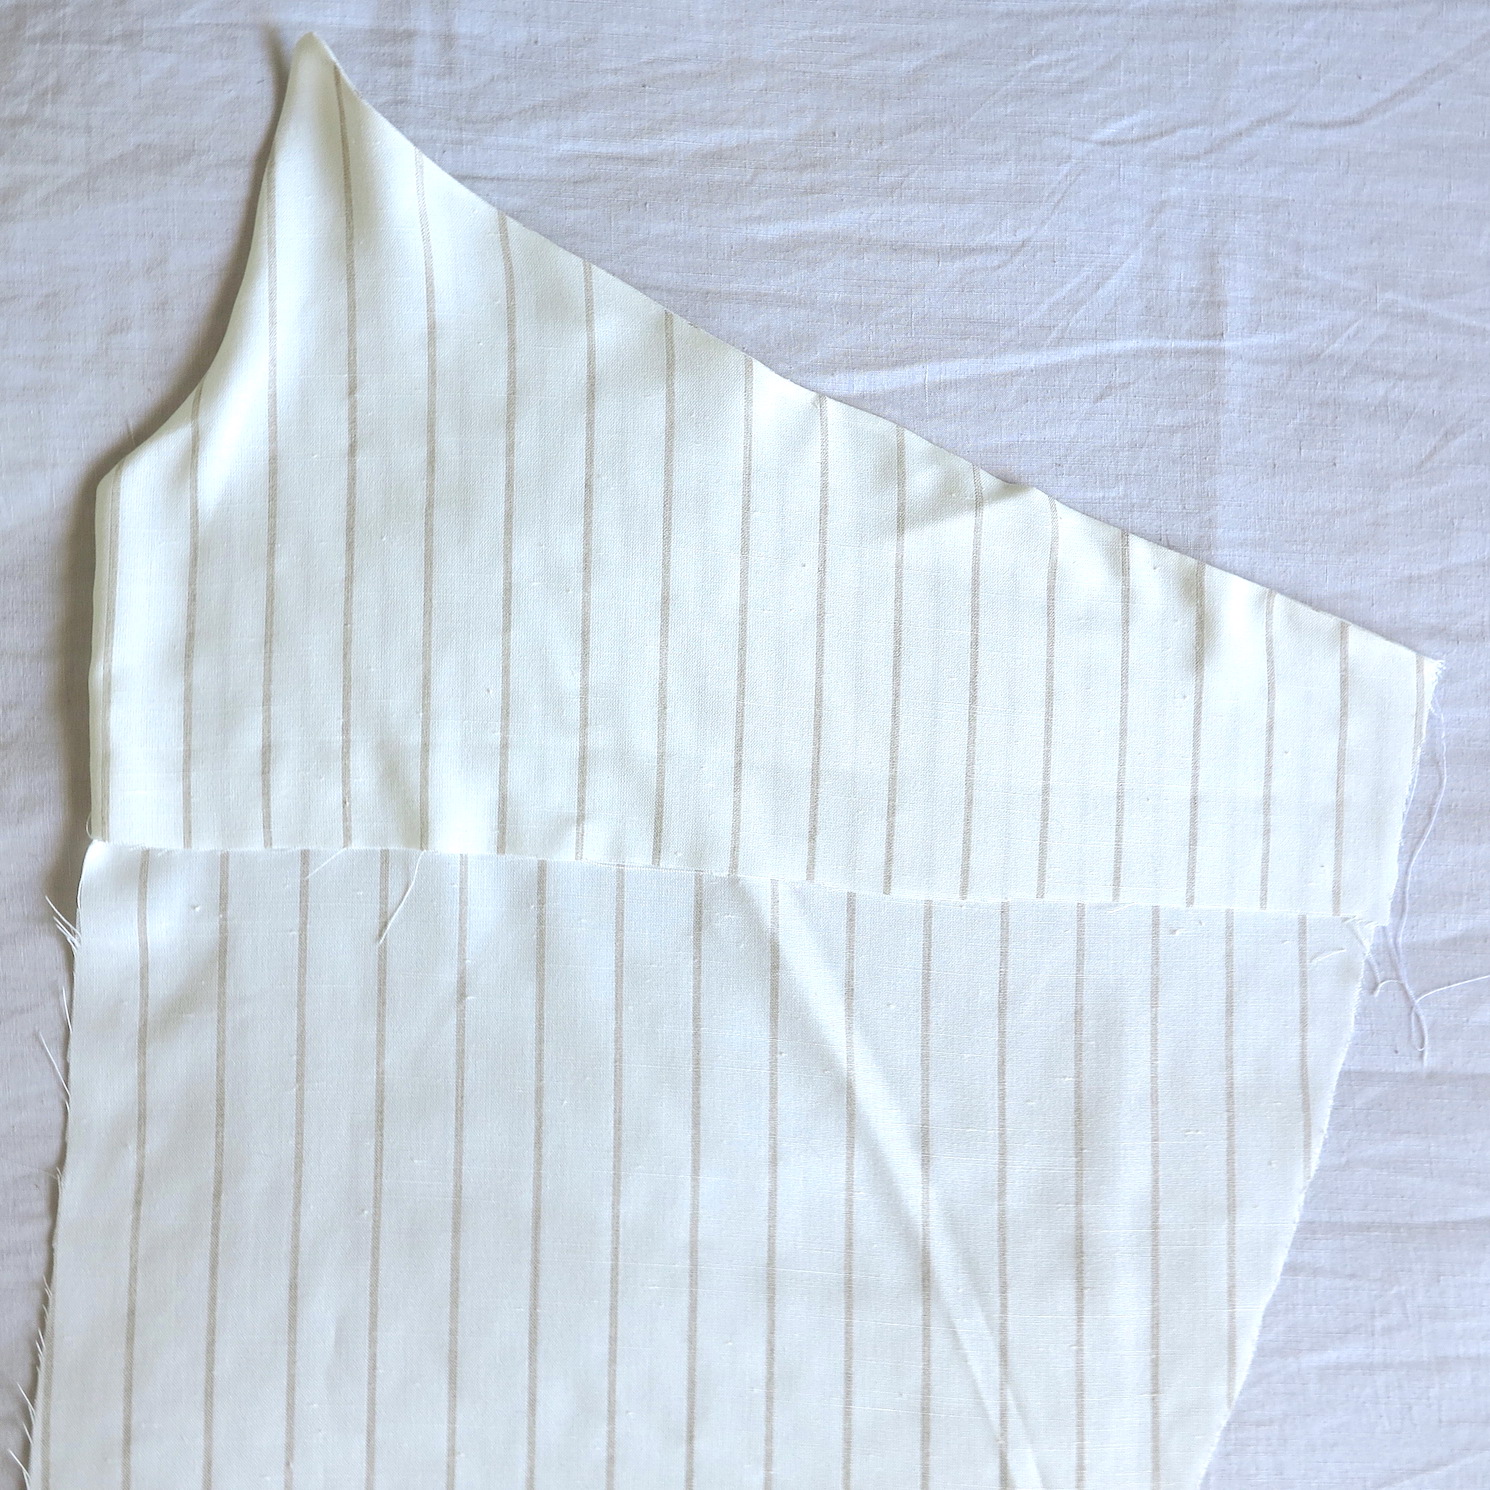
To make the facing pieces, trace the neckline of the front and back pieces, but only make them long enough to sit just under the bust. Make sure you have a right and left facing and one for the back panel.
03
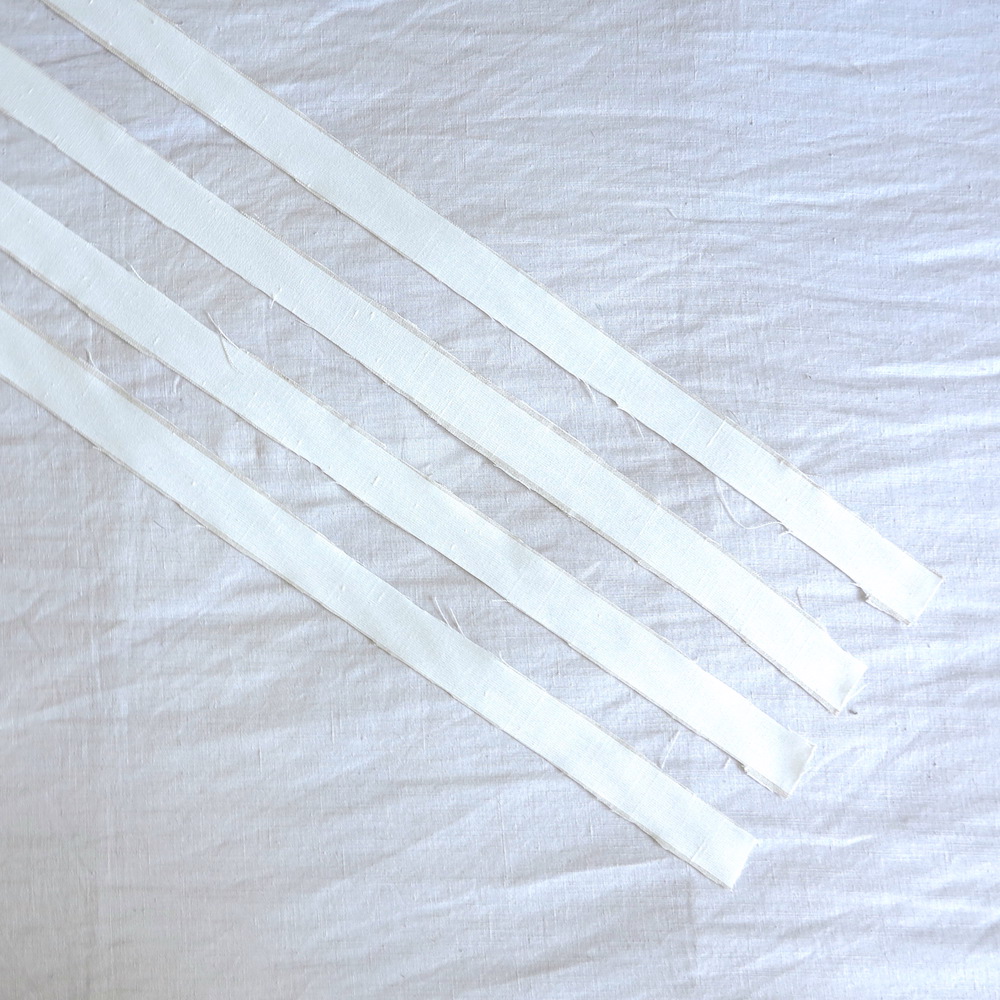
You will also need some pieces for your straps and ties. Cut 2 lengths of fabric about 1 meter in length and 3cm wide (for waist ties). Cut 2 lengths of fabric about 30cm in length and about 3cm wide (for shoulder straps).
04
FACING:
Take your facing pieces and finish the edges with either a sewing machine, pinking shears or a zig zag stitch to prevent fraying.
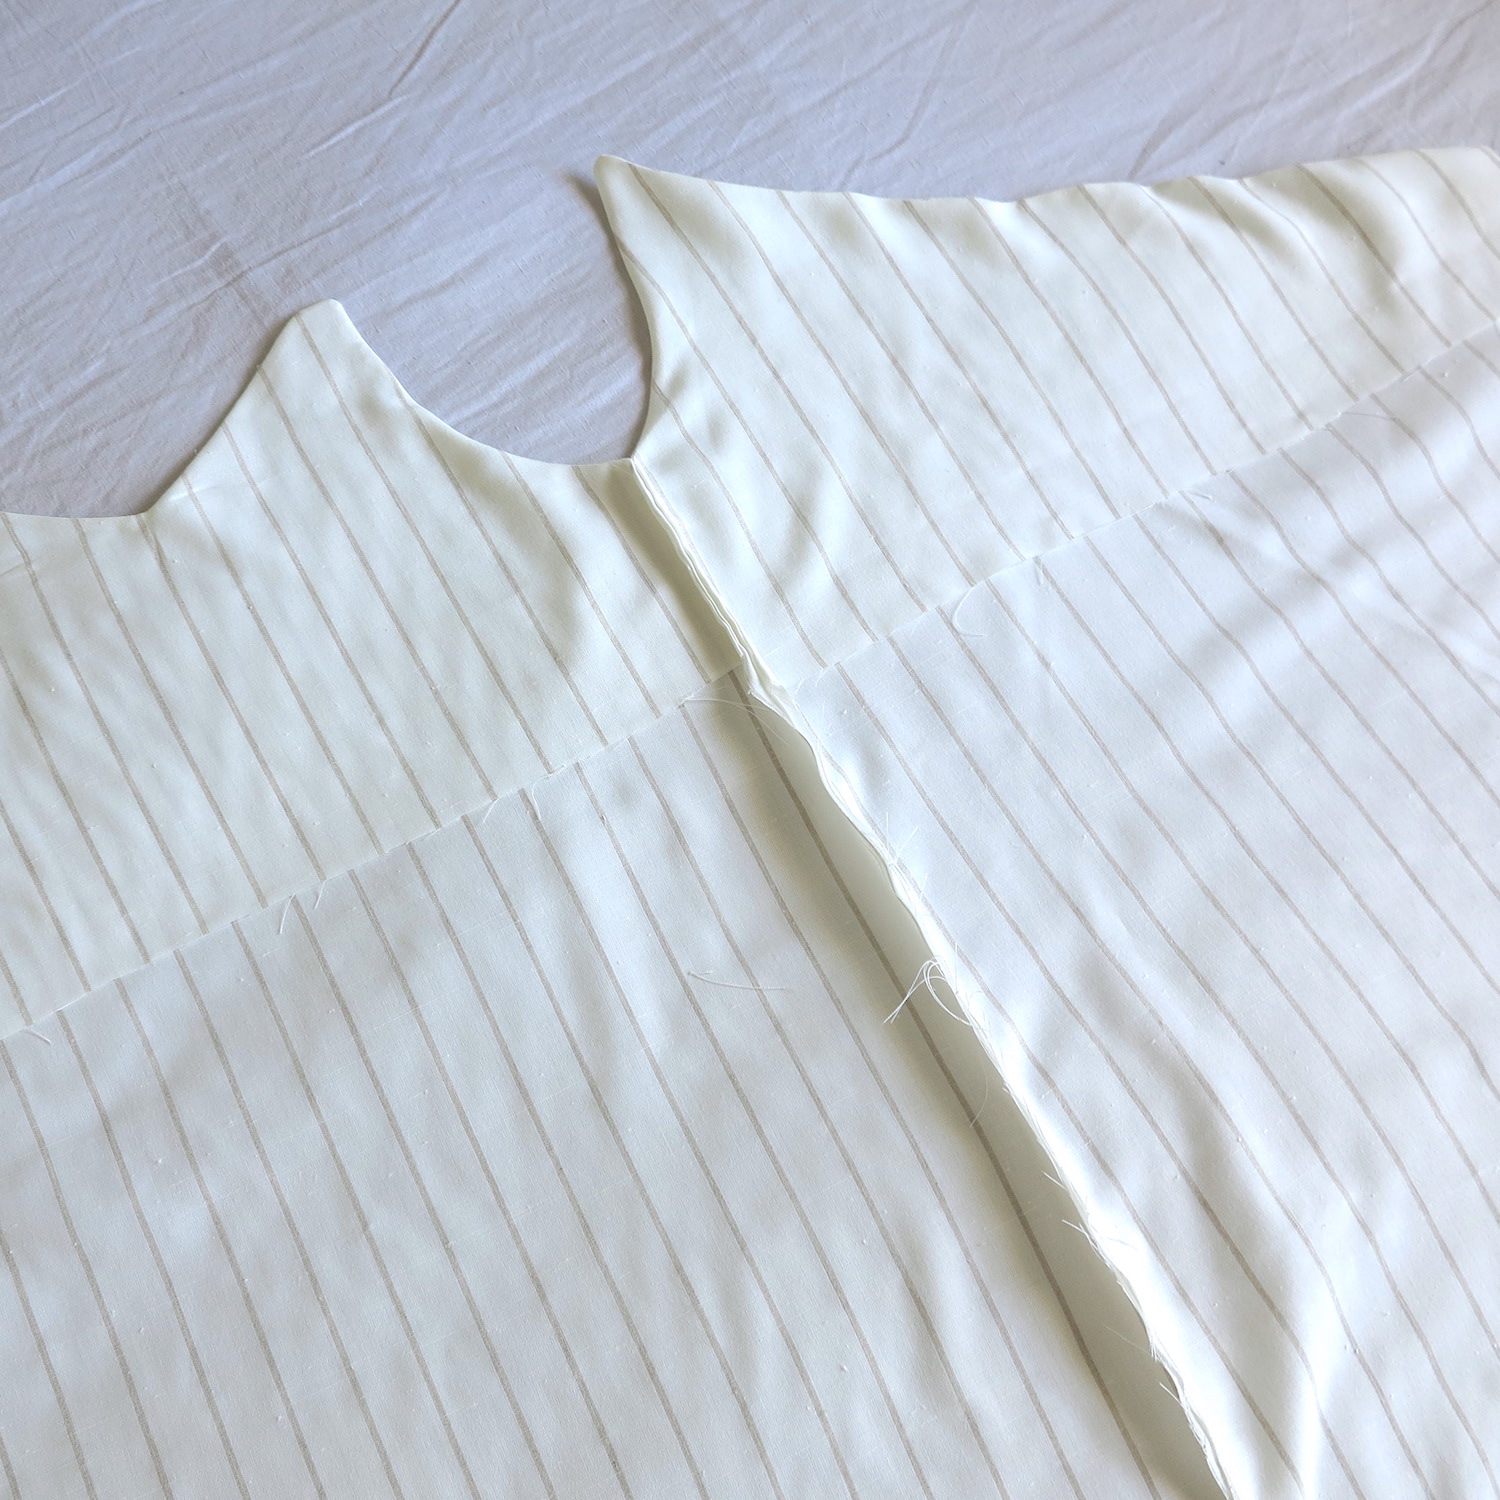
With right sides of the fabric together (the side with the pattern or top of the weave), match the necklines and underarm edges of the right front panel and the right front facing and pin along the edge. Sew with a 1.5cm seam.
Trim the seam to half, and turn through to the outside. Push the seam out and iron the sewn edge flat.
Repeat with the left and the back panels.
05
SIDE SEAMS:
With right sides together, join the side panels to the back panel using a 1.5cm seam. *On the RIGHT side seam, leave an opening of about 1cm under the bust line. Make sure you reinforce either side of the opening. This will allow you to thread your waist ties through.
Overlock (or use pinking shears or a zig-zag stitch) to finish and prevent fraying.
06
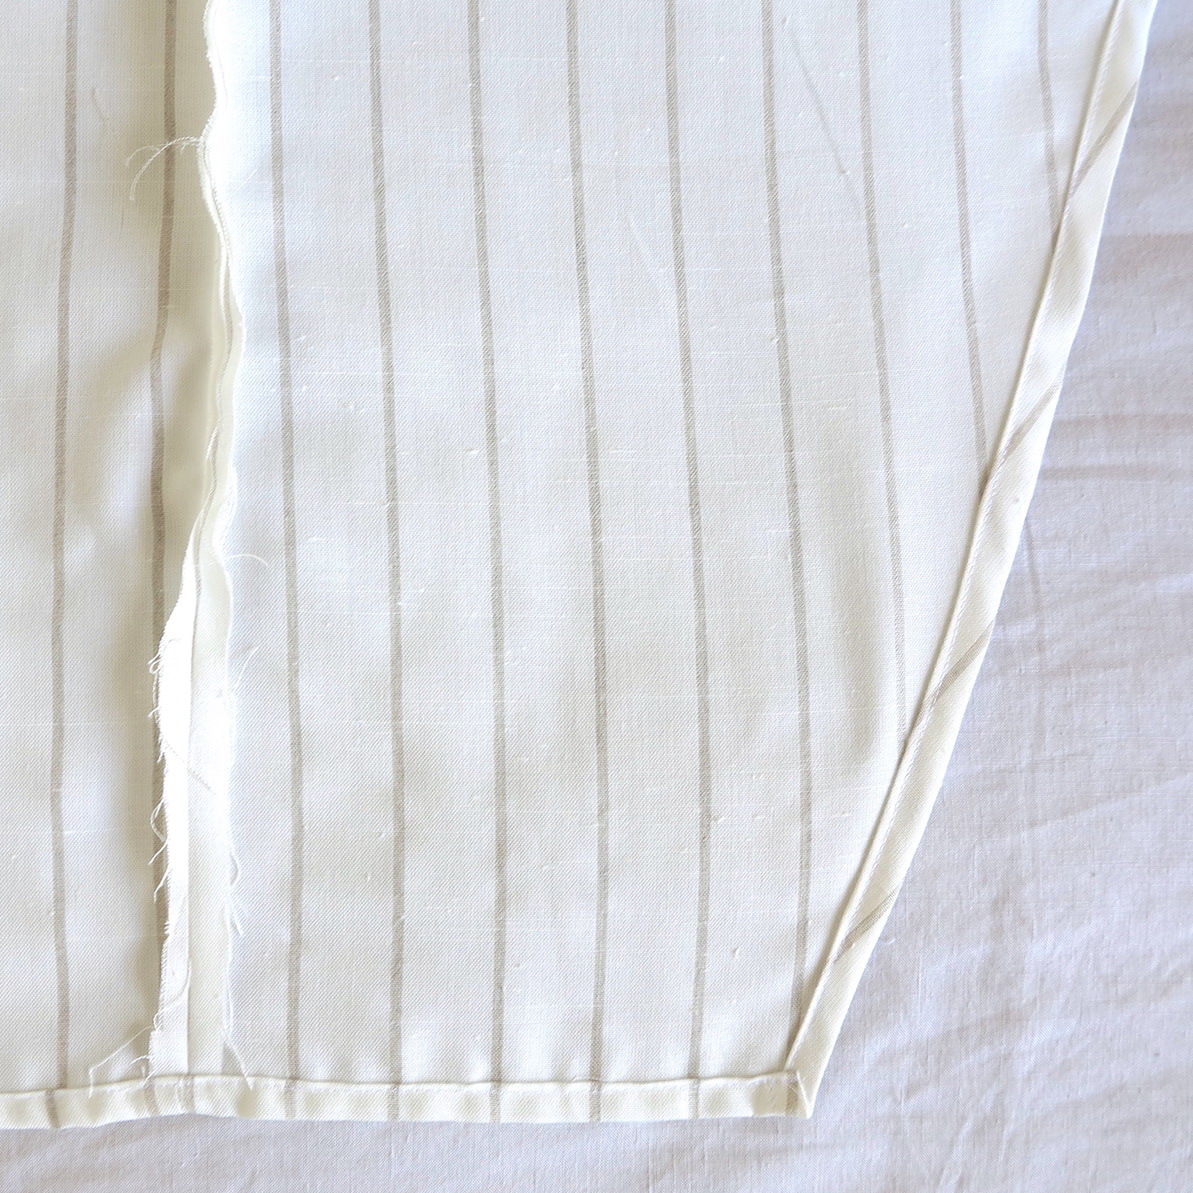
OPENING EDGE AND BOTTOM HEM:
Hem each panel’s raw edge by turning the cut edge under 0.5cm and press with iron (or overlock the raw edge). Turn under again 1cm and press. Sew, following the inside edge of the presser foot as a guide to stay close to the folded edge.
07
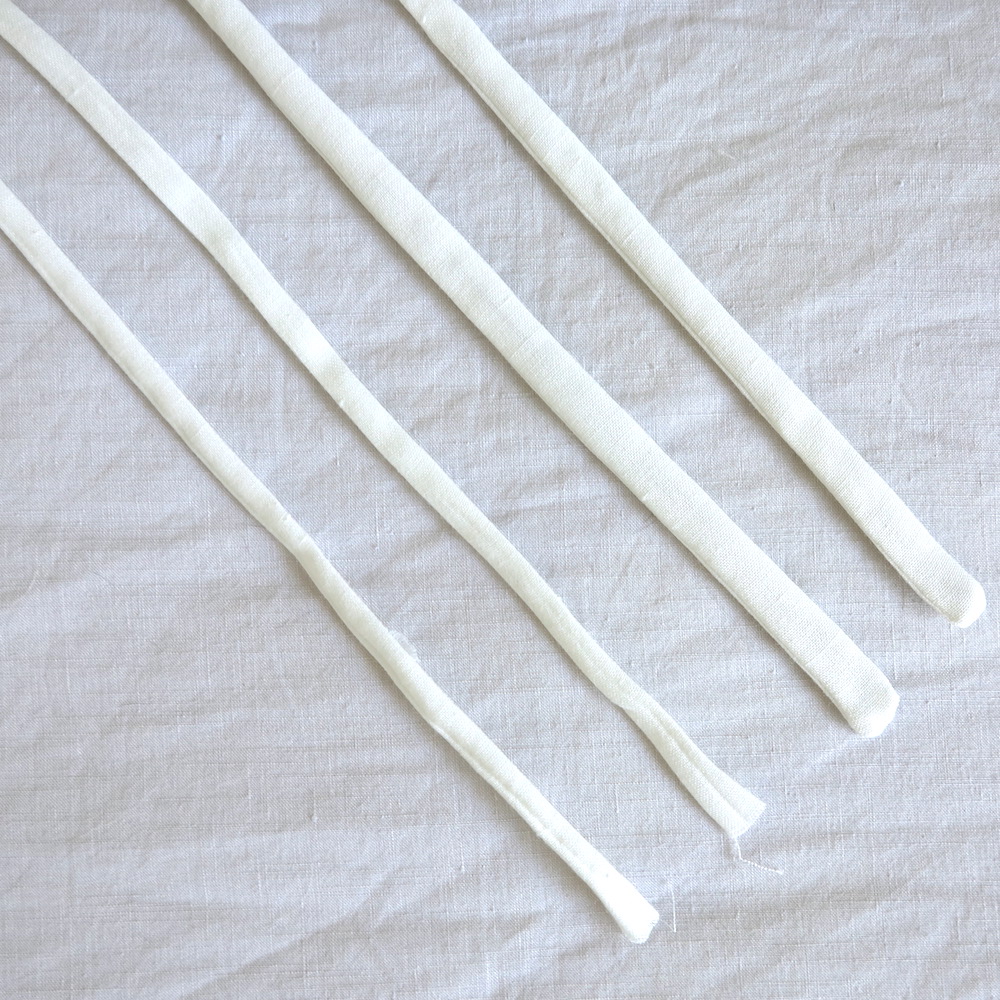
STRAPS AND TIES:
To create the straps take the precut lengths of fabric and fold in half, with rights sides together and the long edges matching. Sew a 0.5cm seam along the long edge and one short edge. Take a small safety pin and attach to the open end. Push the safety pin inside the “tube” and along so that the fabric turns in on itself and and you can pull the tube through so that it is right side out. Iron flat. Complete the four lengths of fabric using this method.
Take the two shorter pieces, these will be your shoulder straps. You may need a friend to help you pin the straps in place once you have tried the dress on and determined how long your shoulder straps need to be.
08
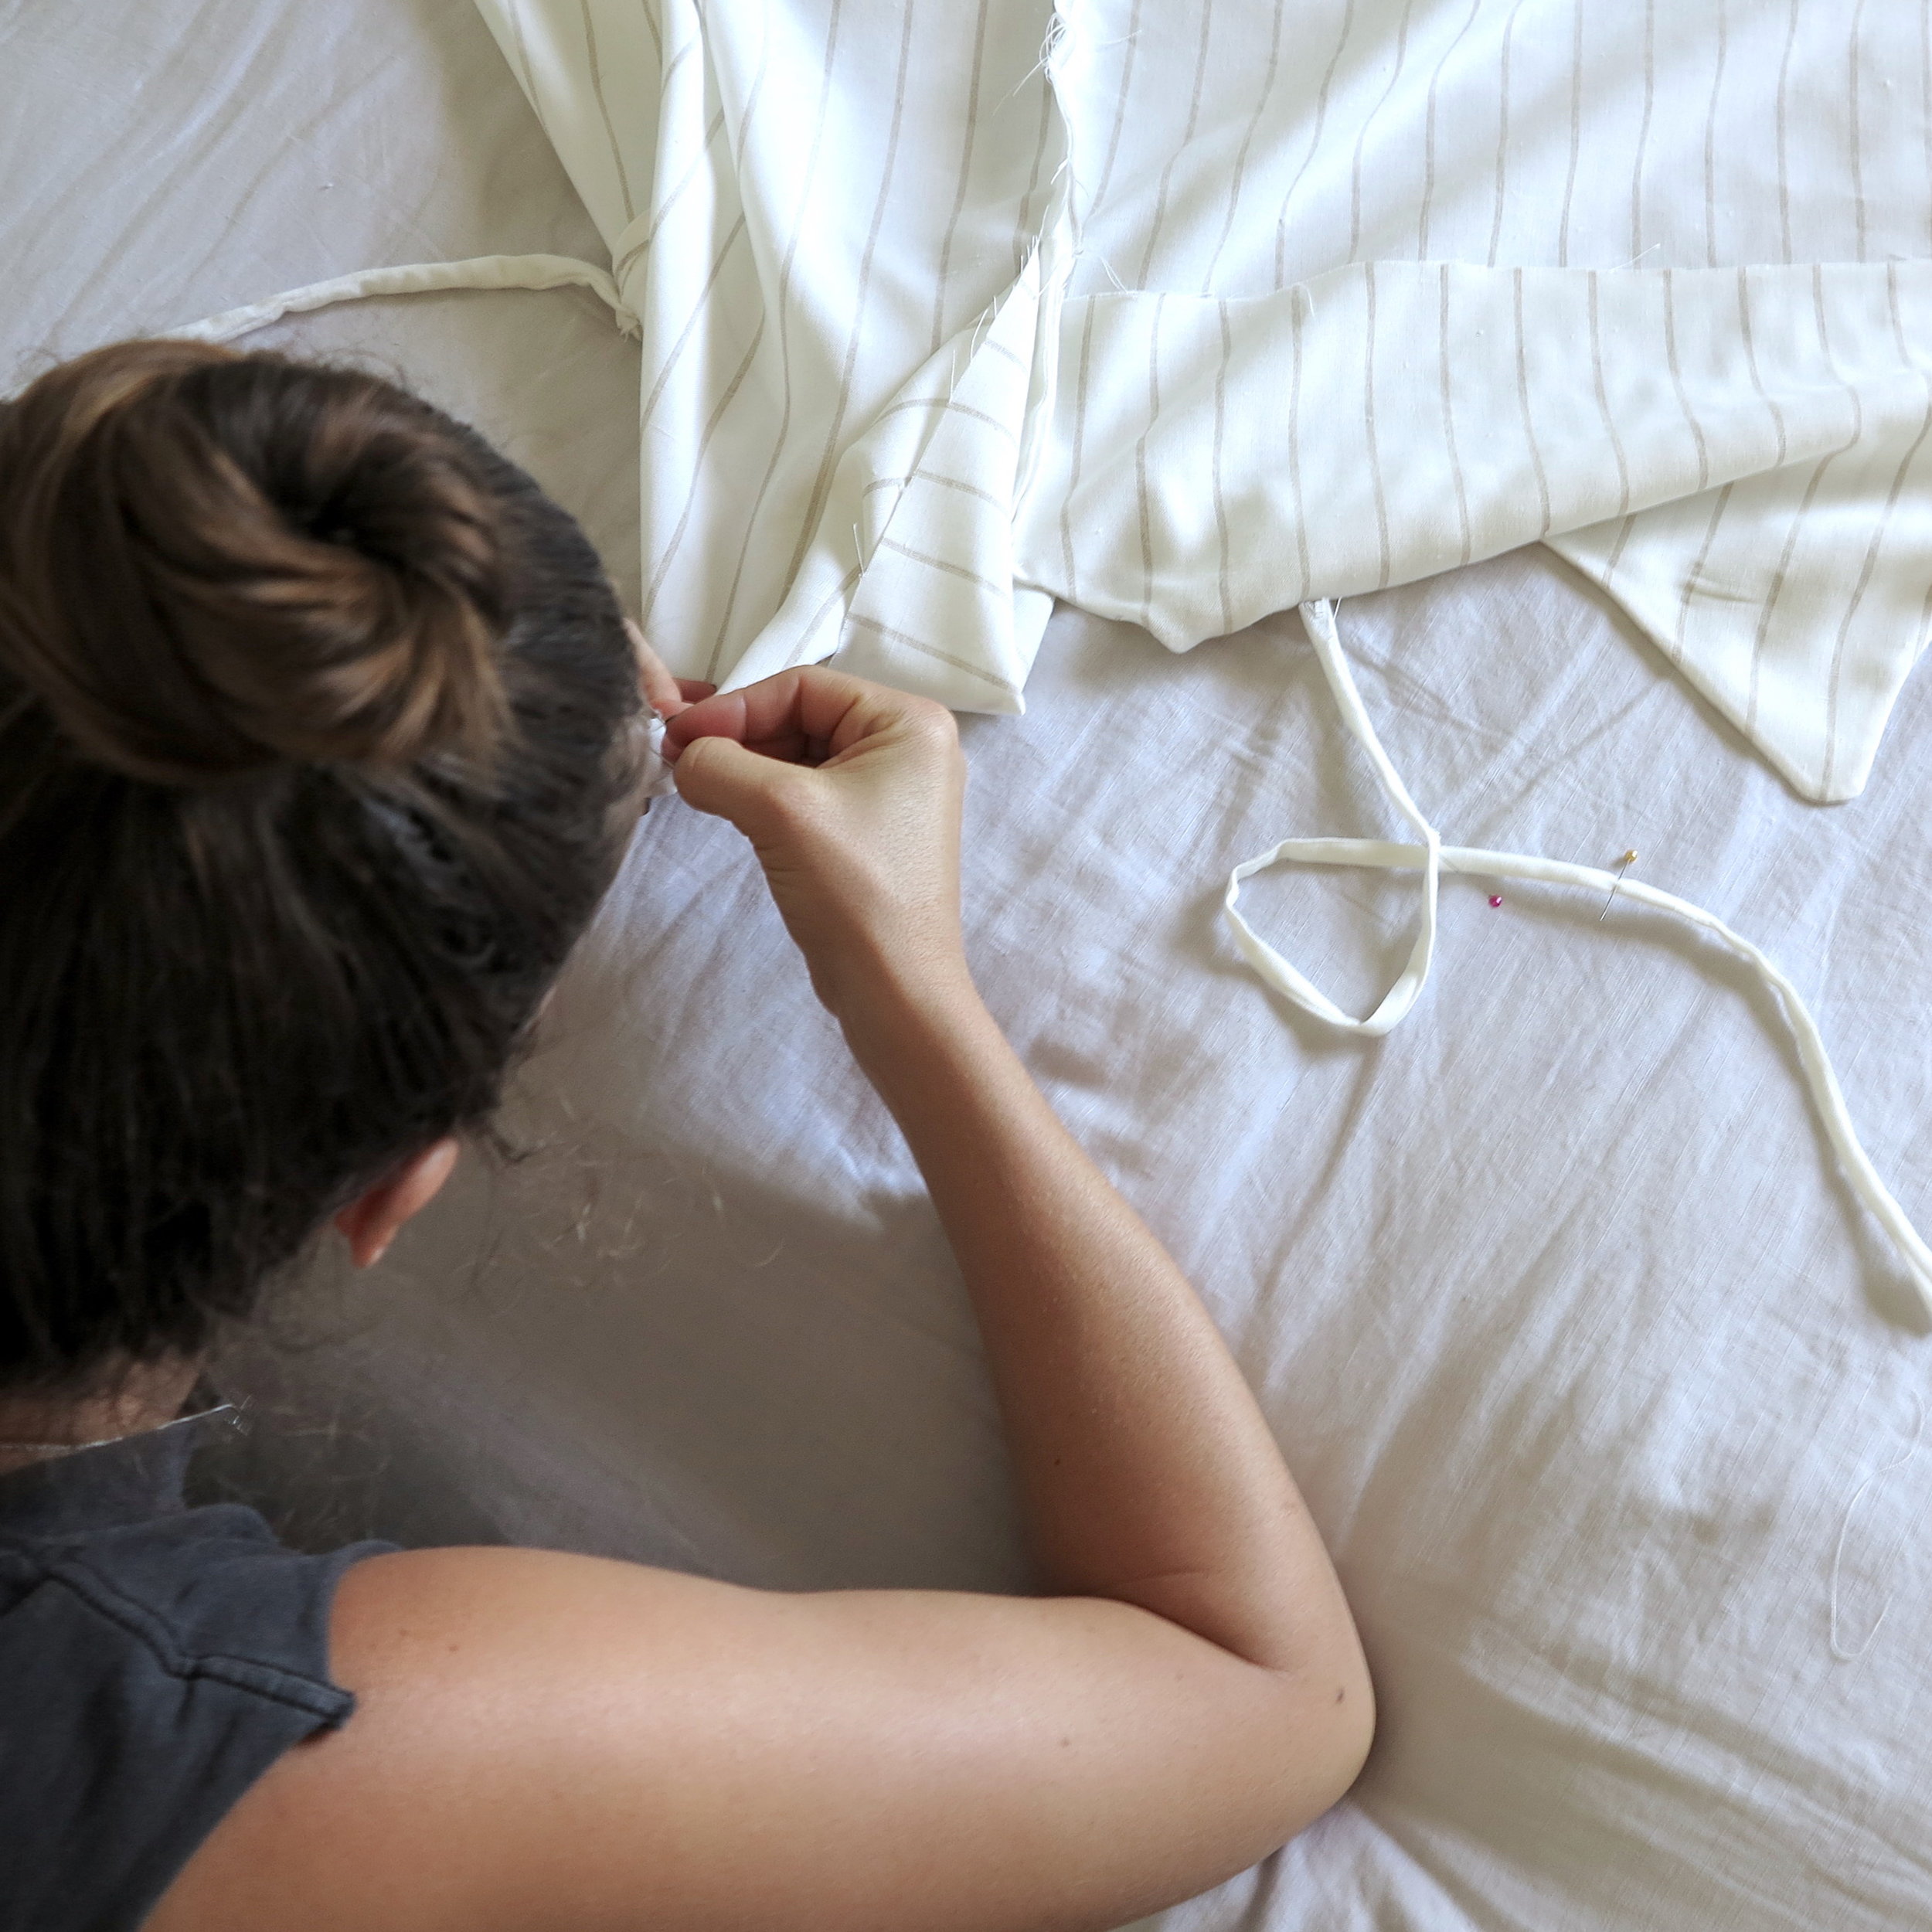
ATTACH SHOULDER STRAPS:
Now you are going to turn the facing of the front panels inside out and unpick a small section of stitching along the shoulders where you want you straps to sit inside. Make sure you have the unfinished, short end of the strap piece coming through the seam to the inside. Stitch the seam shut again, trapping the shoulder strap. Make sure you reinforce using reverse stitching to ensure it is secure. Repeat this in the seam attaching the back panel to the back facing.
Repeat to secure the other shoulder strap.
09
ATTACH WAIST TIES
Take the raw edge of one both long straps and turn the raw edges inside the tube and seal with a couple of stitches.
For the left front panel: Take the short edge of one of the long straps and join to underside of the outer opening edge, just under bust height. Make sure you reinforce the stitching here (by reversing) to make it secure. Thread the waist tie through the opening you created in the side seam earlier.
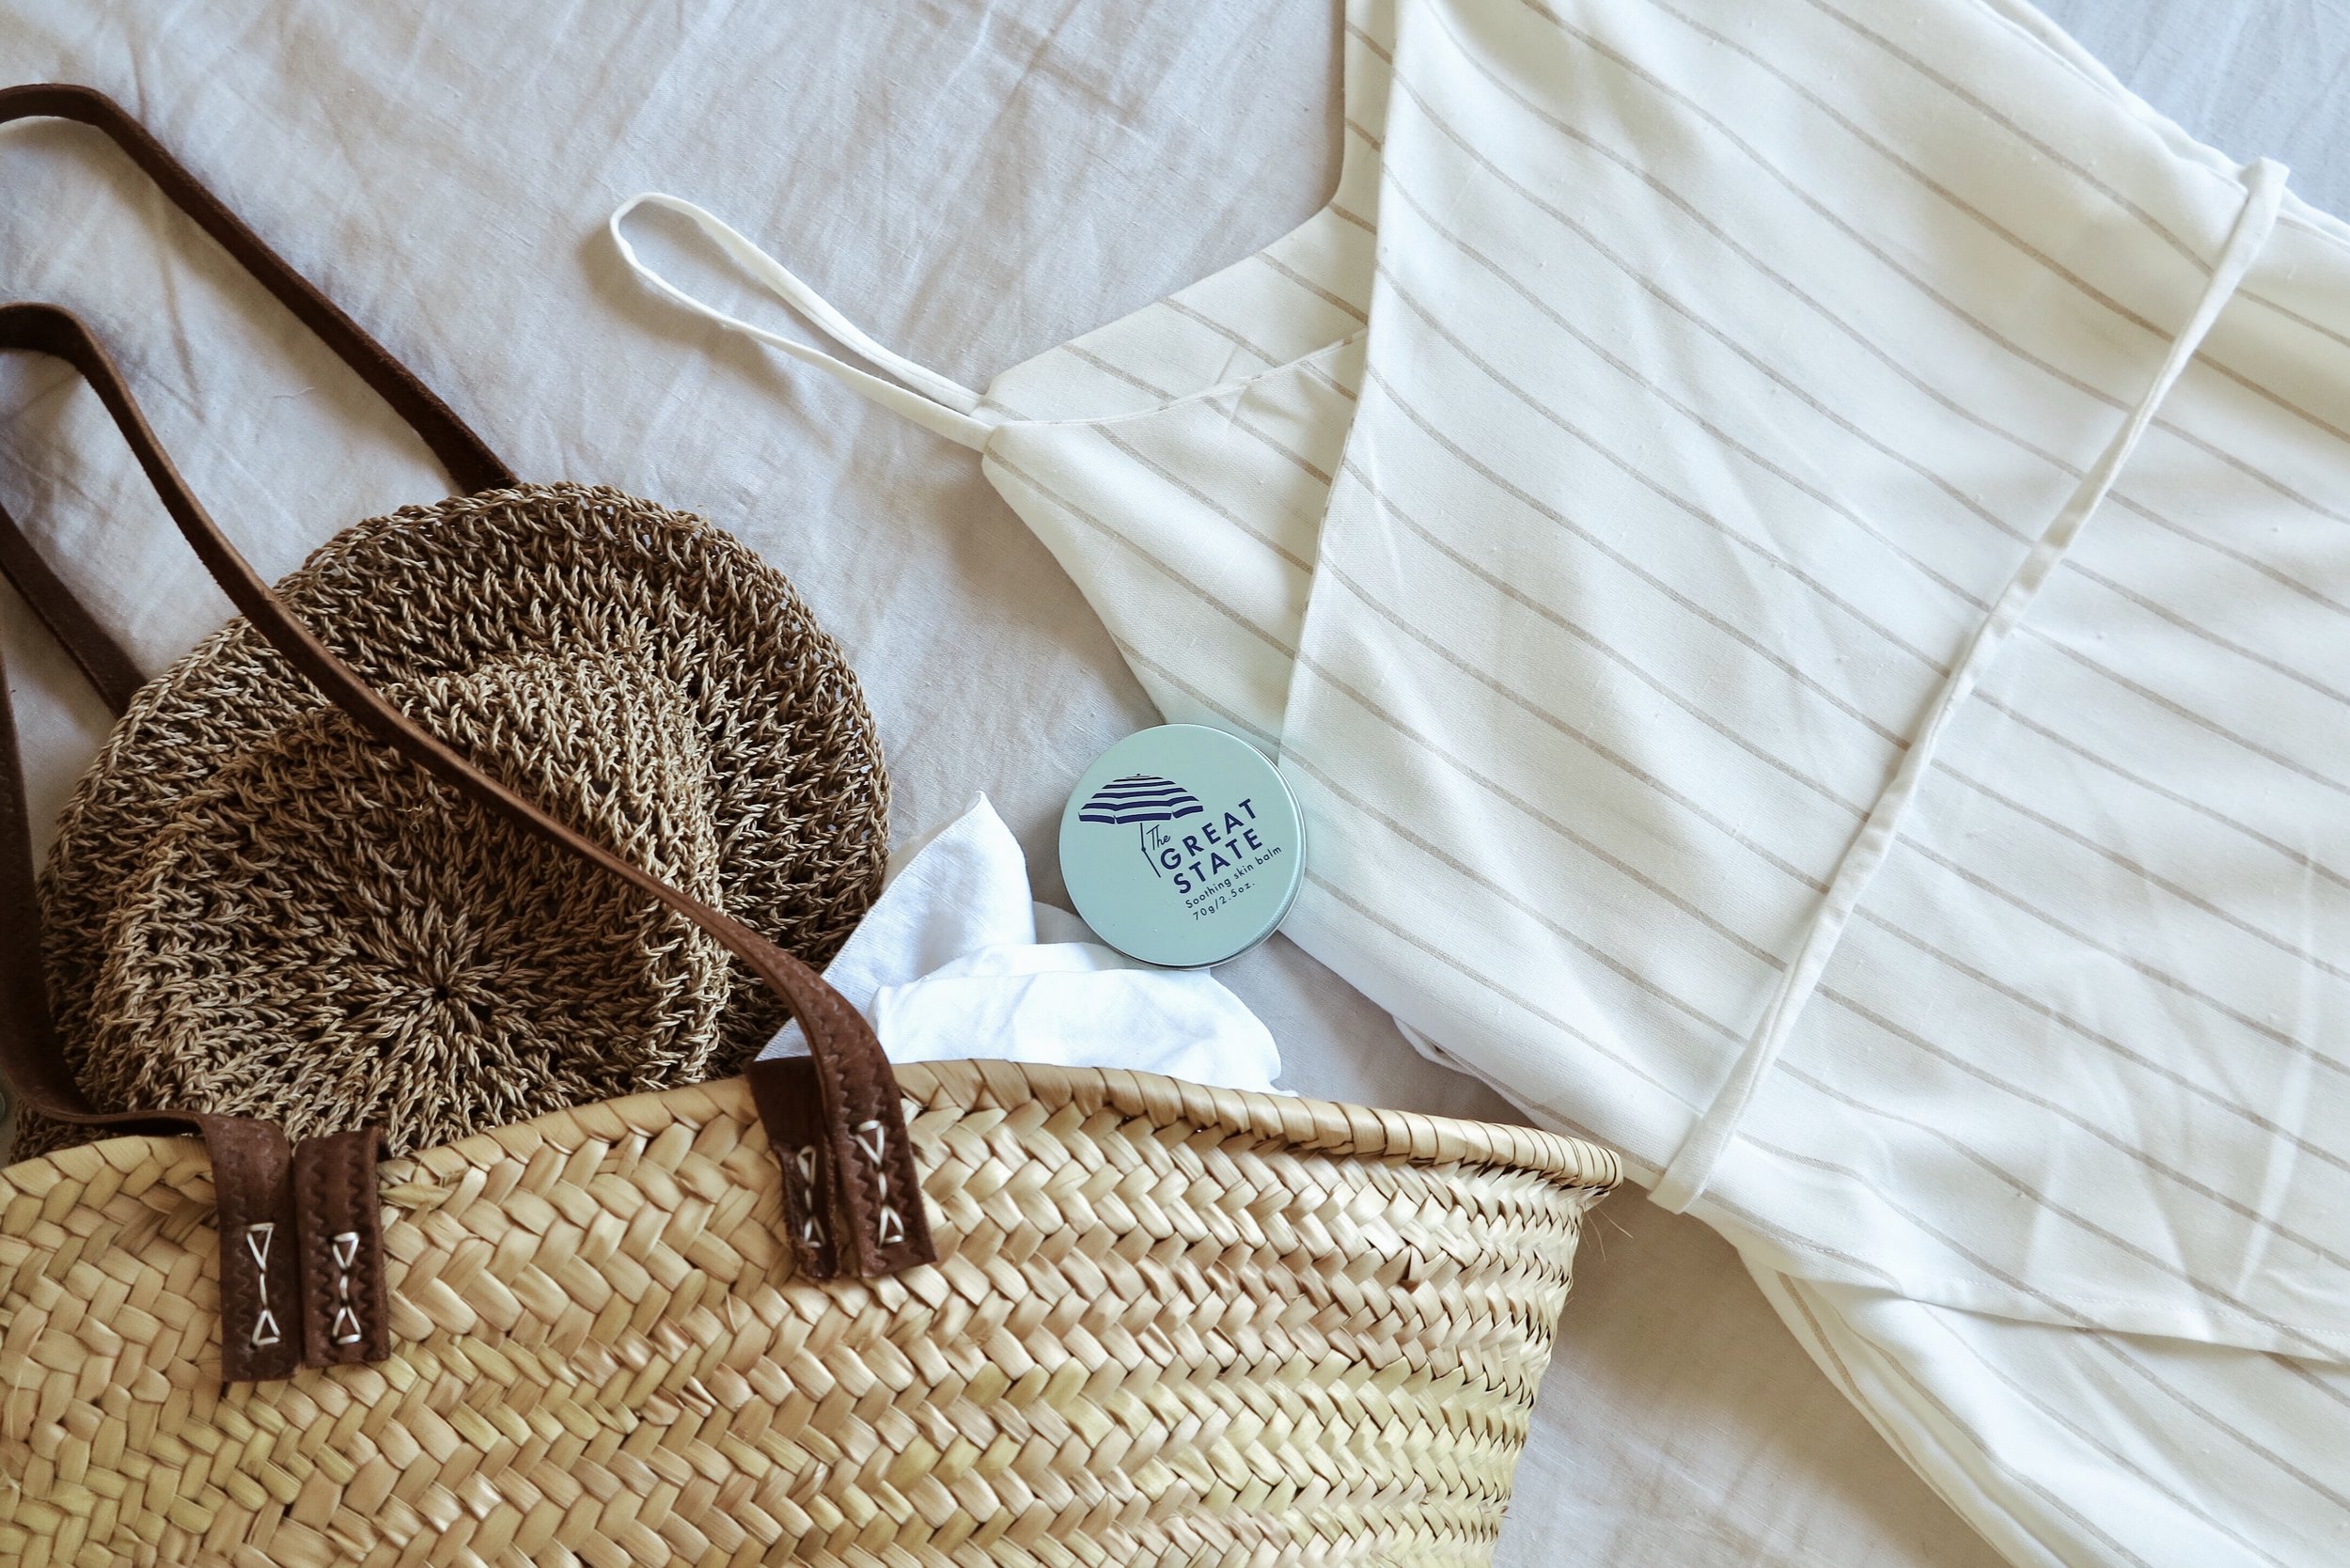
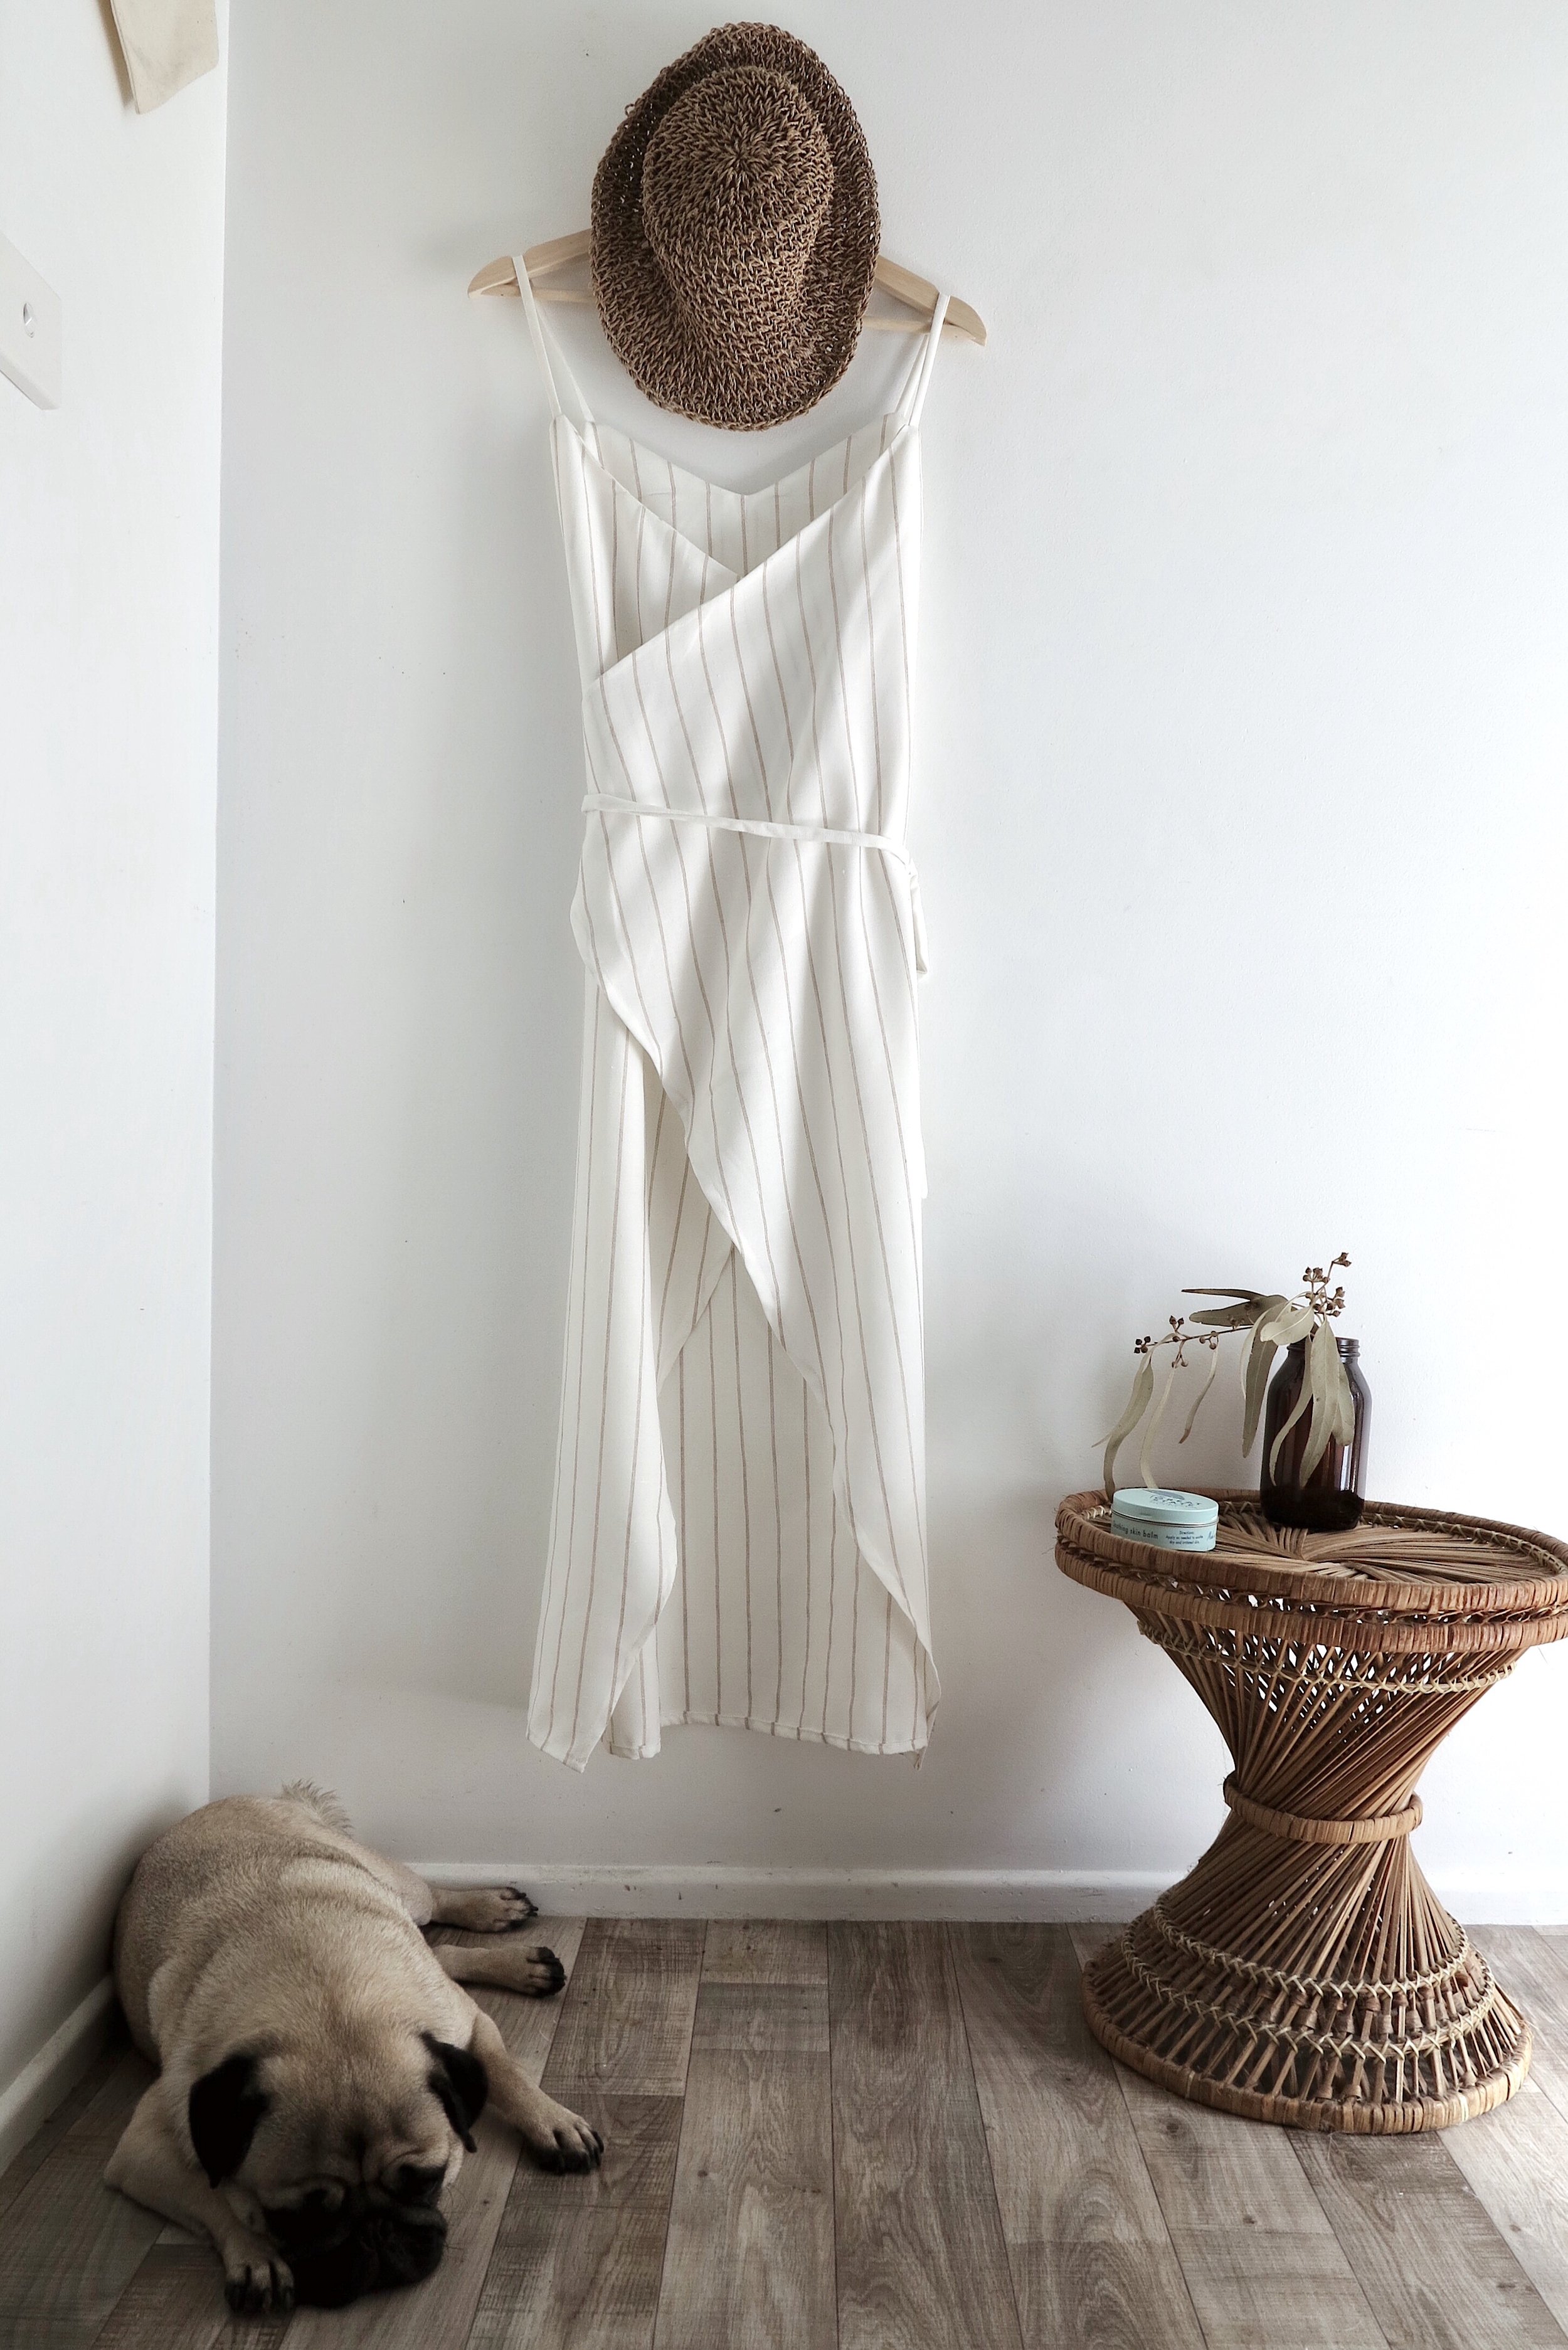
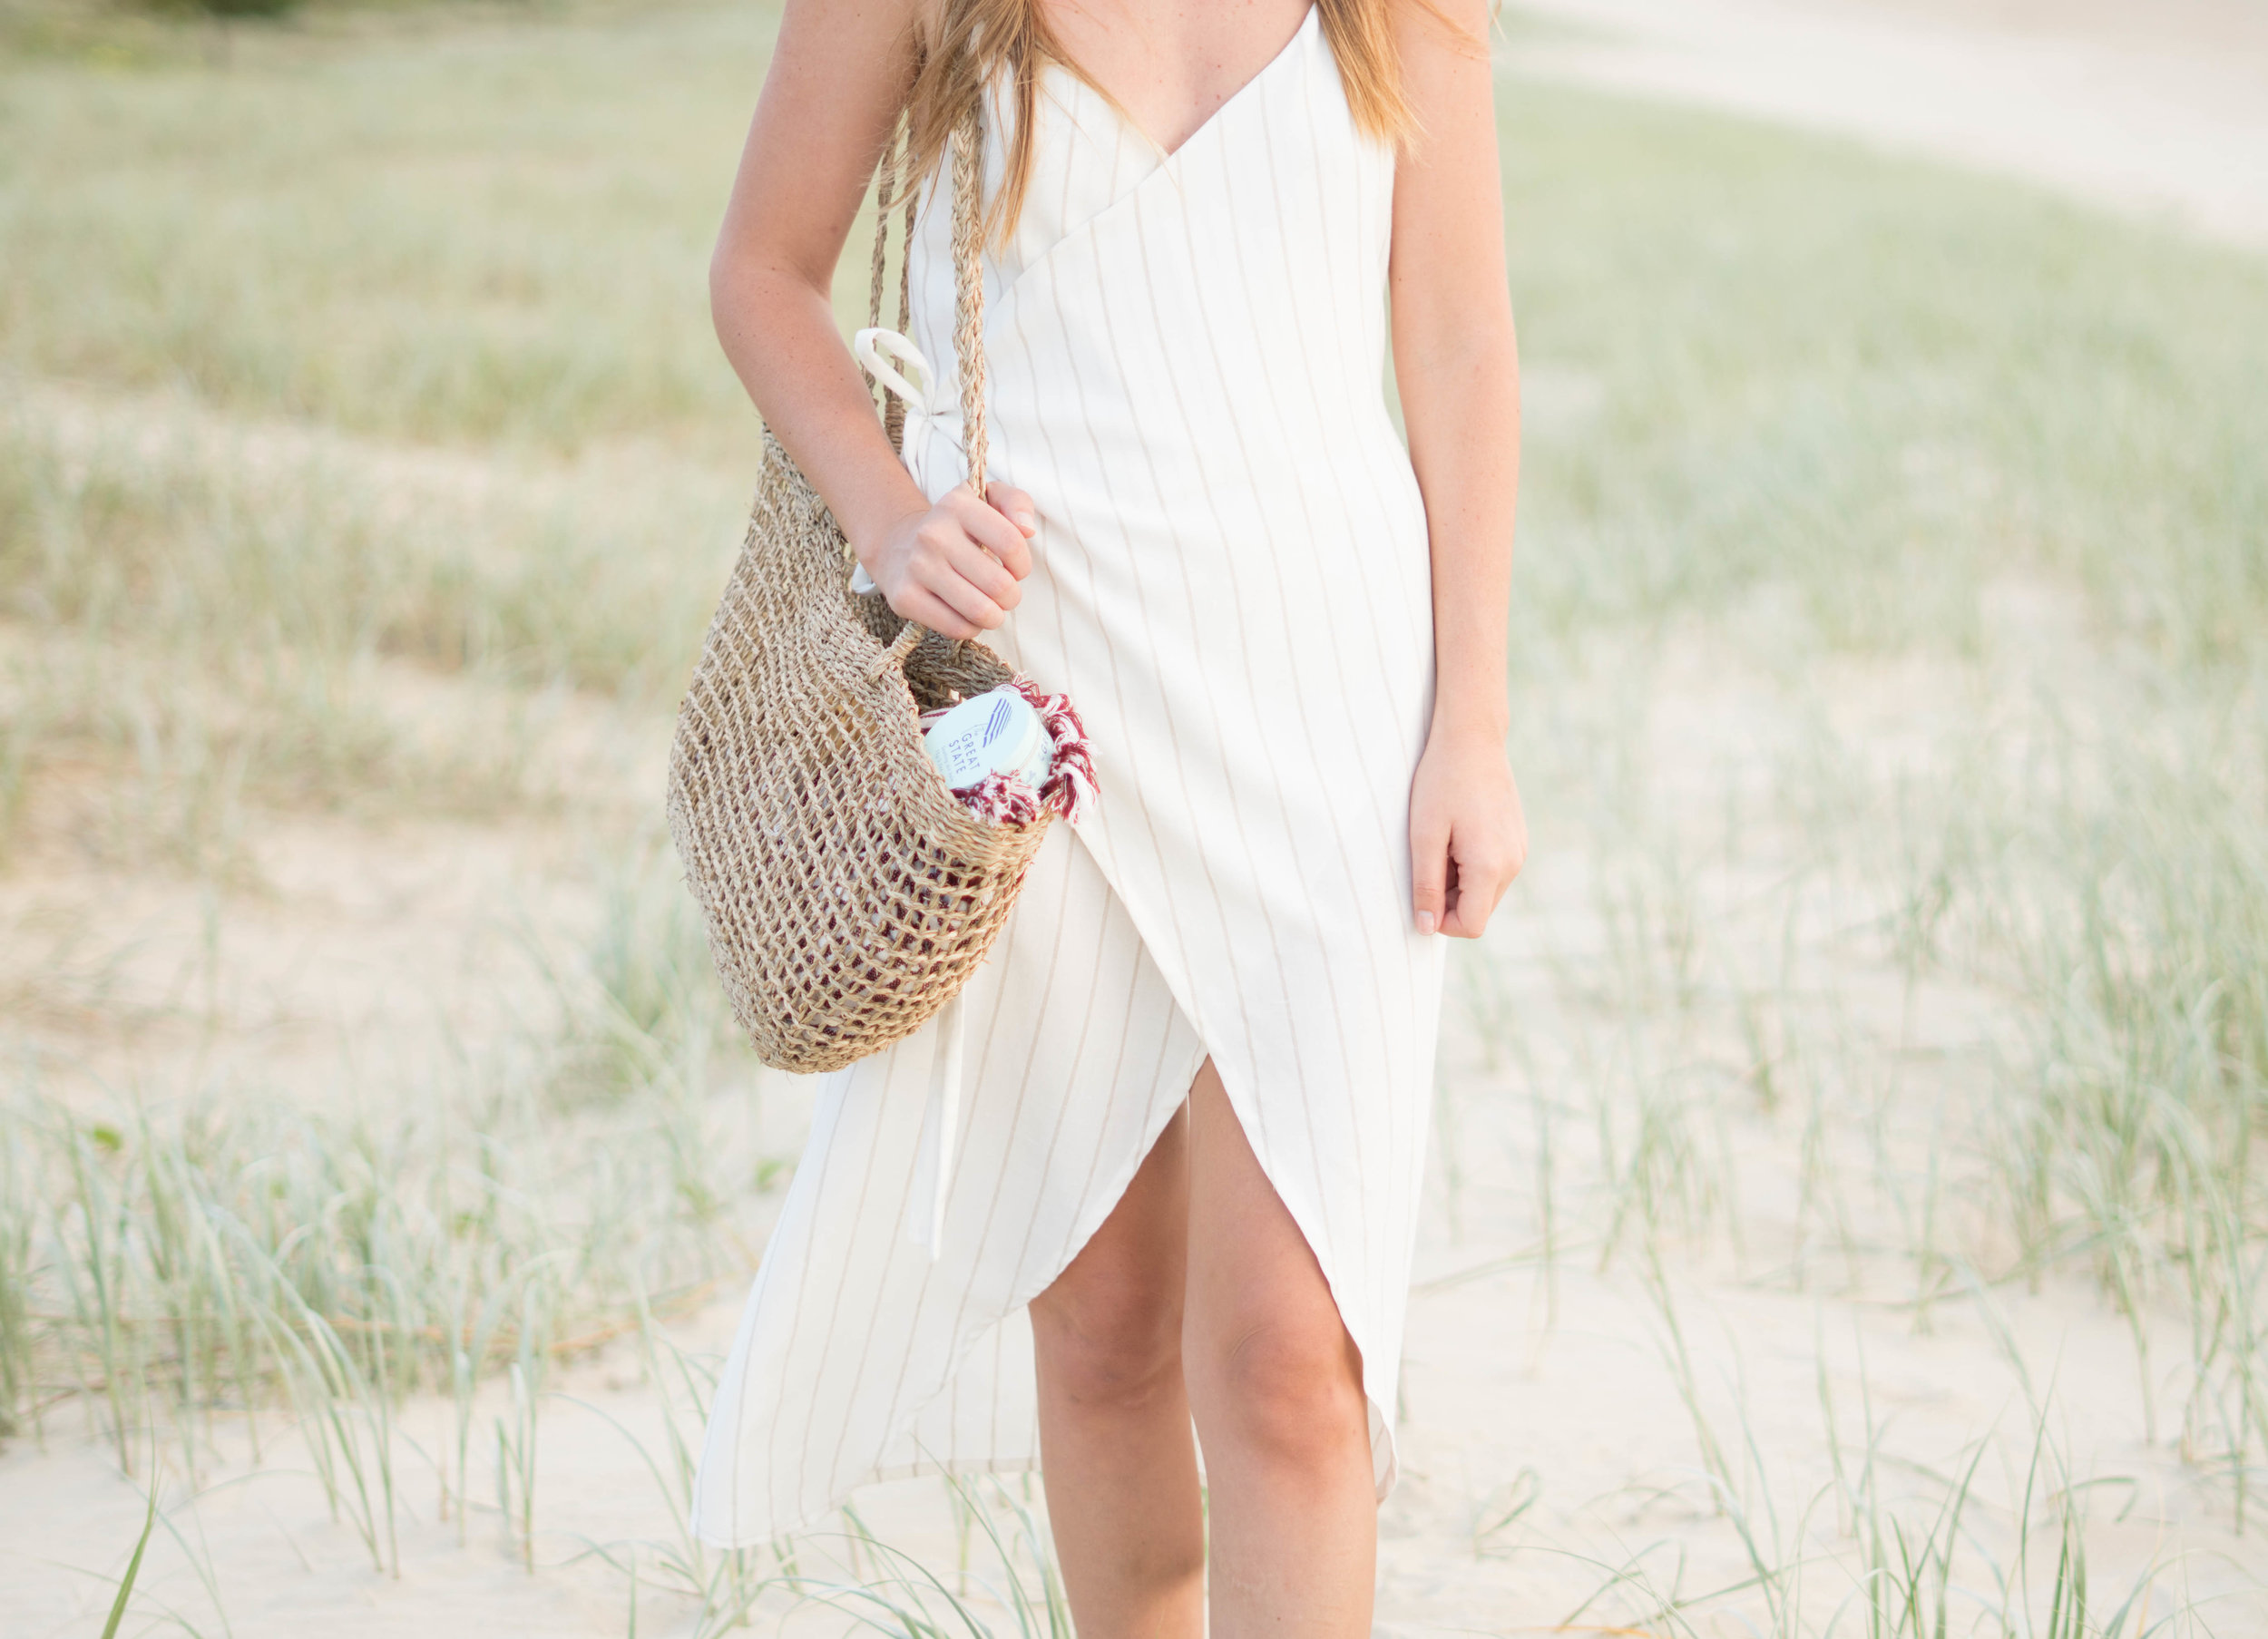
And there you have it! A beautiful minimal wrap dress. Now the fun begins. There's so many ways you can dress this up or down for whatever occasion.
hellooooo summer

Hope this was helpful! As always, let me know if you give this tutorial a go and how it turns out. Hashtag the outcome #essentialsclub on social media.