
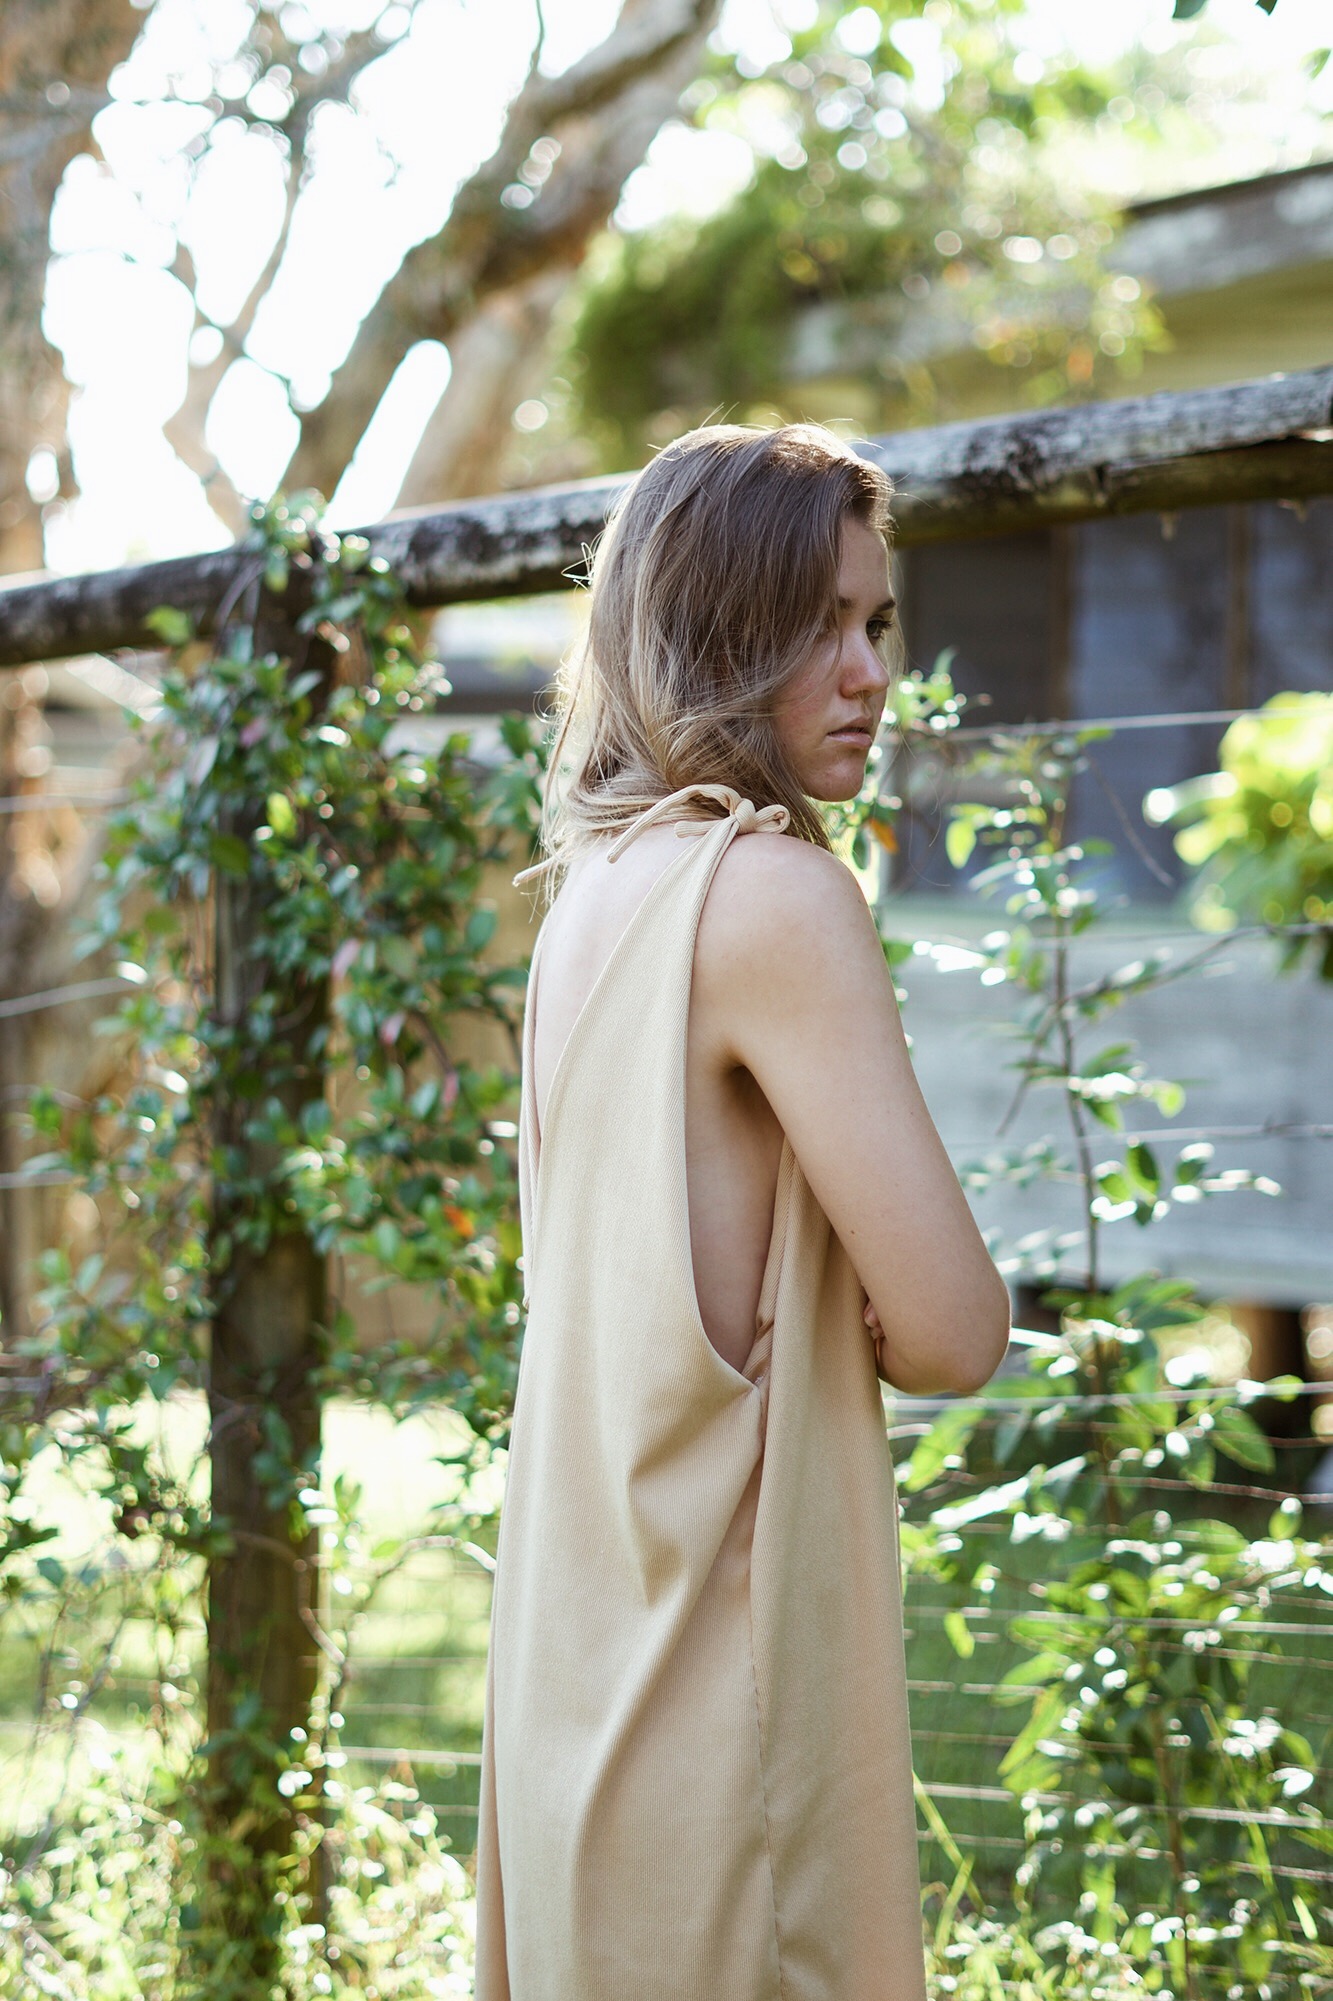
DIY: Shift Jumpsuit with Tie Straps

I'm calling it now, this jumpsuit is going to be my new summer go to. Will probably end up creating a handful more in different fabrics. (2020 update: I DID!)
It's just so comfy, super practical and can easily be styled up or down for whatever occasion. The steps are incredibly simple and once you nail one you'll be able to whip up as many as you please. If you choose to do the tie feature it does require a bit of fabric due to the extended straps.
Let me know how it ends up if you give it a go!
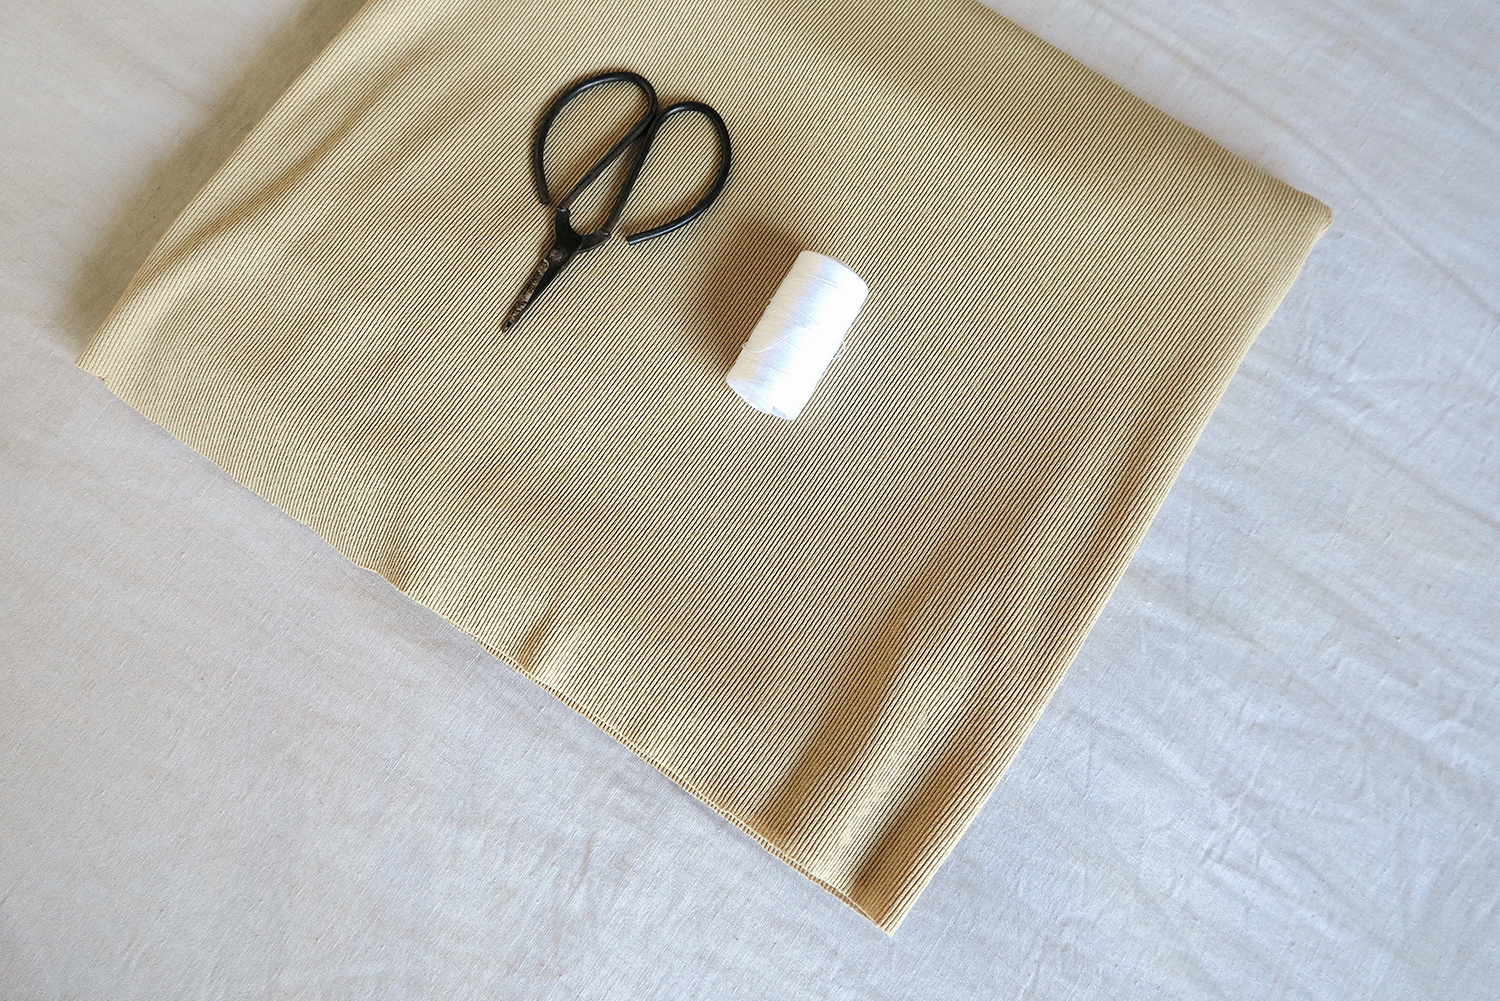
The Essentials
- Light/flowy Fabric
- Reference shorts
- Tape Measure
- Fabric Chalk
- Thread & matching bobbin
- Fabric Scissors
- Sewing Machine
Suggested Fabric Amount Required (based off mini length):
Size Extra Small = 1.5m (off the roll)
Size Small = 1.75m (off the roll)
Size Medium = 2m (off the roll)
Size Large = 2.25m (off the roll)
Size Extra Large = 2.5m (off the roll)
(add or take 0.25 metres for anything larger or smaller than these sizes)
Steps.
01

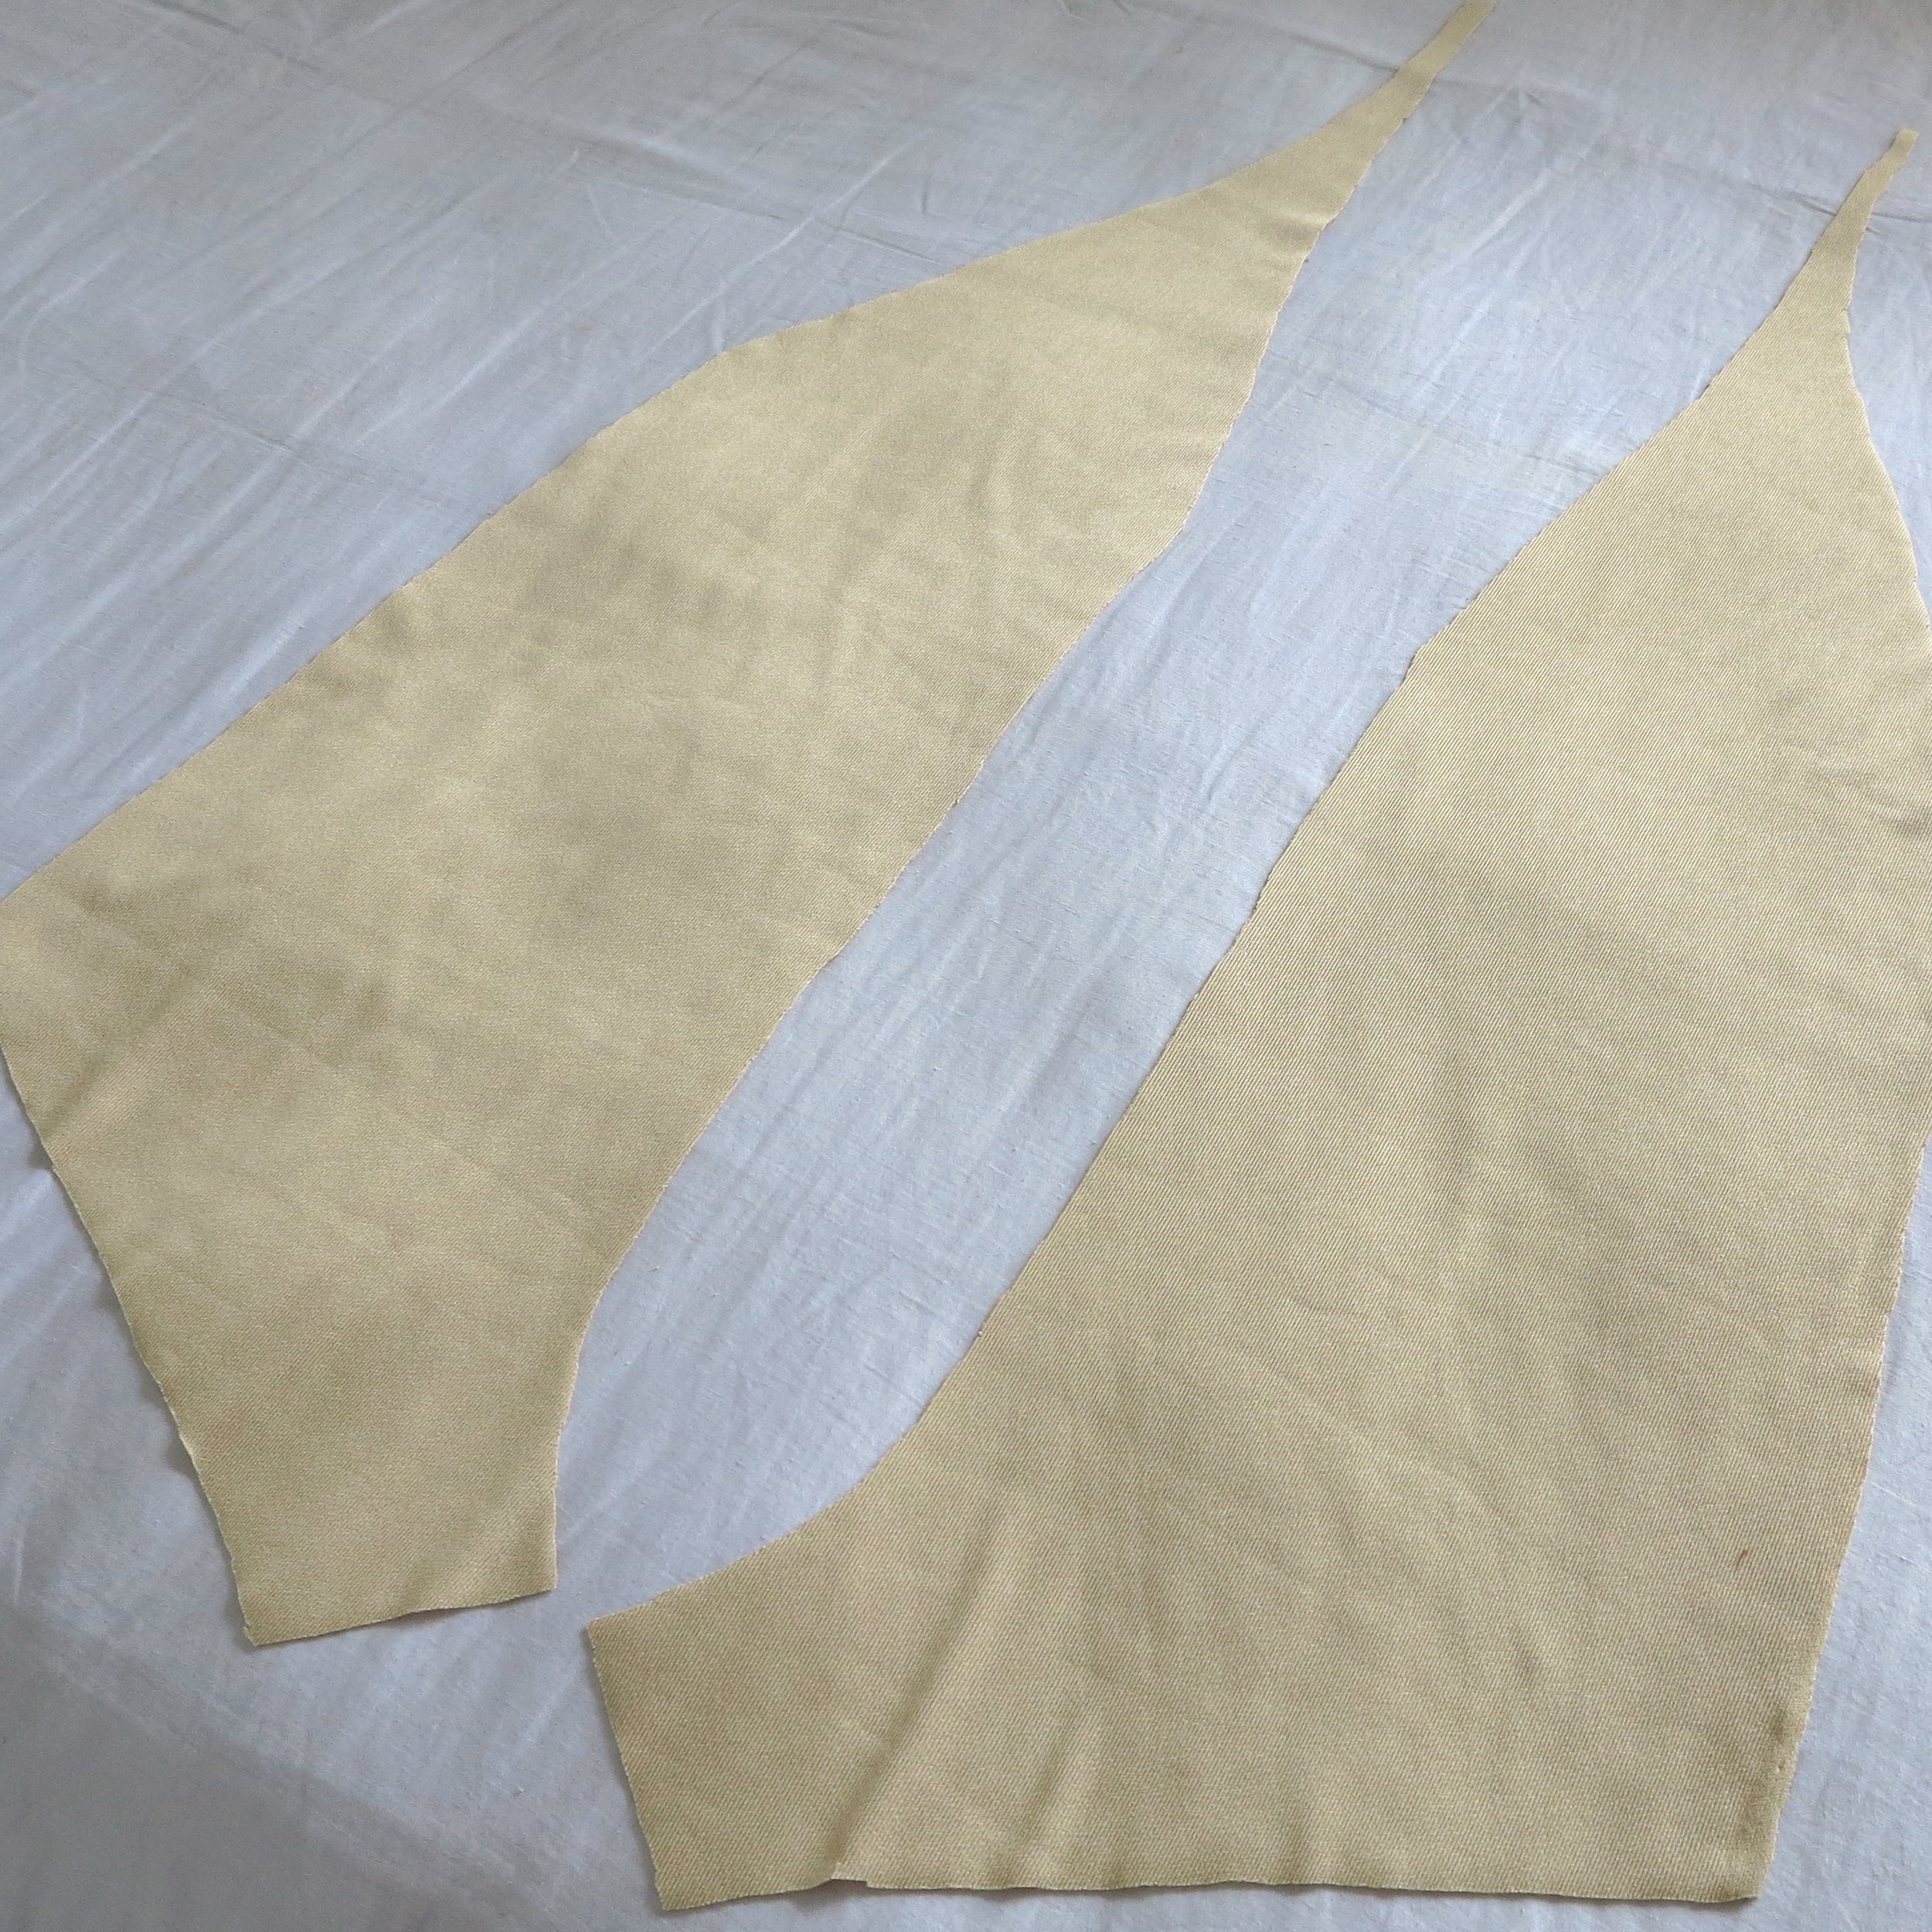
Cut four panels using additions onto reference shorts (detailed breakdown in tutorial video for measurements).
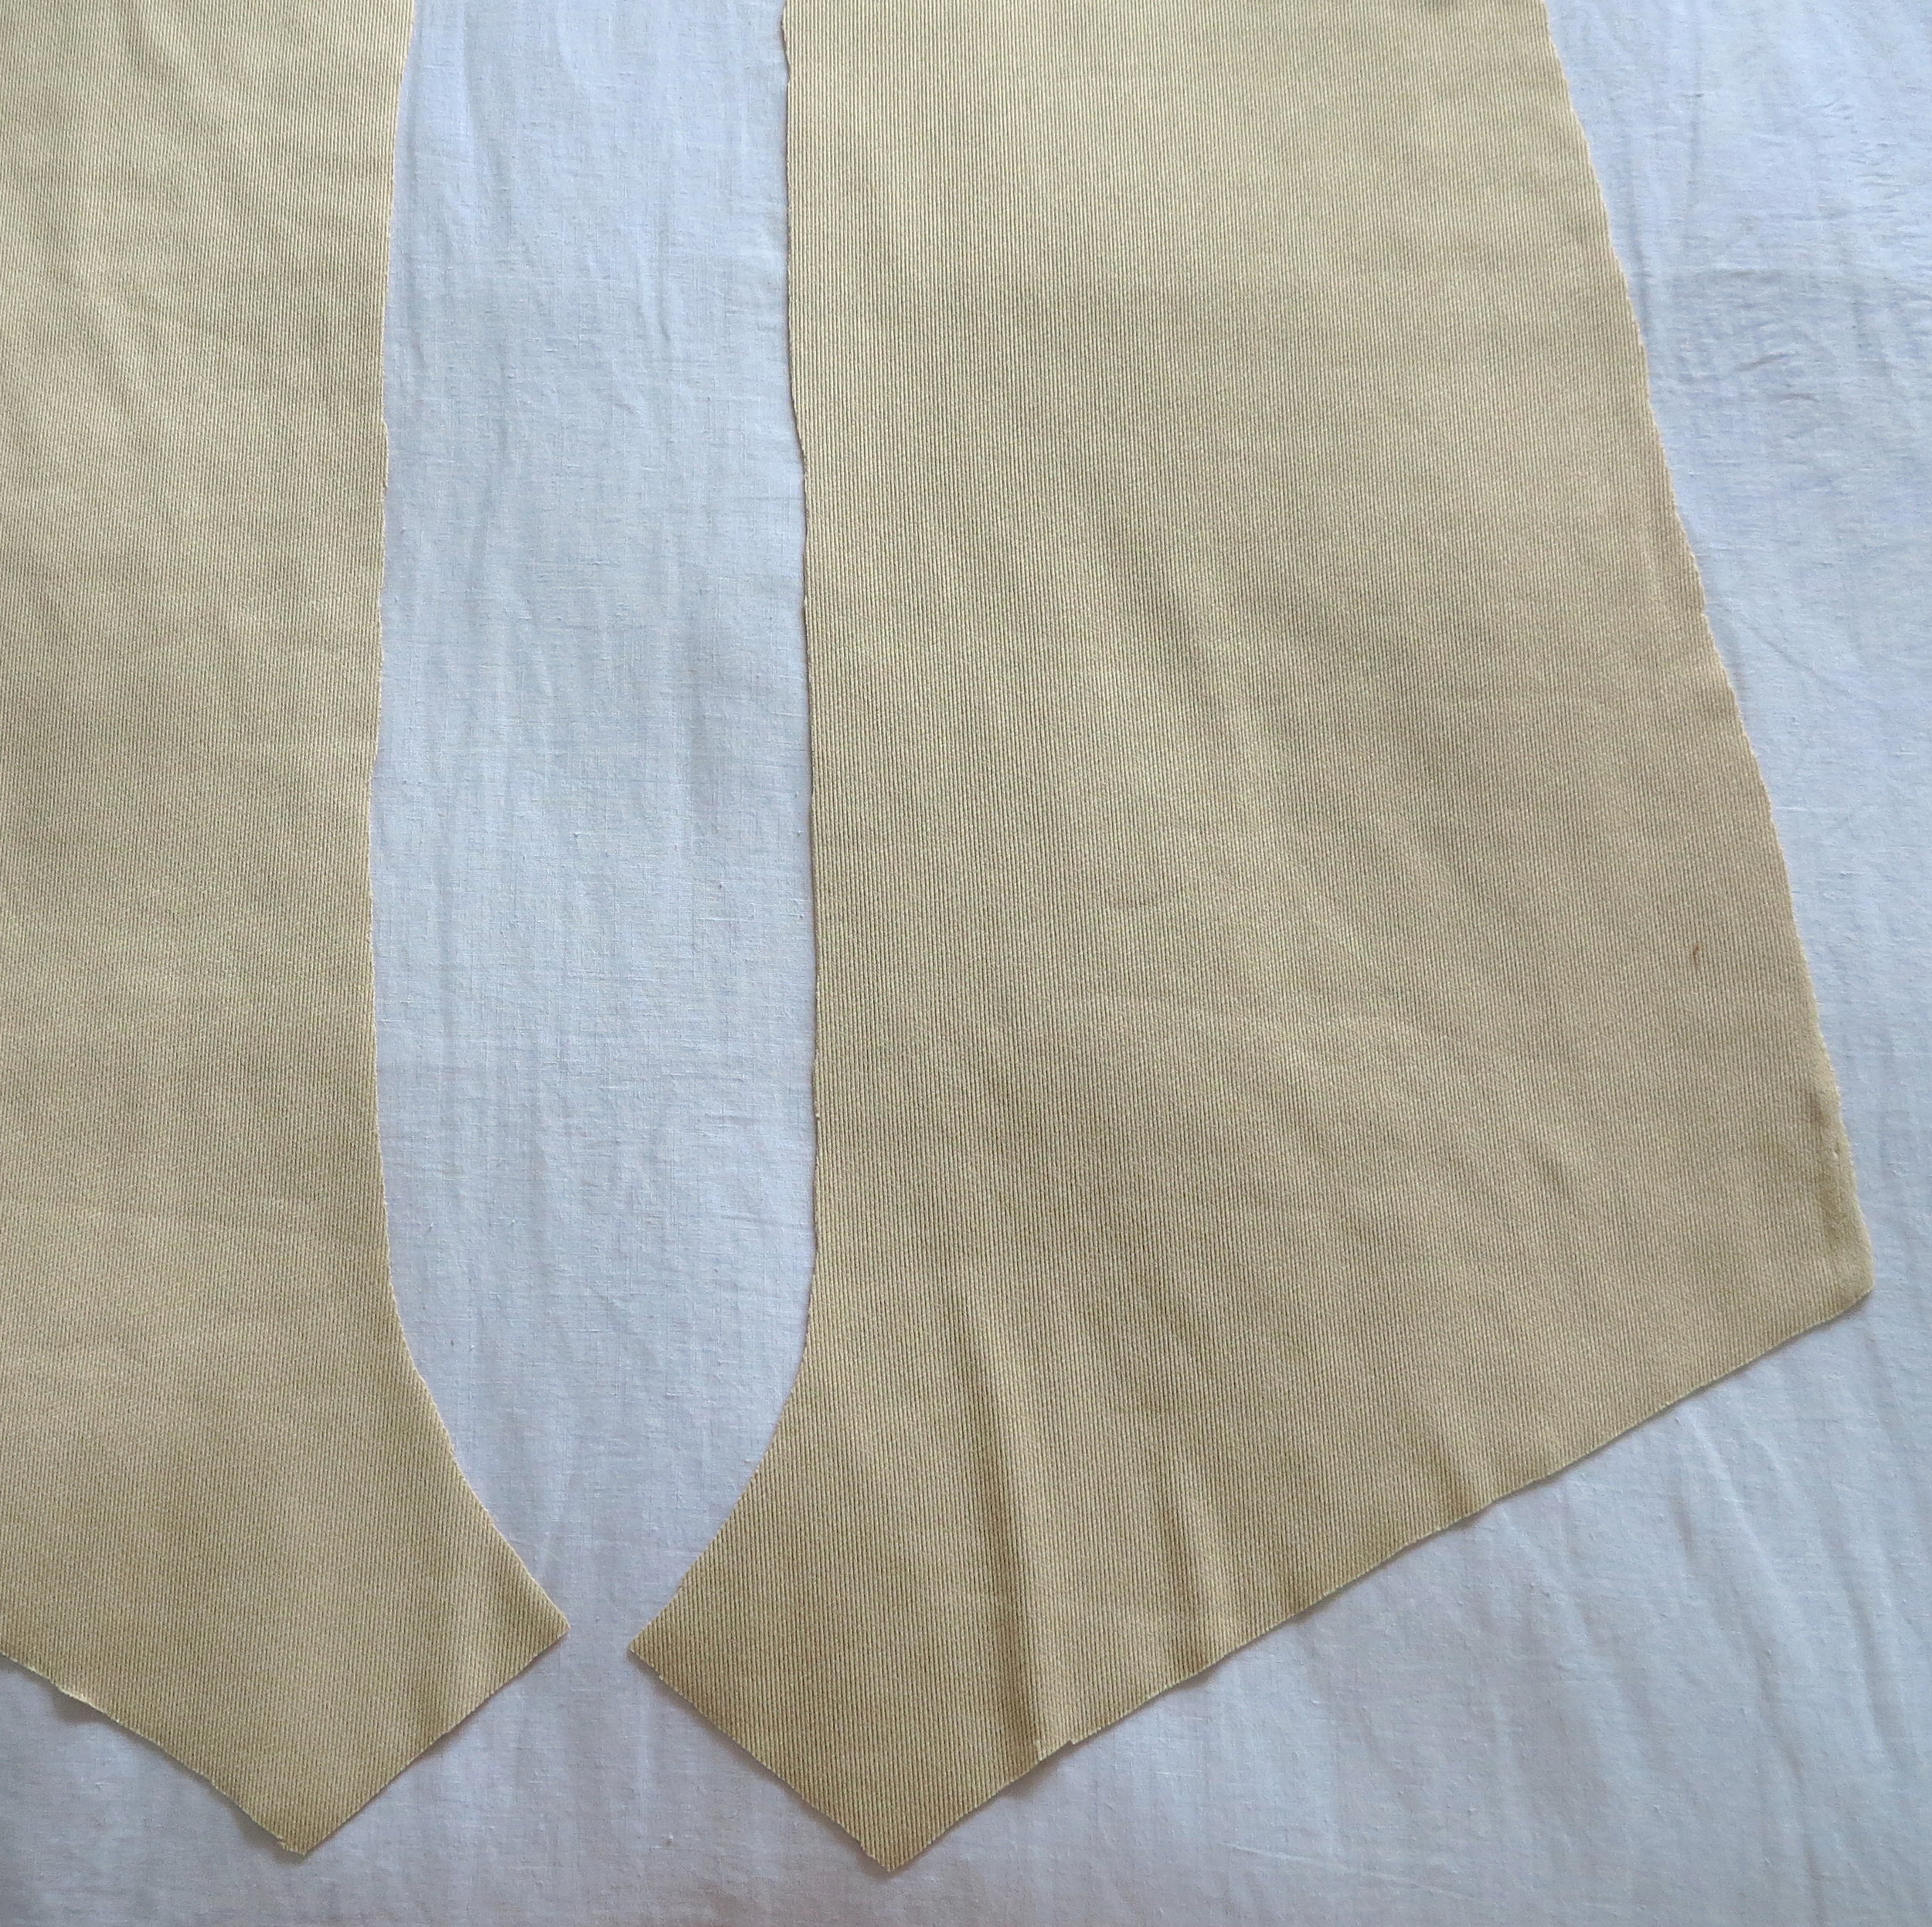
02
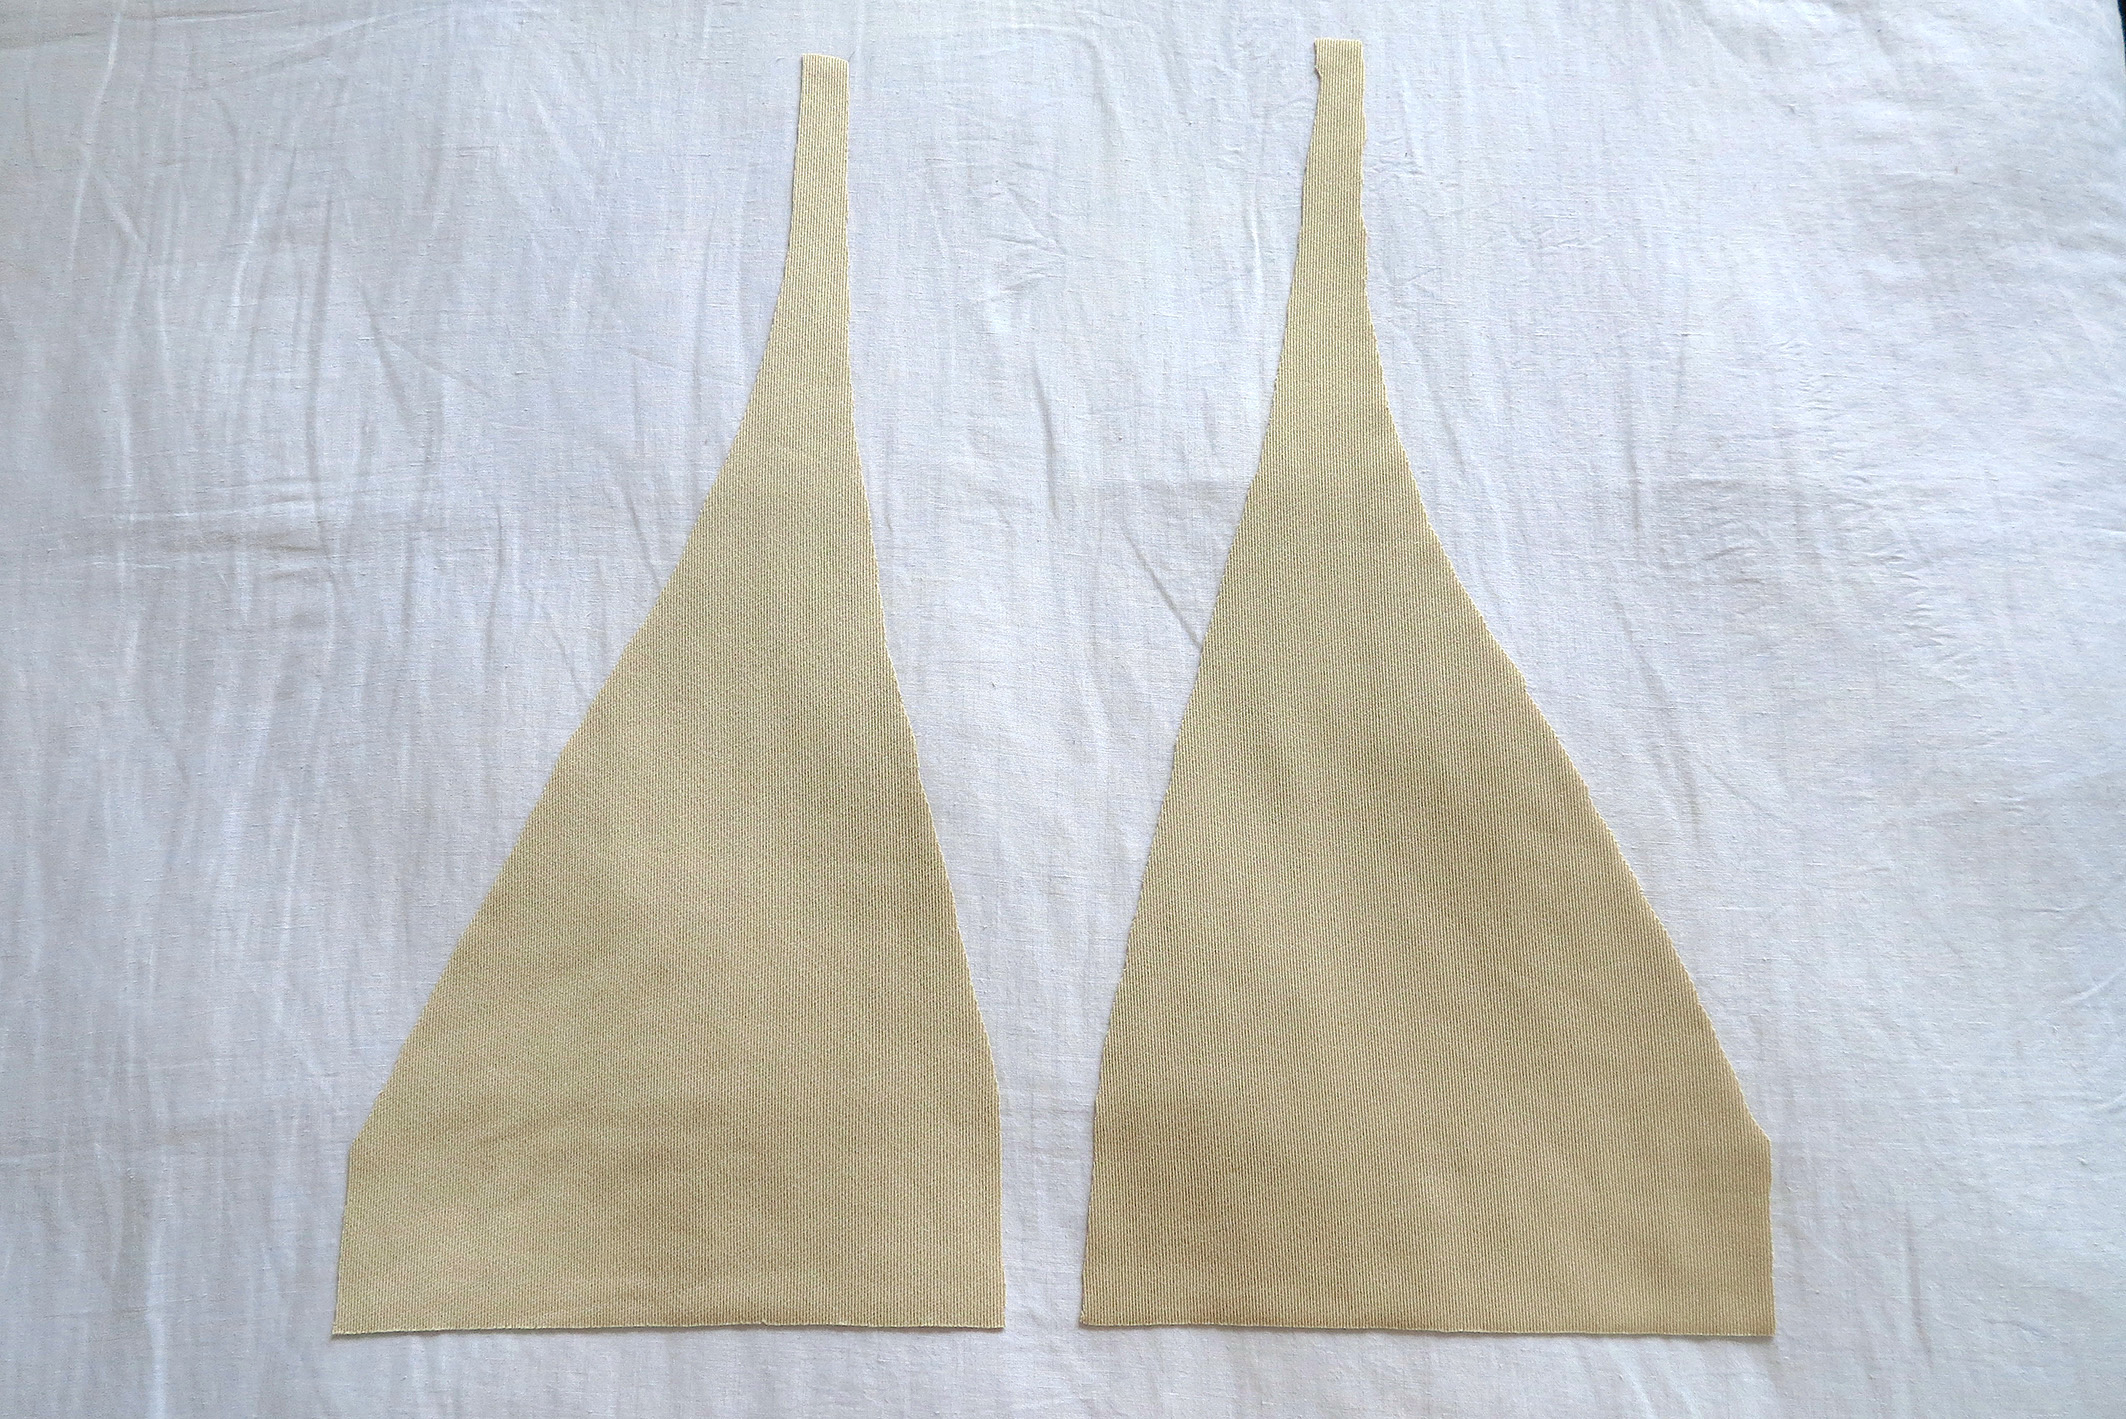
To create the interfacing, cut another four panels that are a replica of the top half of each main panel (or at least covers the bust areas).
Match each of these to their main panel pair and sew with good sides facing.
Now the interfacing is attached to each panel, turn them so the good sides are facing out. And begin to assemble the jumpsuit.
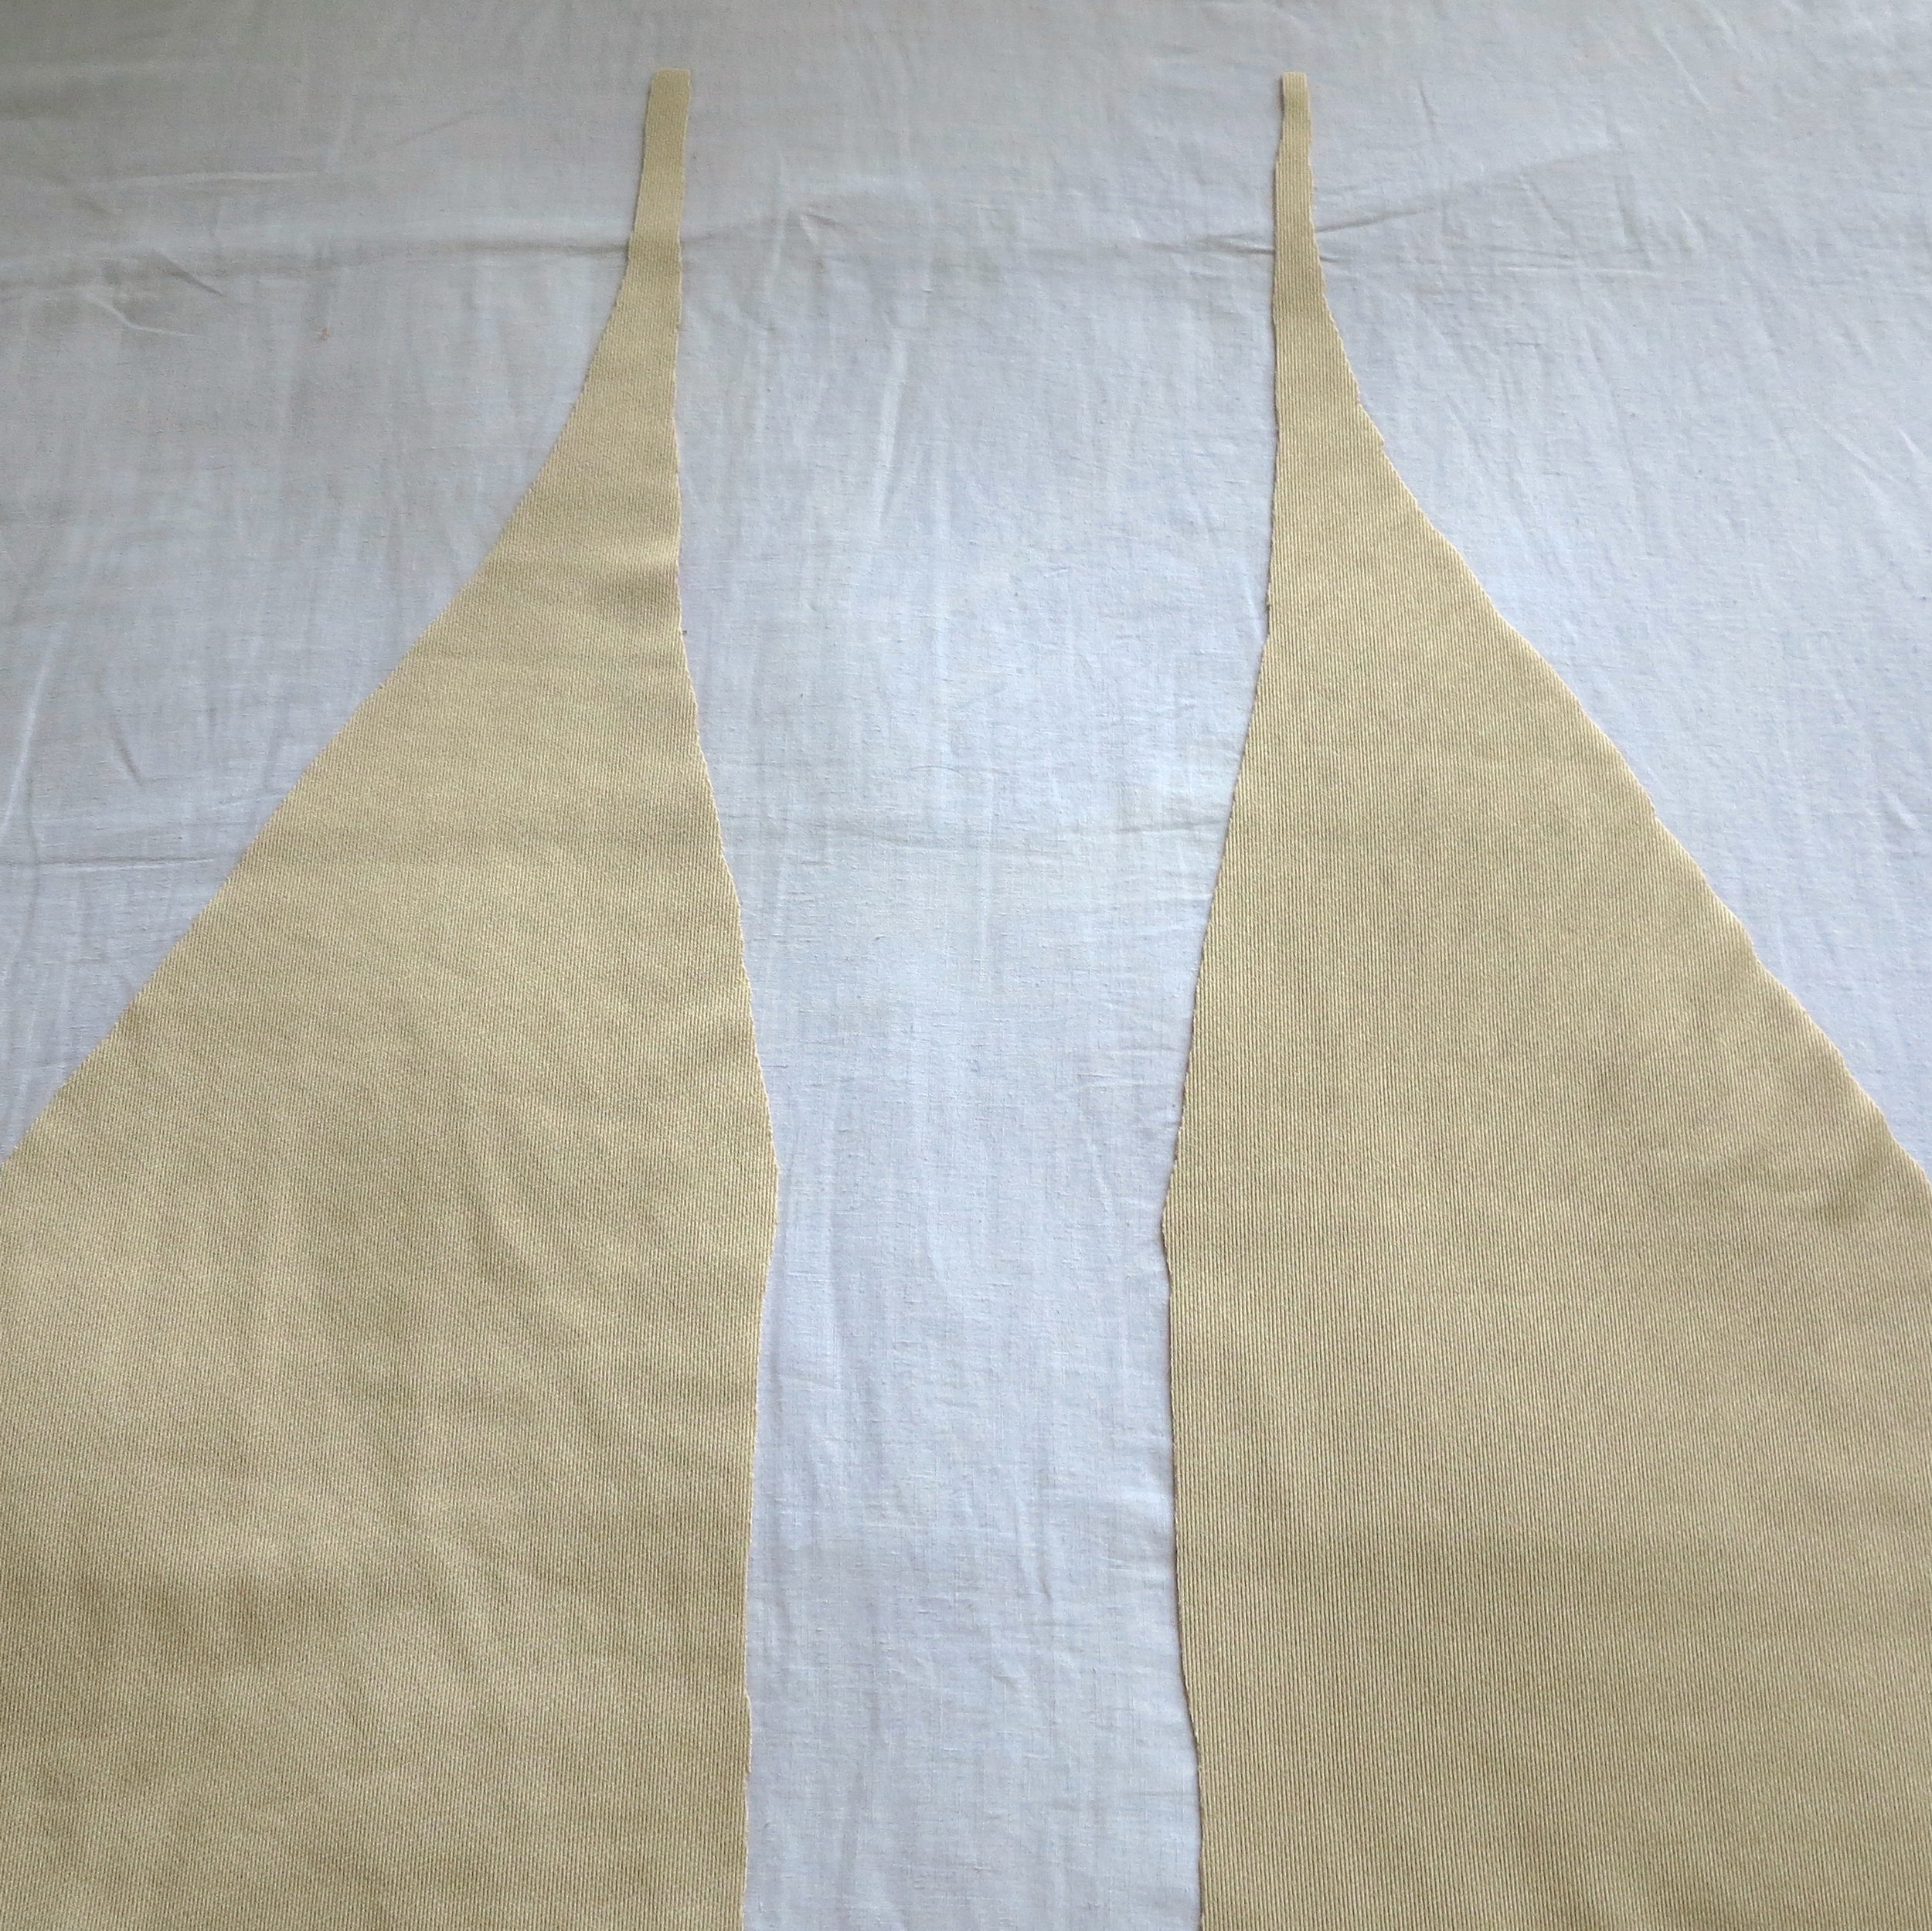
03
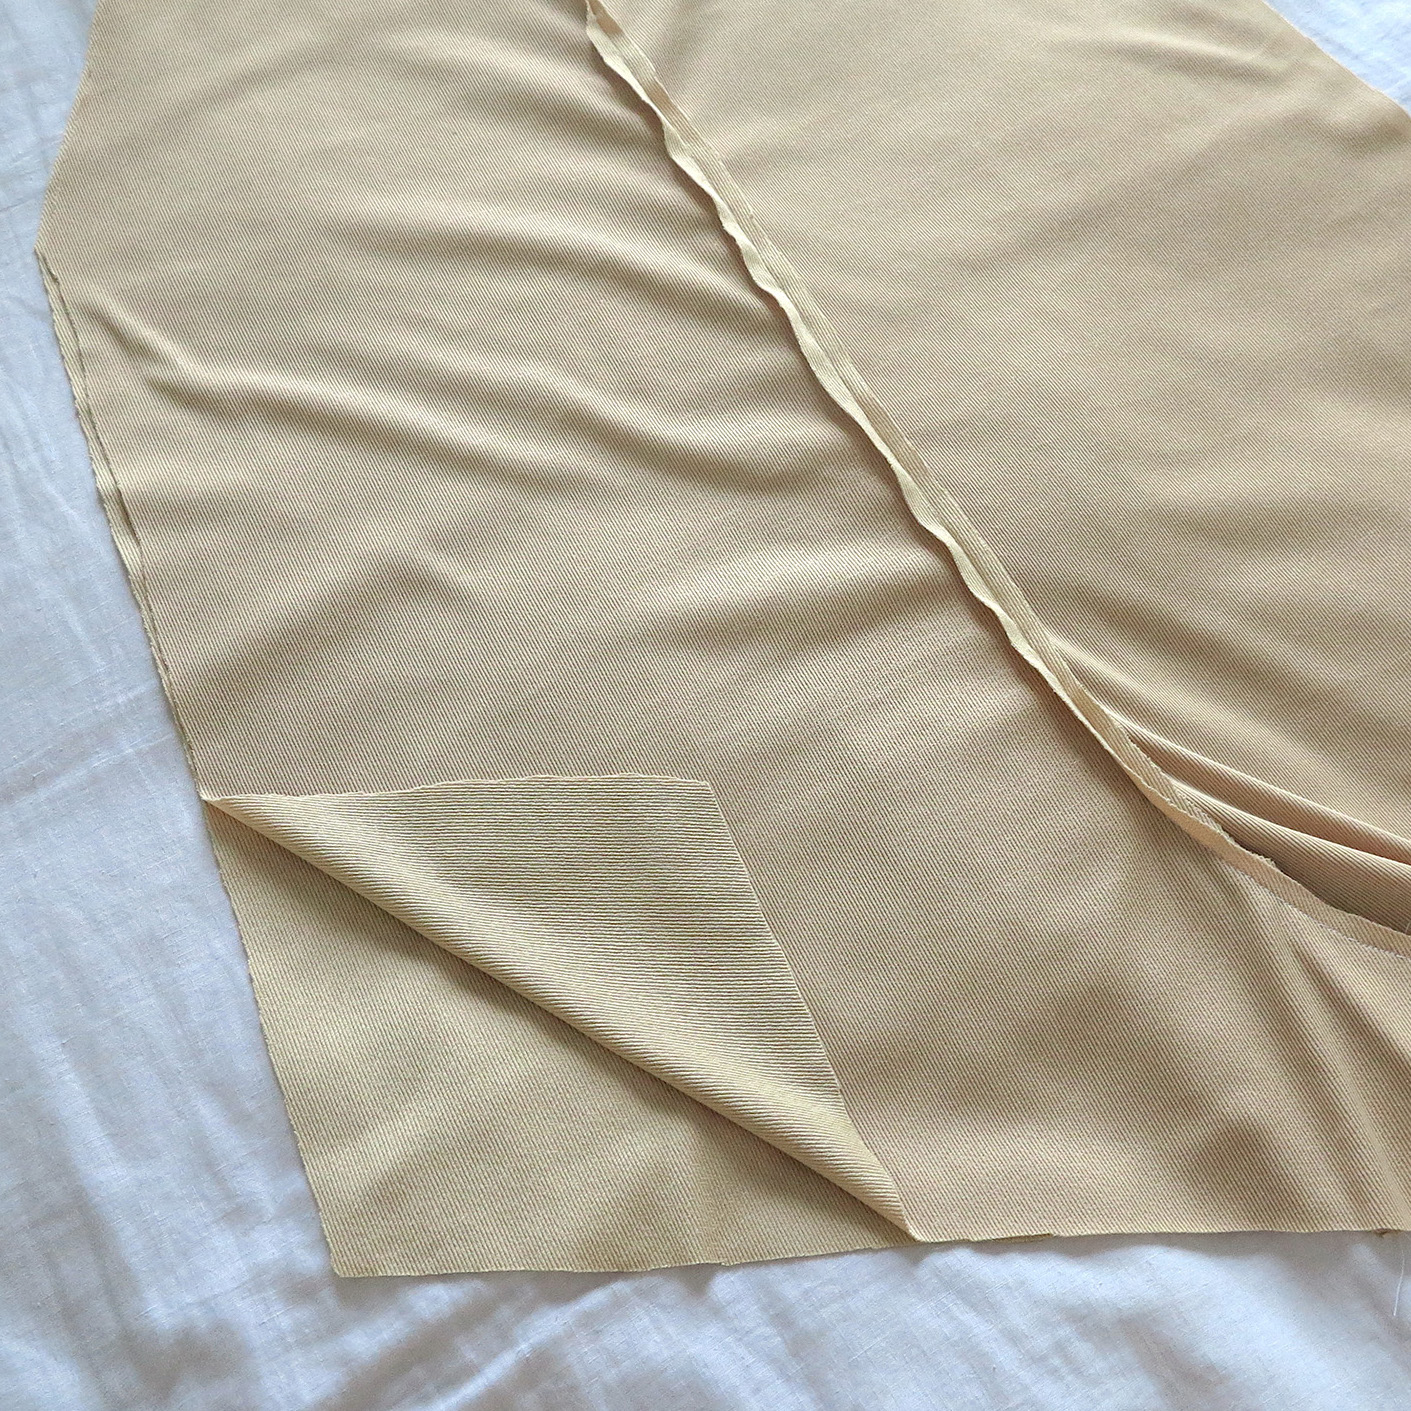

First face two matching main panels with the good sides facing and sew down the centre seam (that leads down to the crotch). Repeat for the other pair.
Unfold these, then place front section laying down with the good sides facing up and the back side down on top of this with the good sides facing. Sew down the side and crotch seams to join front and back sections.
Do one last try on and make any final adjustments to the fit and finish the bottom hem as you wish (either leave frayed or double fold for a clean finish)
Checkout the more detailed tutorial in the below video!
(the original make // circa 2017)


If you wish to show your appreciation for this tutorial and support the future of this blog,
any donation is welcome through the below link :)
Hope this was helpful! As always, let me know if you give this tutorial a go and how it turns out. Hashtag the outcome #essentialsclub on social media.