
DIY: Basket Lampshade Collab

Hi guys! It’s Jaharn from Your Creative Start here. I’m popping into The Essentials Club today to show you a Before & After interiors project Jason (my fiancée) and I got stuck into over a rainy weekend recently. Before I show you the steps, let me take you back a little bit.

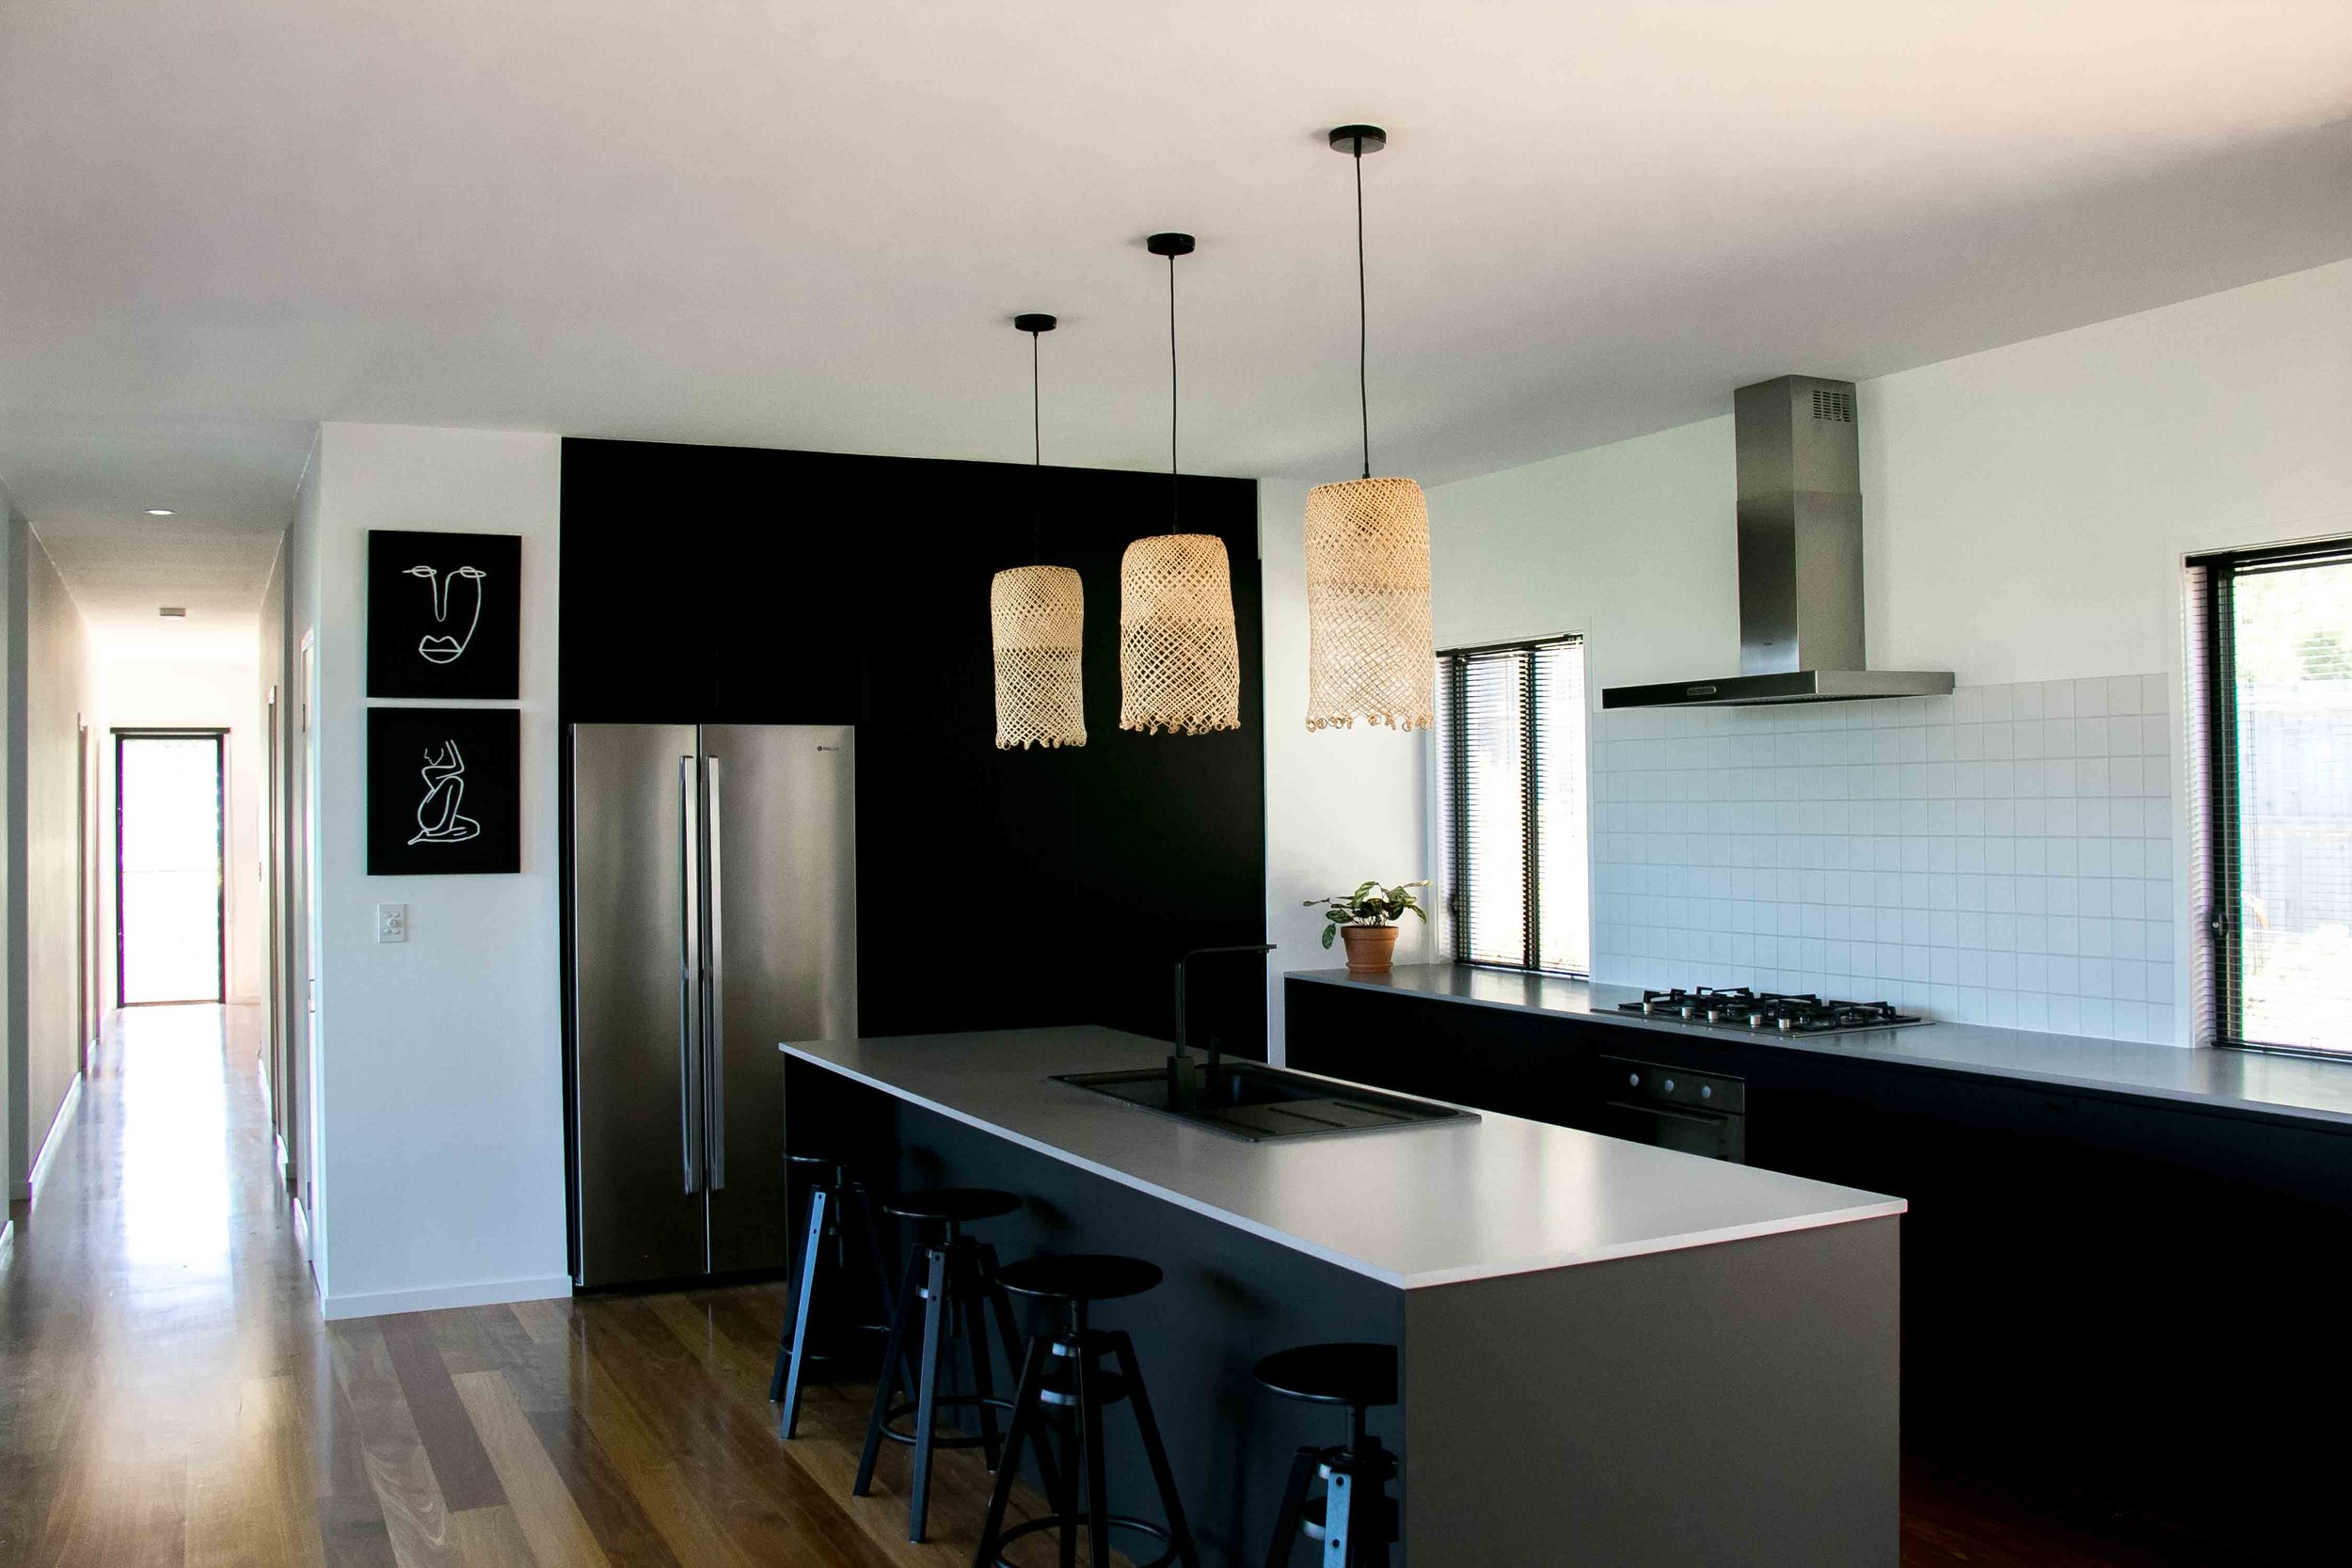
After a year of paper work, loan approvals, planning, designing and building our dream home – all whilst I was pregnant and running my business – we finally moved into our home at Sunrise Beach in May last year. Our home is what you would call a minimalist beach house with lots of natural light (we have a ridiculous number of windows and on rainy days it still feels bright and happy). The exterior is painted white, with timber cladding, raw concrete rendering, black garage door and black window frames. The entrance to the driveway is covered in stone, so it’s nice to have a bit of mid-century influences as well. The interior is completely uncomplicated – white square edge walls, high ceilings and matte polished timber floors. And our kitchen and bathrooms are quite masculine – black matte Fenix cabinetry (no handles) with Ceasarstone raw concrete benchtops. We had intended the bathrooms to have different cabinetry and benchtops but the carpenter messed up our order, and because we wanted to move in without further delays, we decided to stick with the black and raw concrete finishes in those spaces. Anyway…
After we moved in, we hadn’t anticipated the amount of work that goes into styling a home – plants, lamps, shelves, rugs, furniture, and of course, art. And because we are minimalists at heart (who had moved from a tiny two-bedroom apartment where we didn’t bring any of the furniture with us) we knew we didn’t want to fill our house with ‘things’ that were trendy or seasonal.
Constantly replacing prints and plants and bedding and rugs can get expensive, and we’d rather travel with that money to be honest! So, we have carefully, and slowly, added elements to the space and by pure chance, my great uncle (who is an artist) gifted us with some of his most loved pieces. We invested in getting them reframed using natural timber and chose one of his pieces for the kitchen.
This is where I learned a big lesson with interiors – whilst art can be incredible, it won’t always suit the space you intend it for. We tried to make my uncles piece of art work in the kitchen, however it ended up giving me a lot of angst because I started to hate the space. It made me second guess our choices for the cabinetry and benchtops; not the best feeling. Something just wasn’t working and I knew it was the art combined with our black wire pendant lights. I knew a natural material, such as timber, or rattan, or cane would work well for the pendant lights, but I didn’t want to spend an arm and a leg. The joys of owning your own home…everything is so expensive! So, after speaking to my interior savvy friend Elle, and buying some fresh art and baskets from my friends’ store Hello Trader, I knew I had a solution. So, if you are looking for a quick and easy DIY that will transform your space – this is the one.
Make The Lampshades
The Essentials
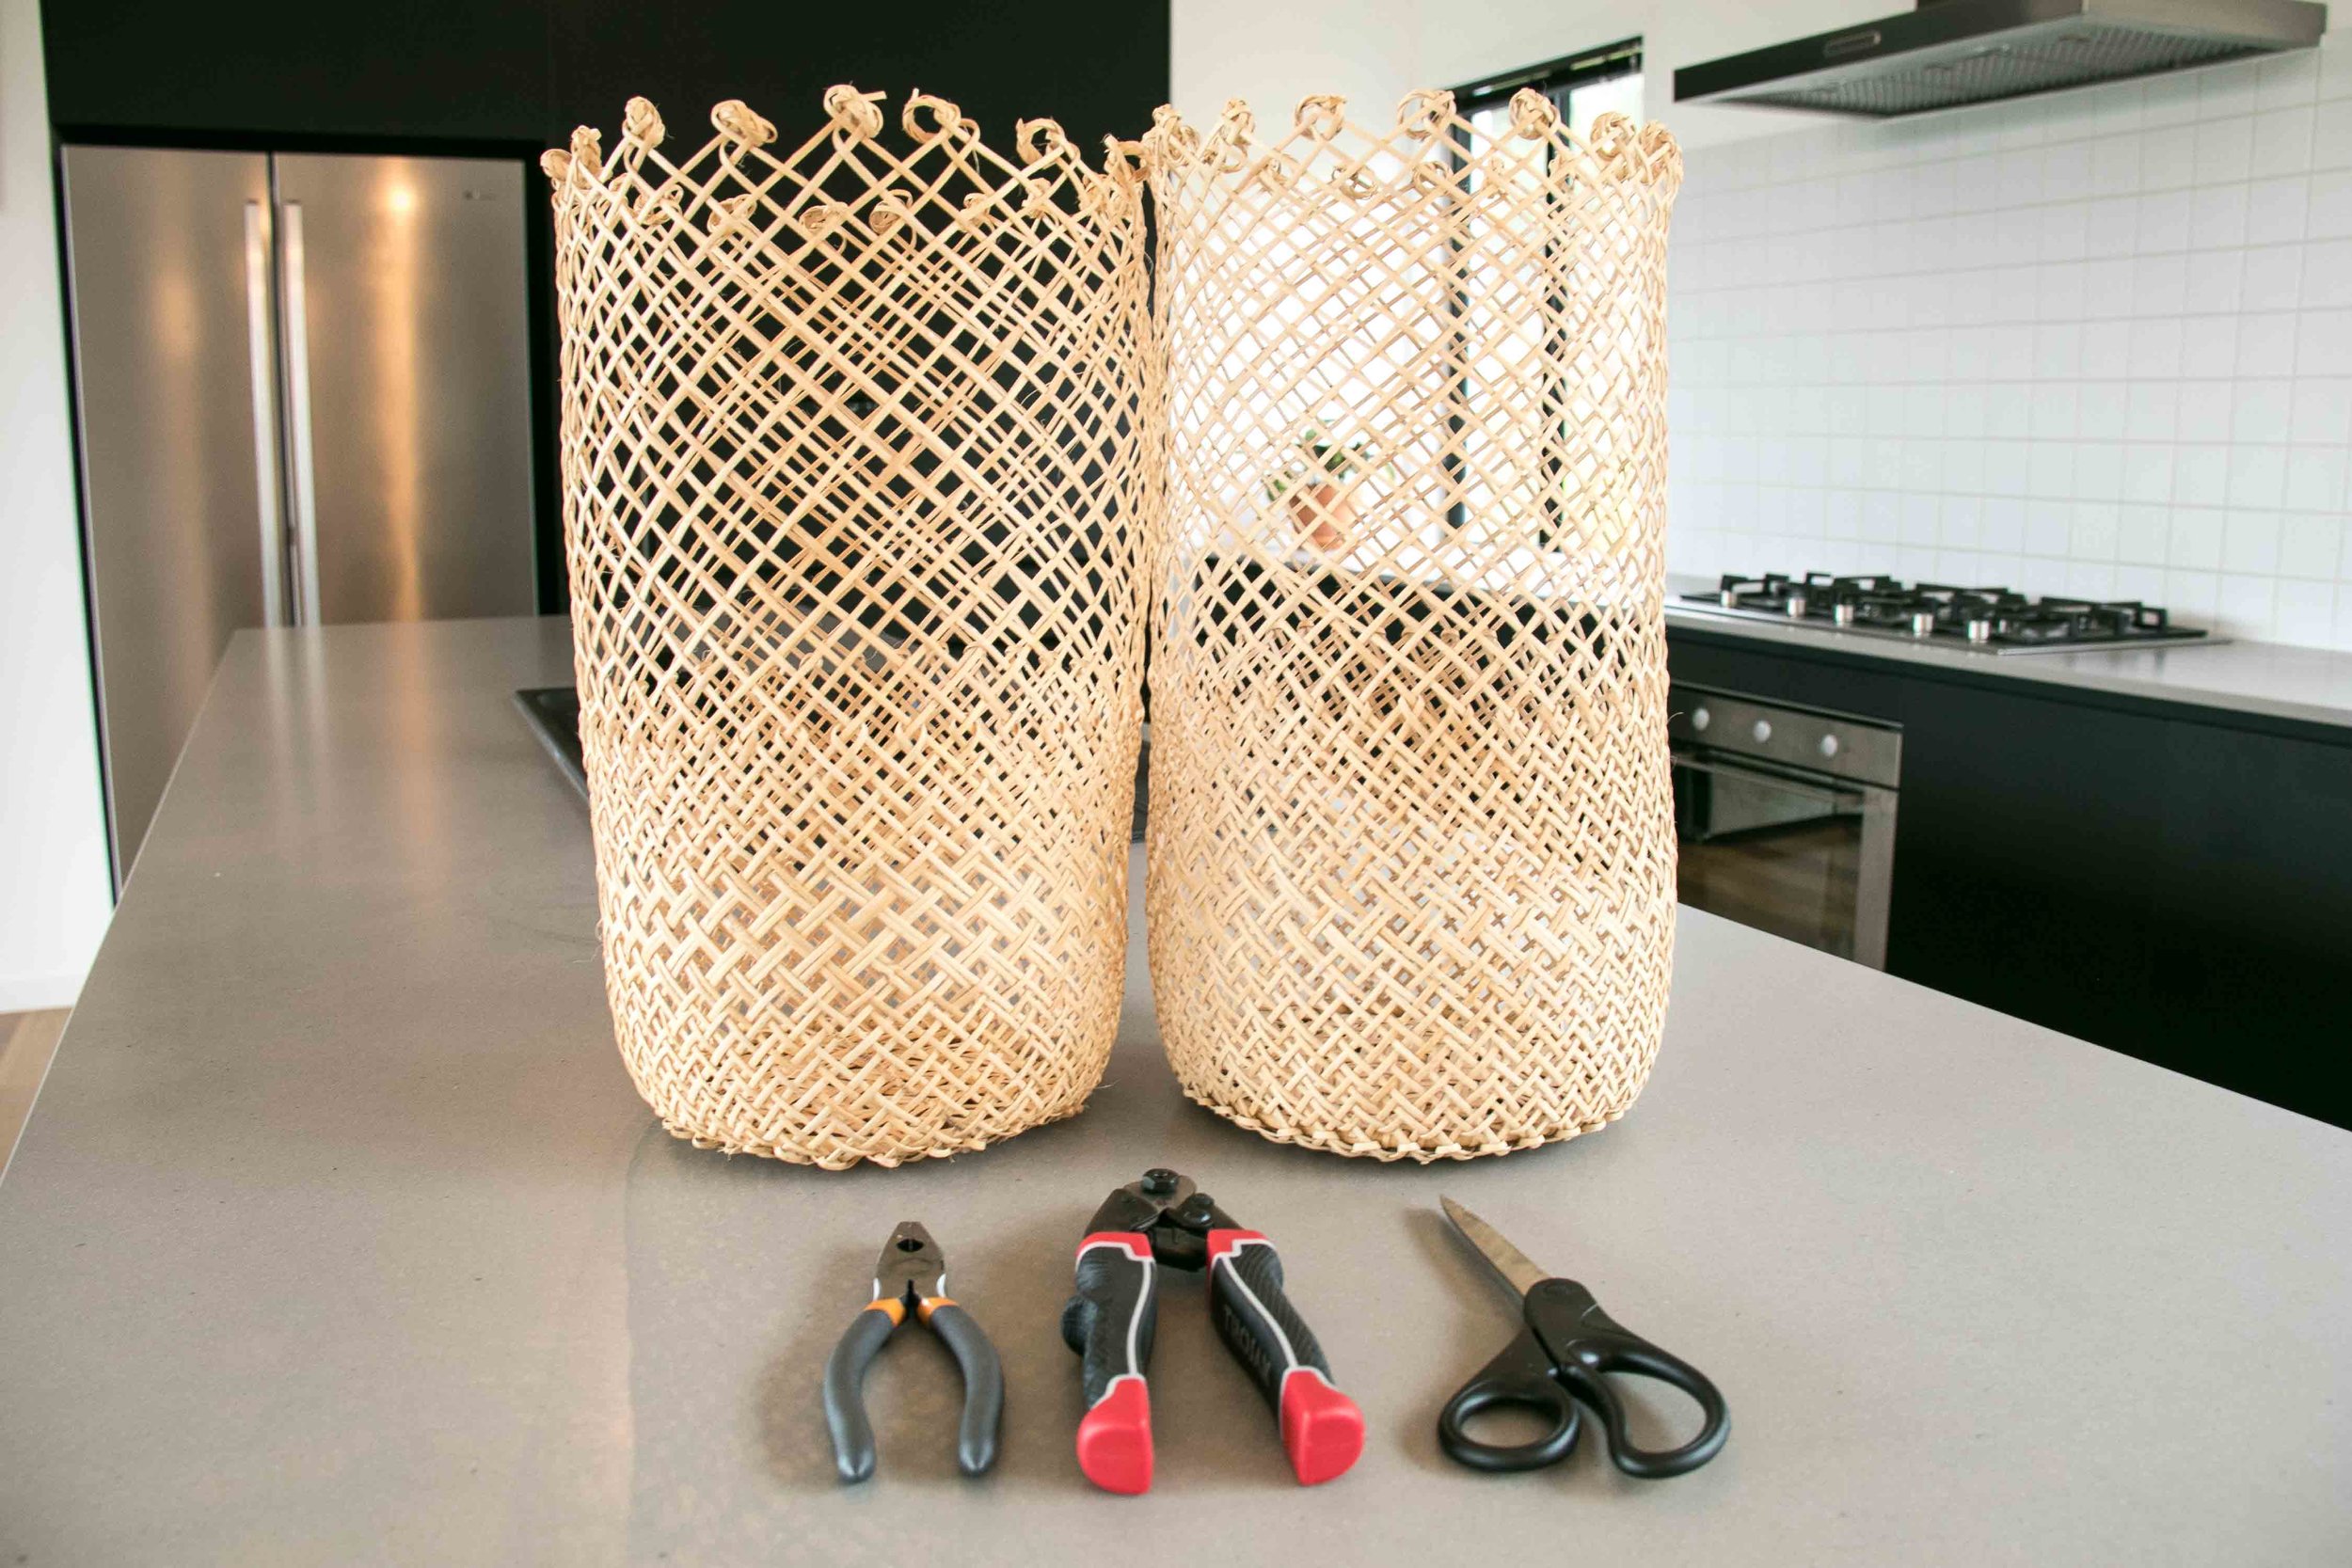
- Depending on your existing pendant lights, you may need a variety of tools. We used wire cutters, pliers and sharp scissors.
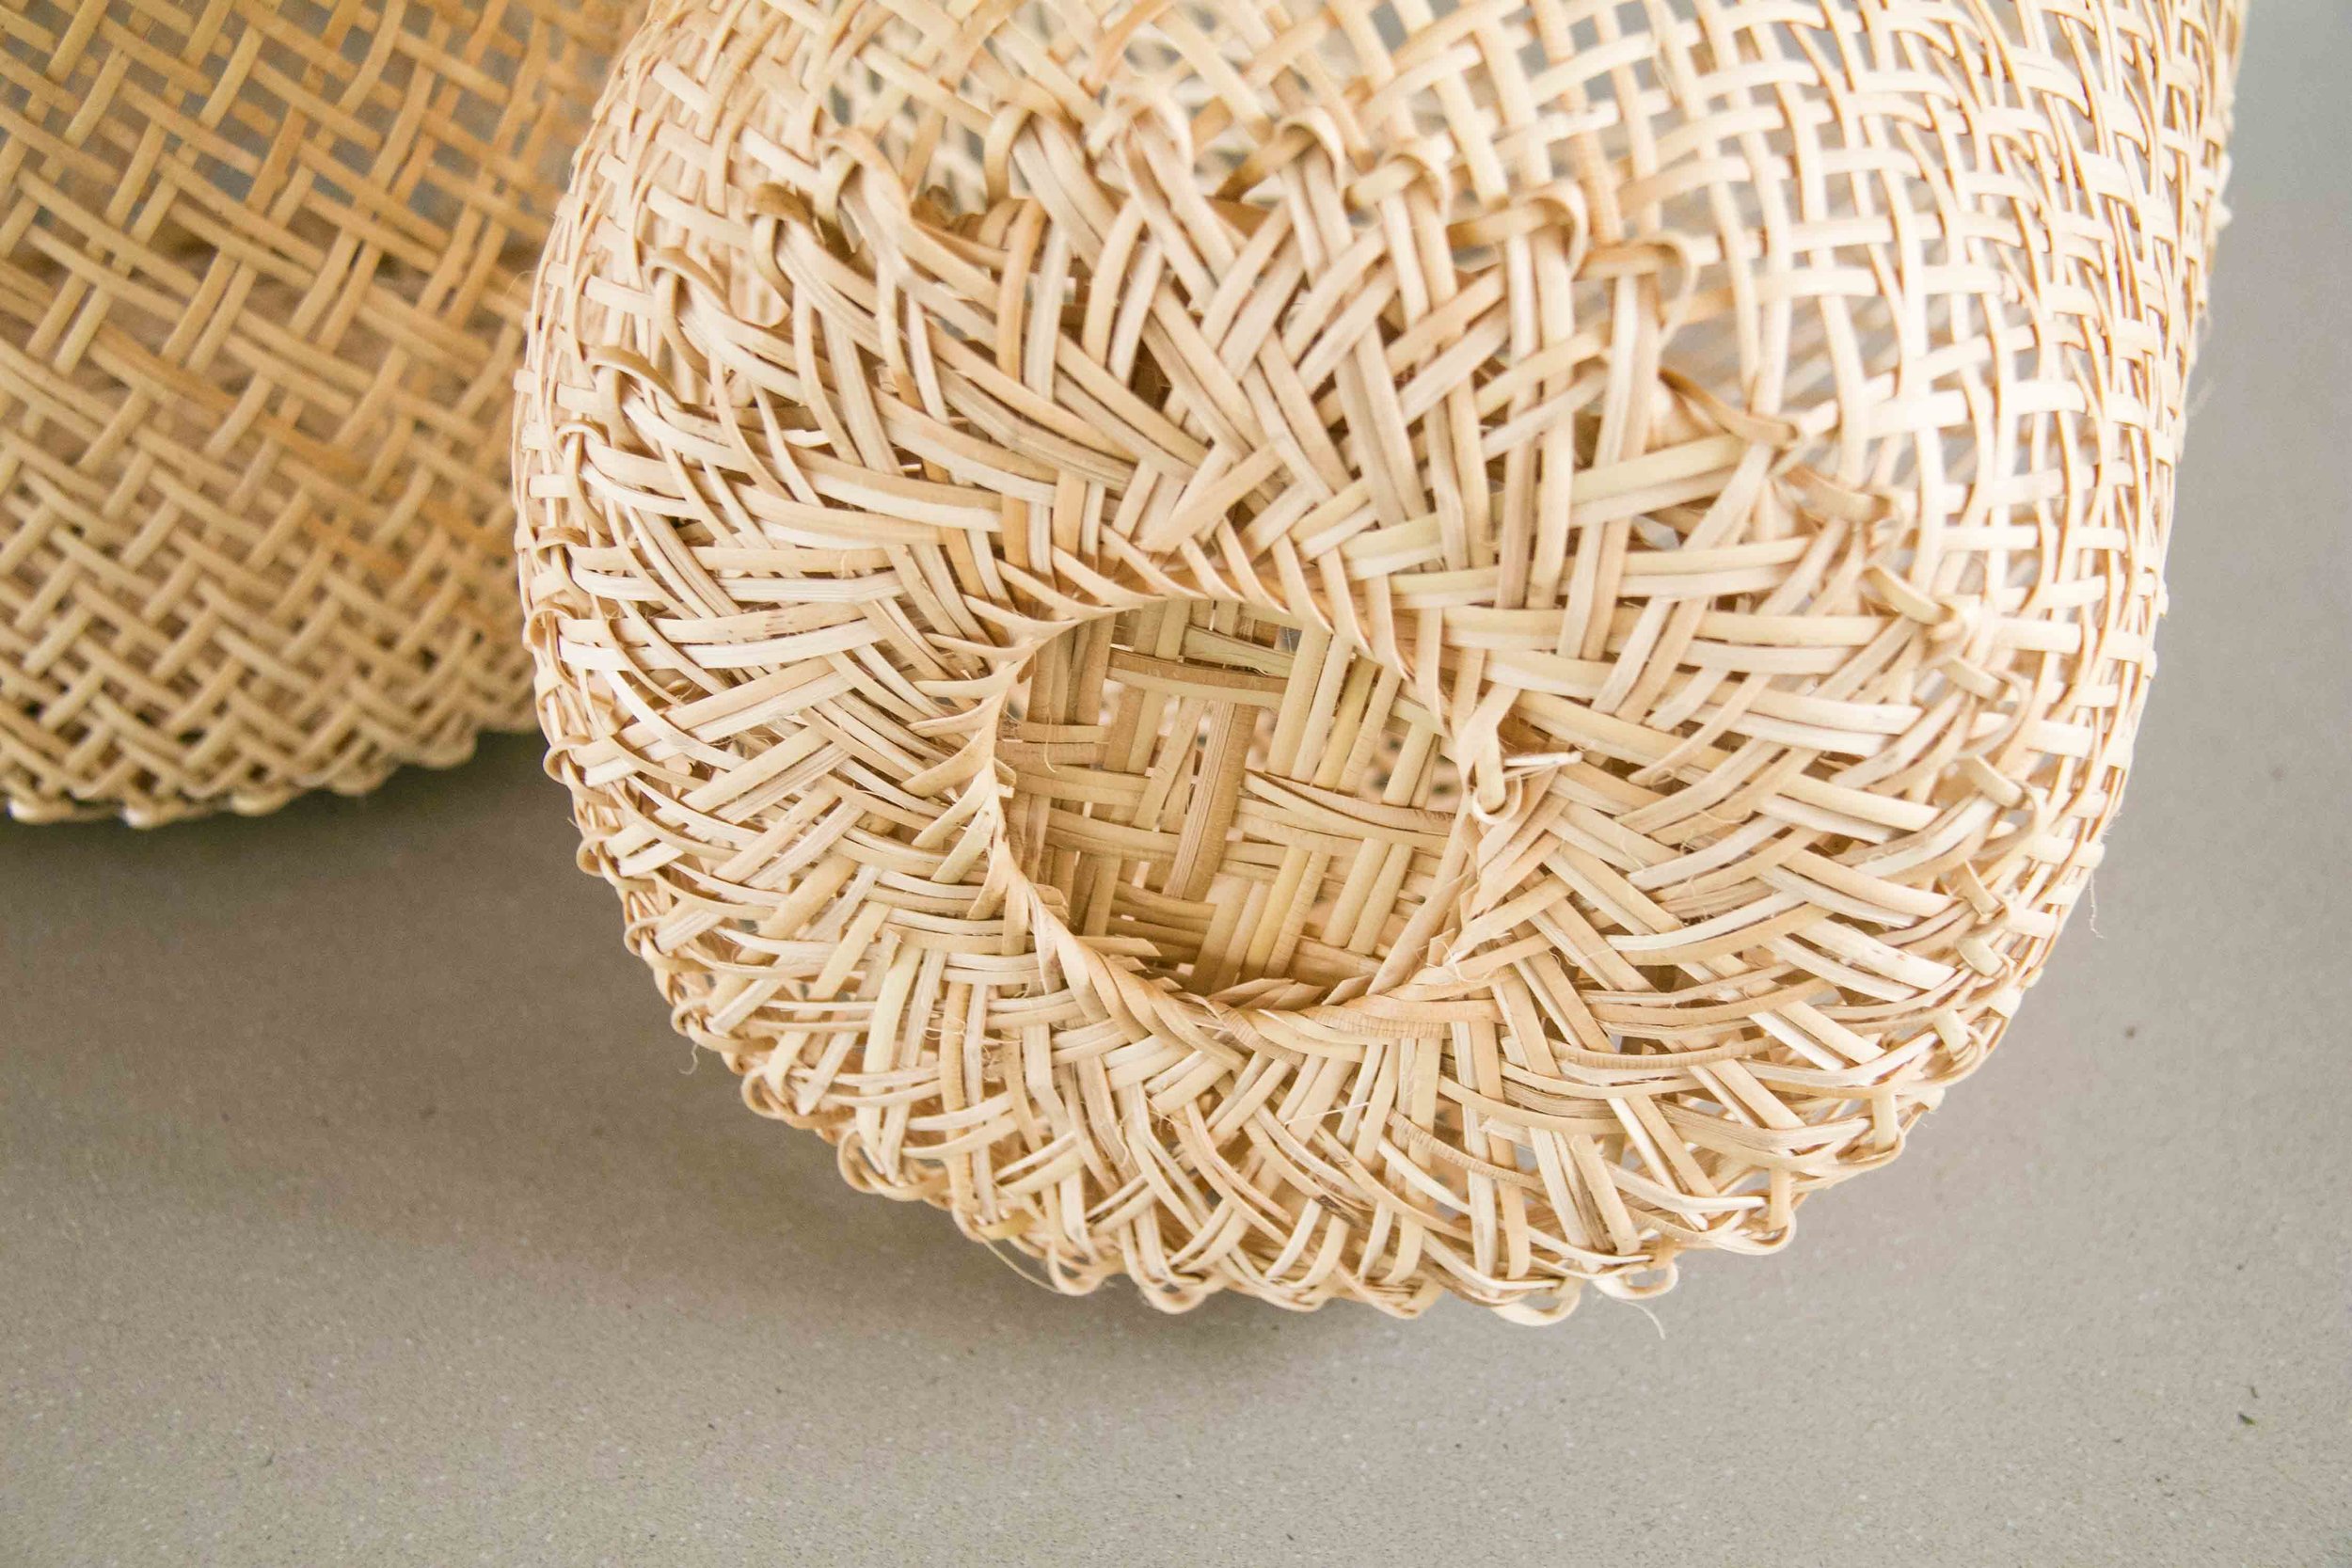
- Baskets
Steps.
01
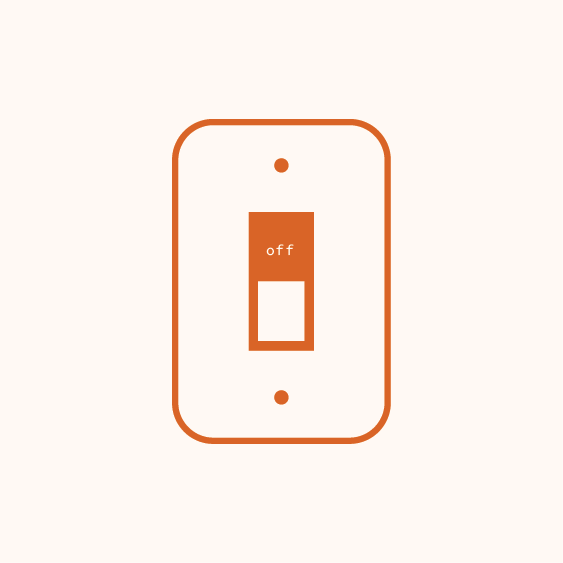
The first thing you need to do when working with existing pendant lights (or lampshades) is turn off the electricity. This is a non-negotiable.
02
Once the electricity is switched off, and you’ve tested that it’s off, take the light bulbs out of the pendant light and place them in a safe place so they don’t break or get stepped on.
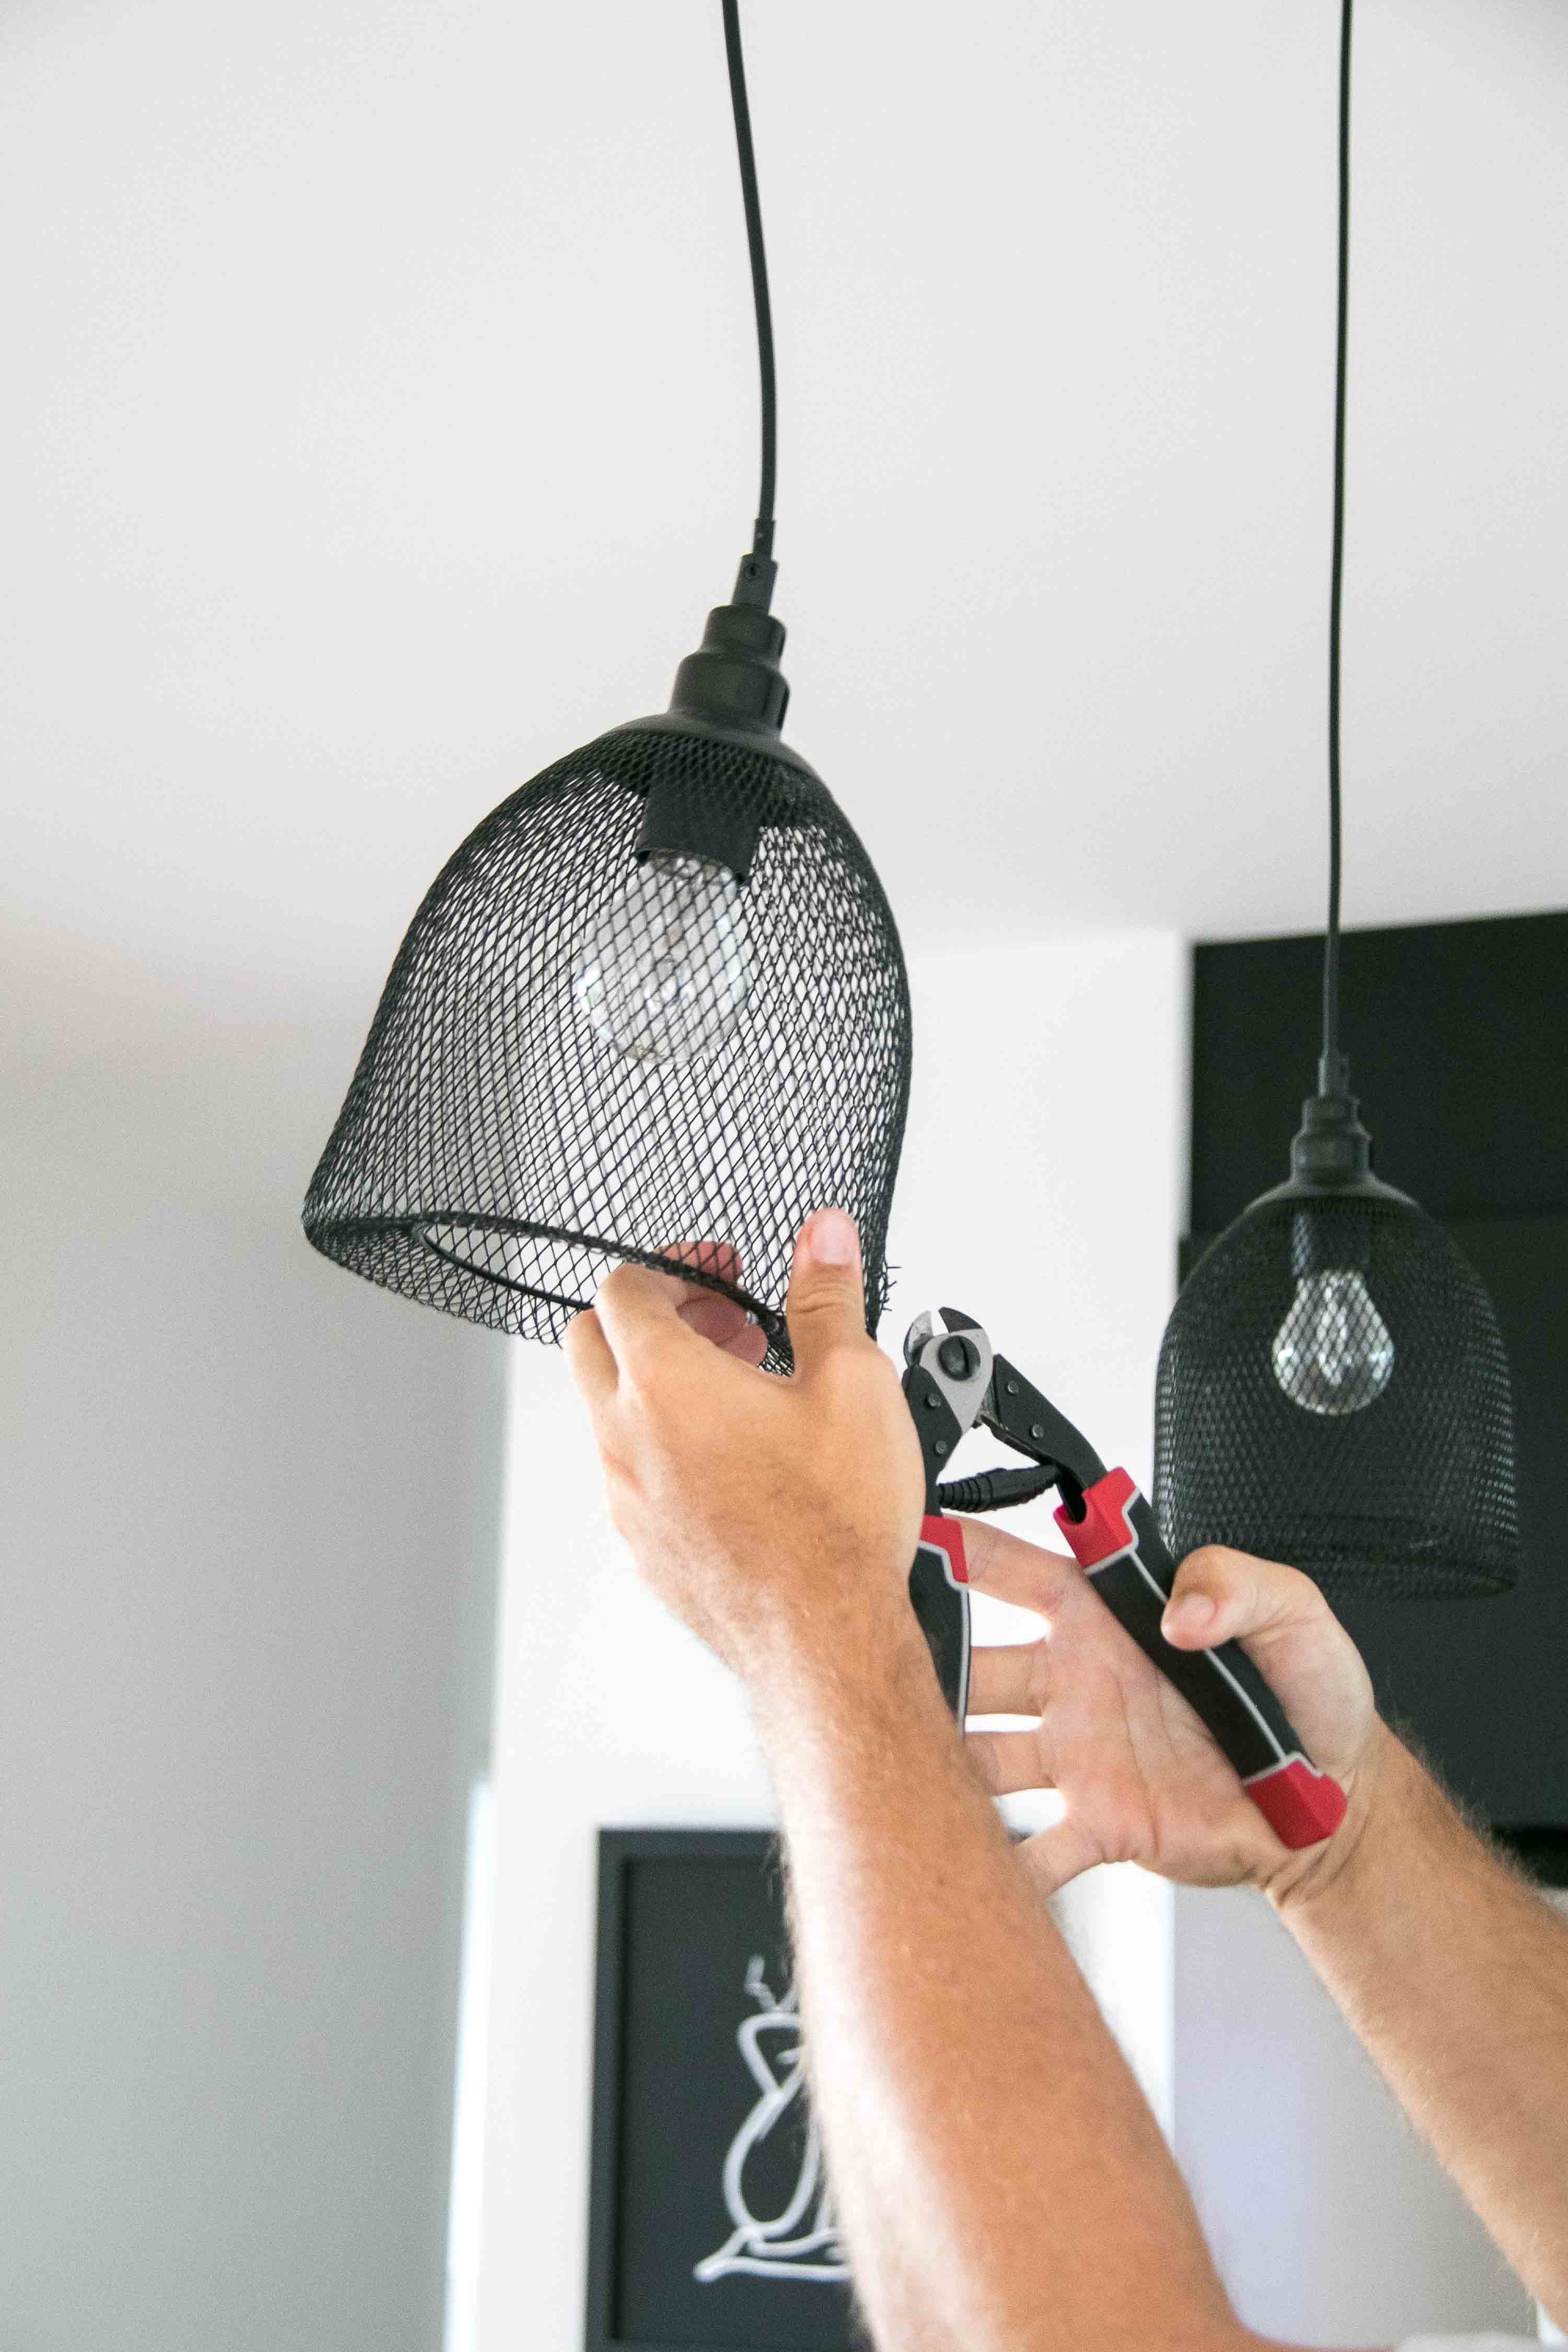
03
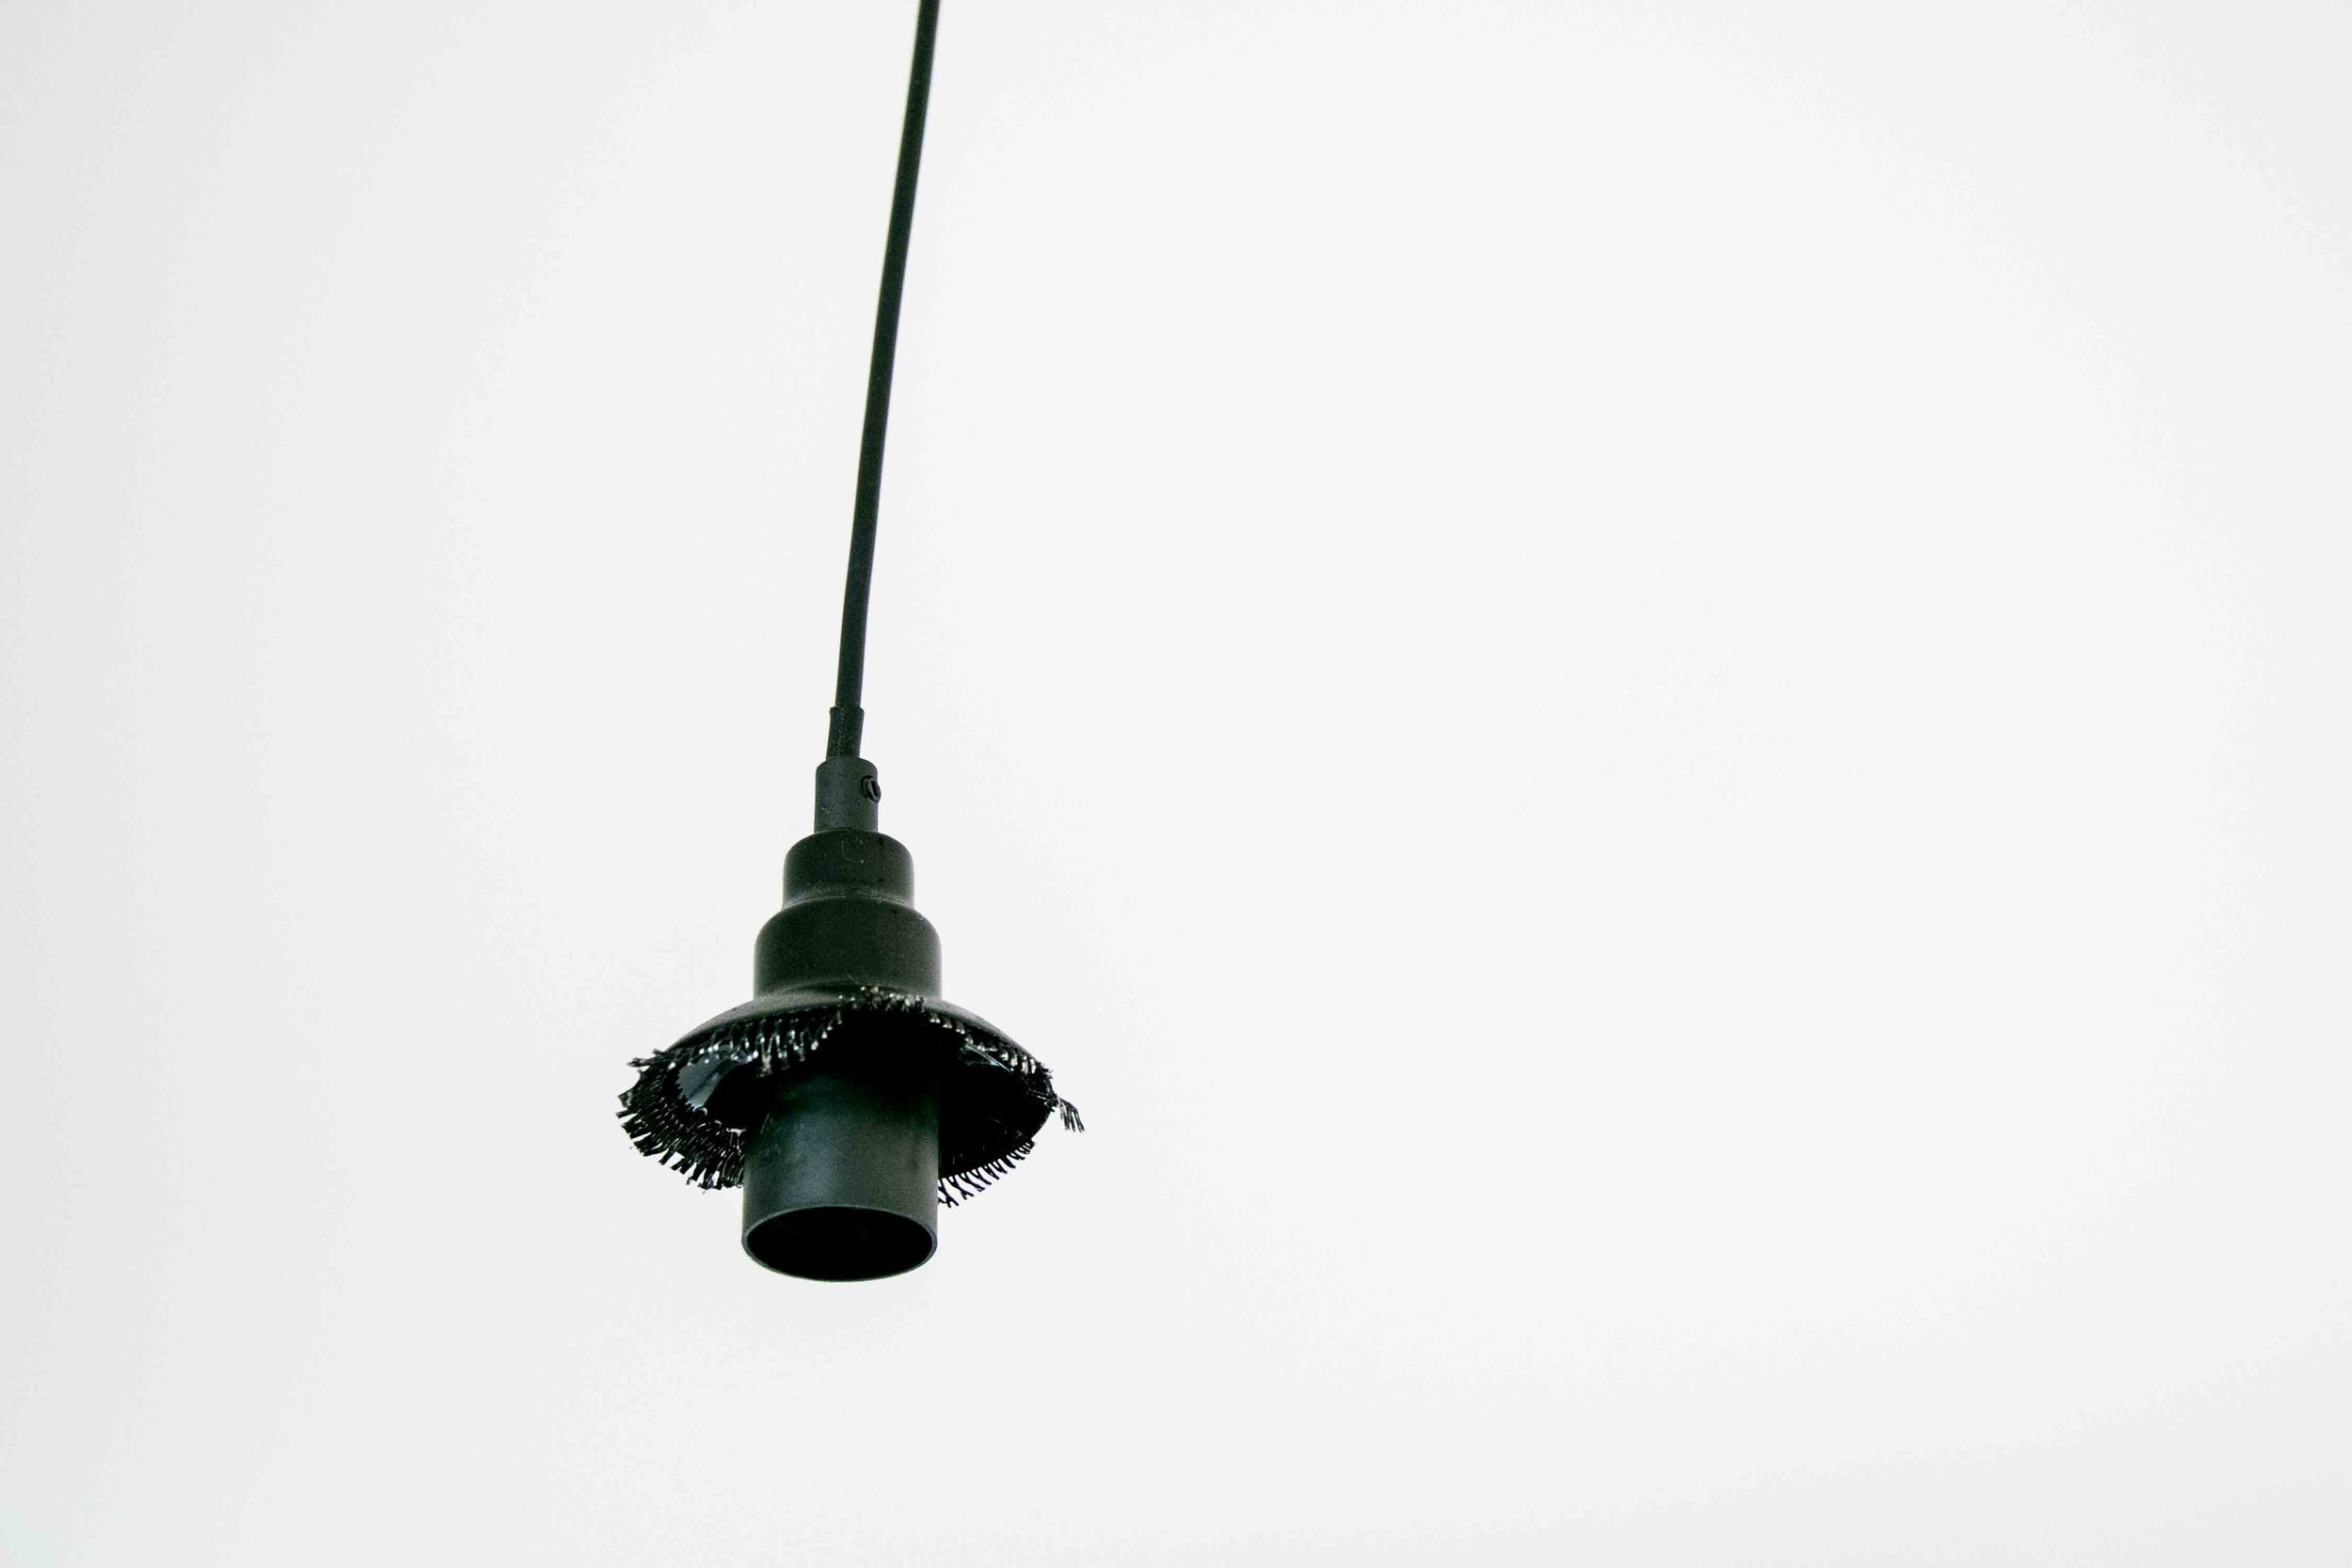
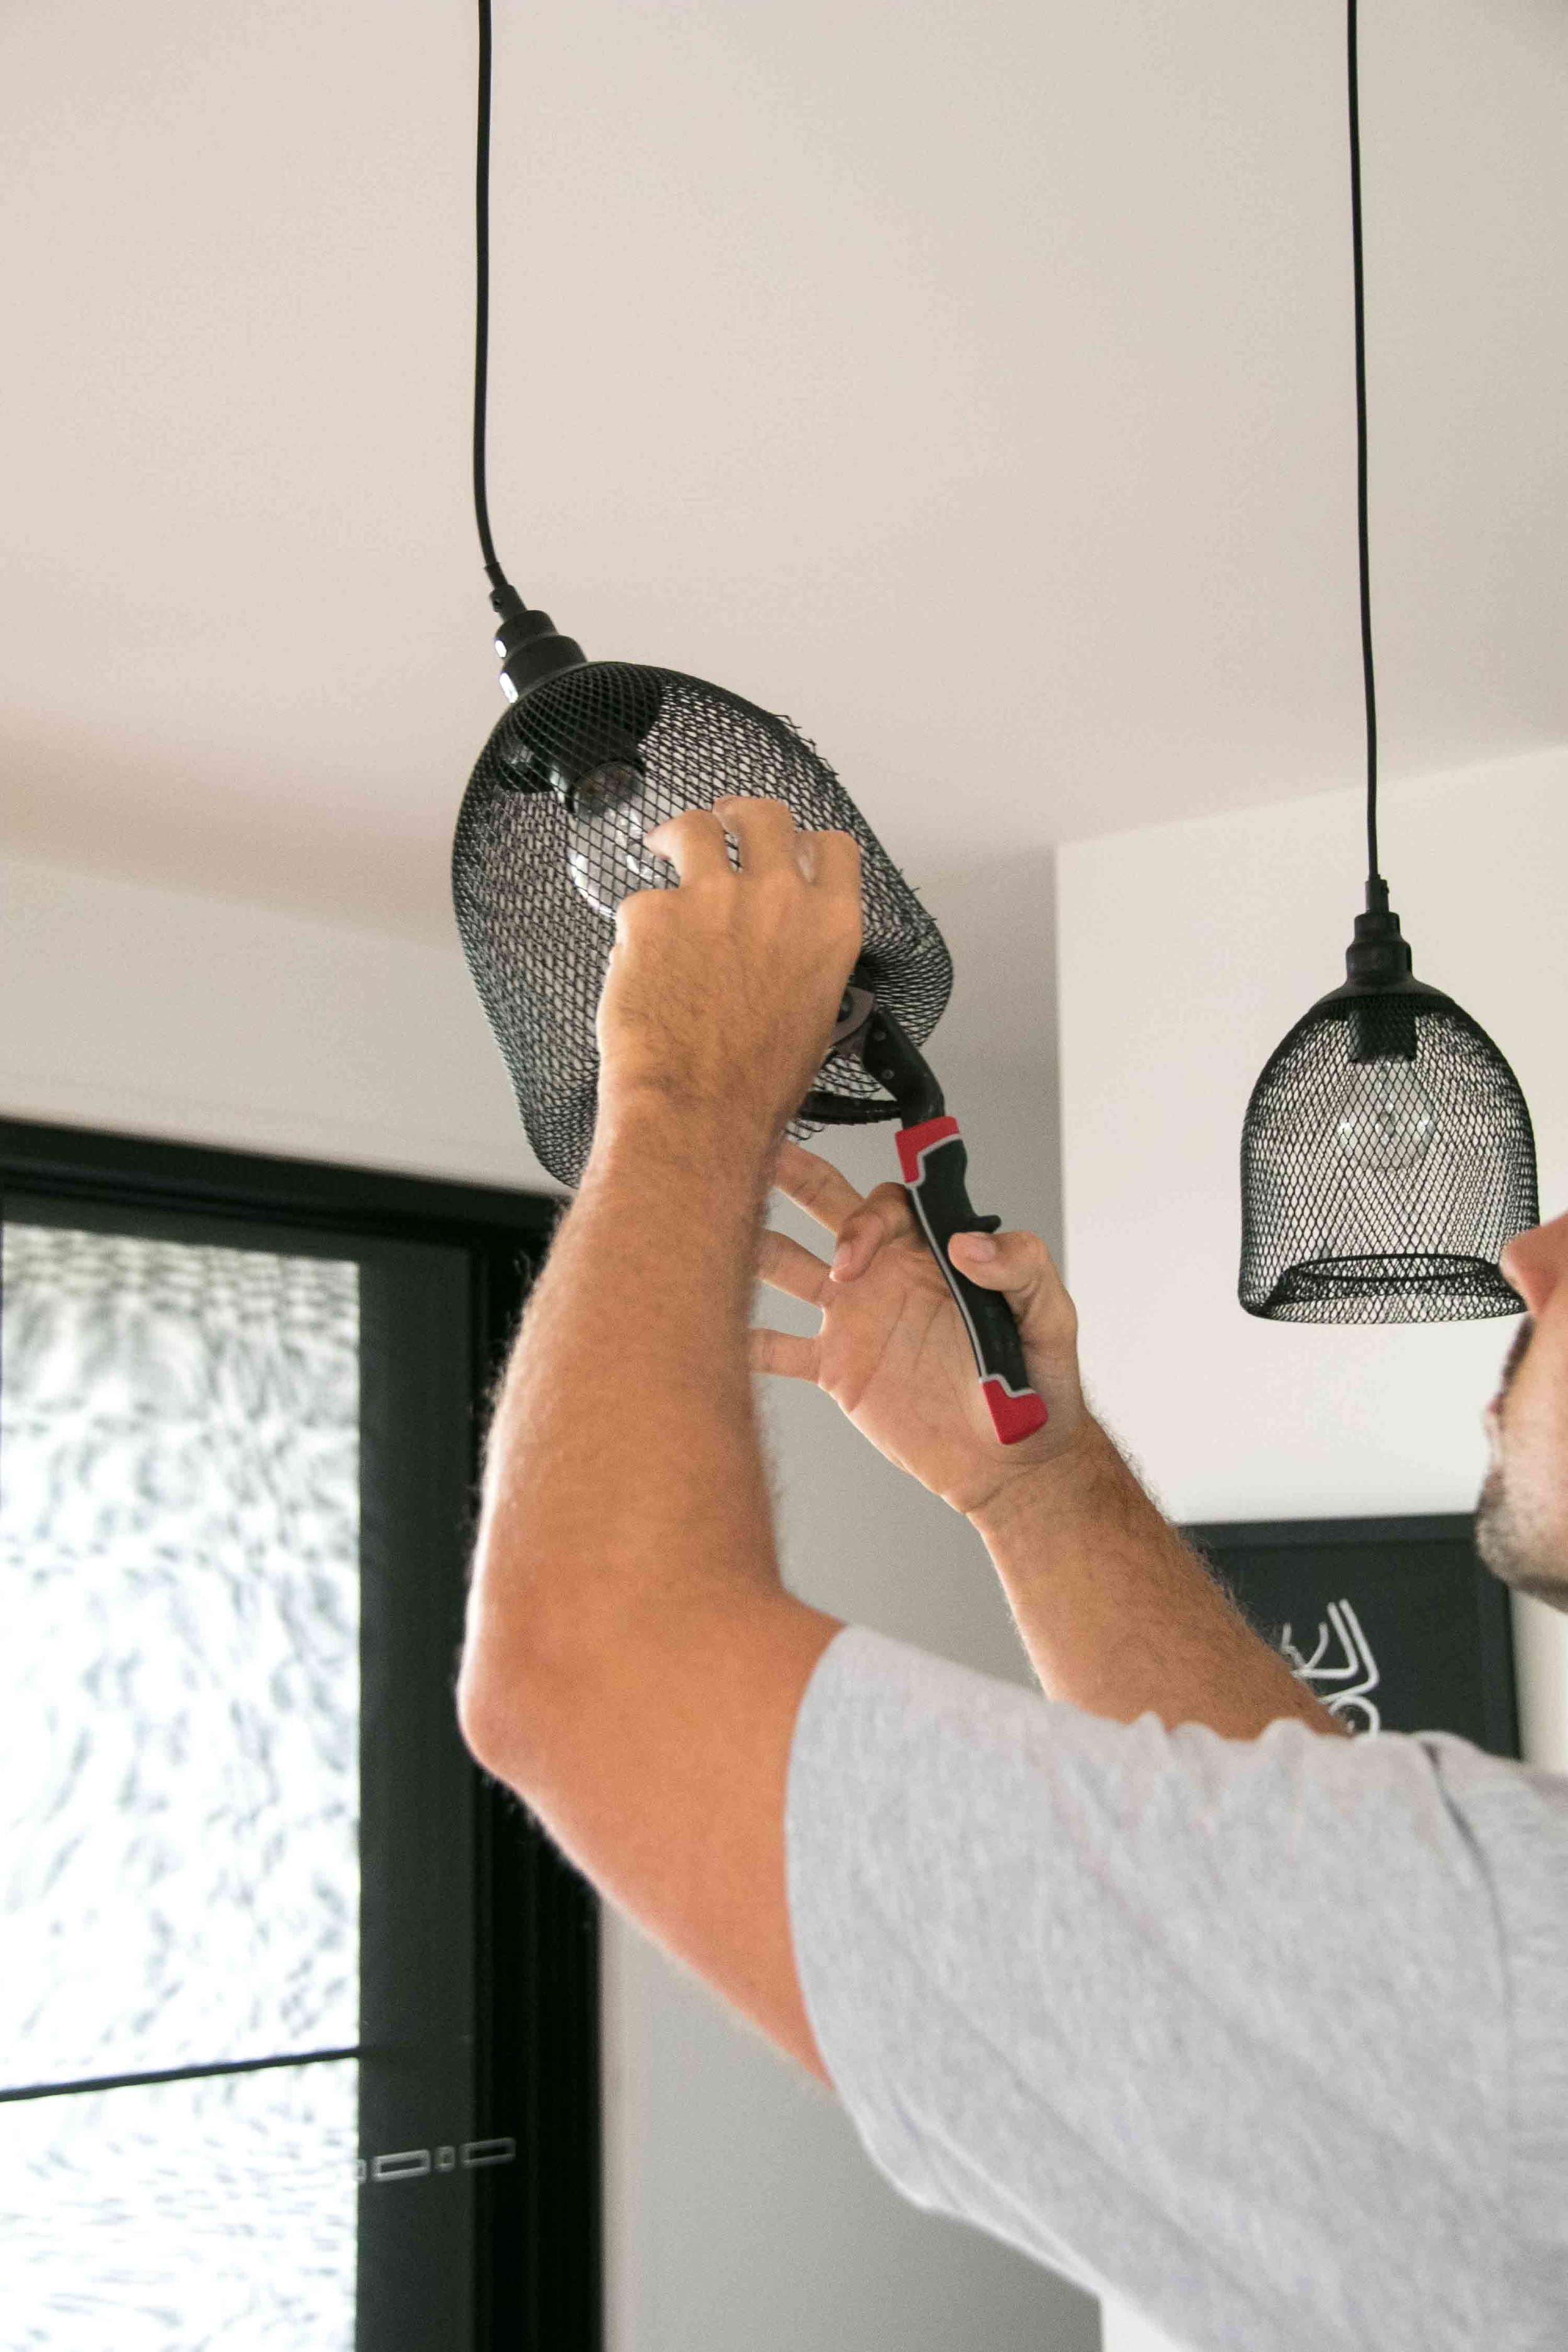
Using your essentials, remove the existing lampshade. Ours was made from hard wire so it took a bit of effort and Jason's strong arms to get this done.
04
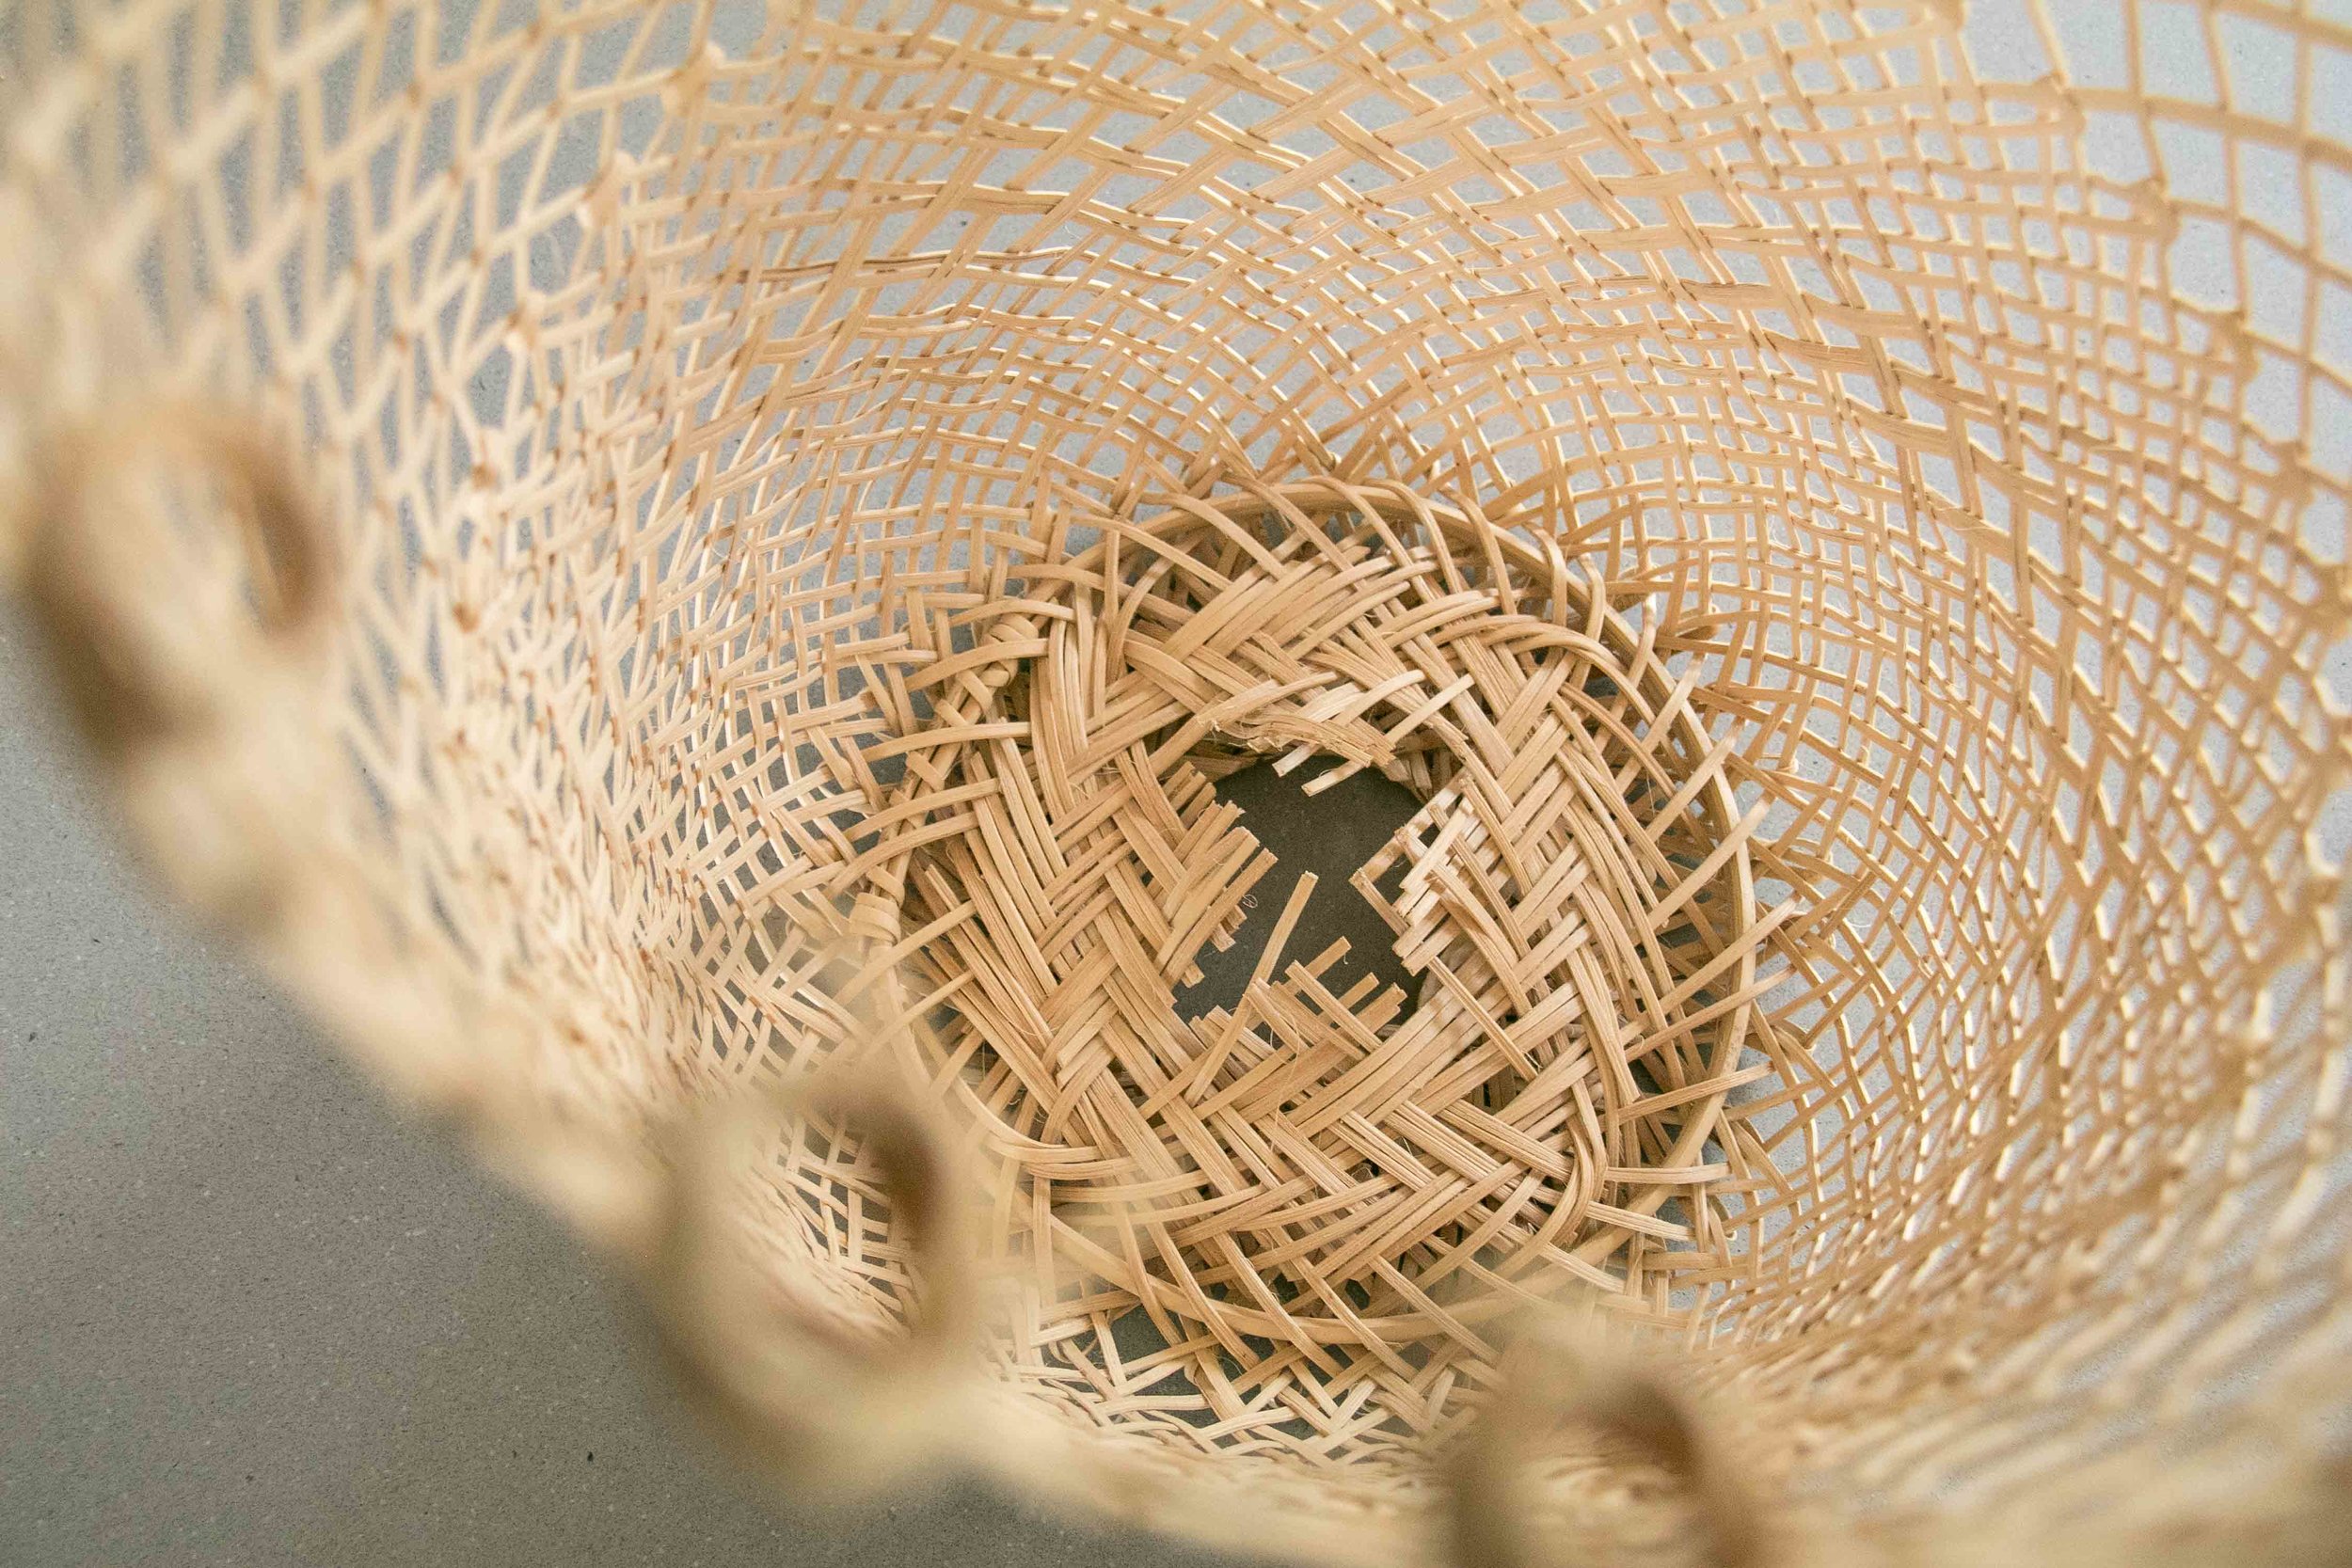
Once the lampshades have been removed, cut a small cross on the bottom of your basket. Be careful not to cut the cross to long, as you will need to fold the corners down and this helps to stop the basket from falling off the light.
05
With a bit of care, push light through the bottom of the basket and check it’s hanging well. Then put the light bulb back in and turn the electricity back on.
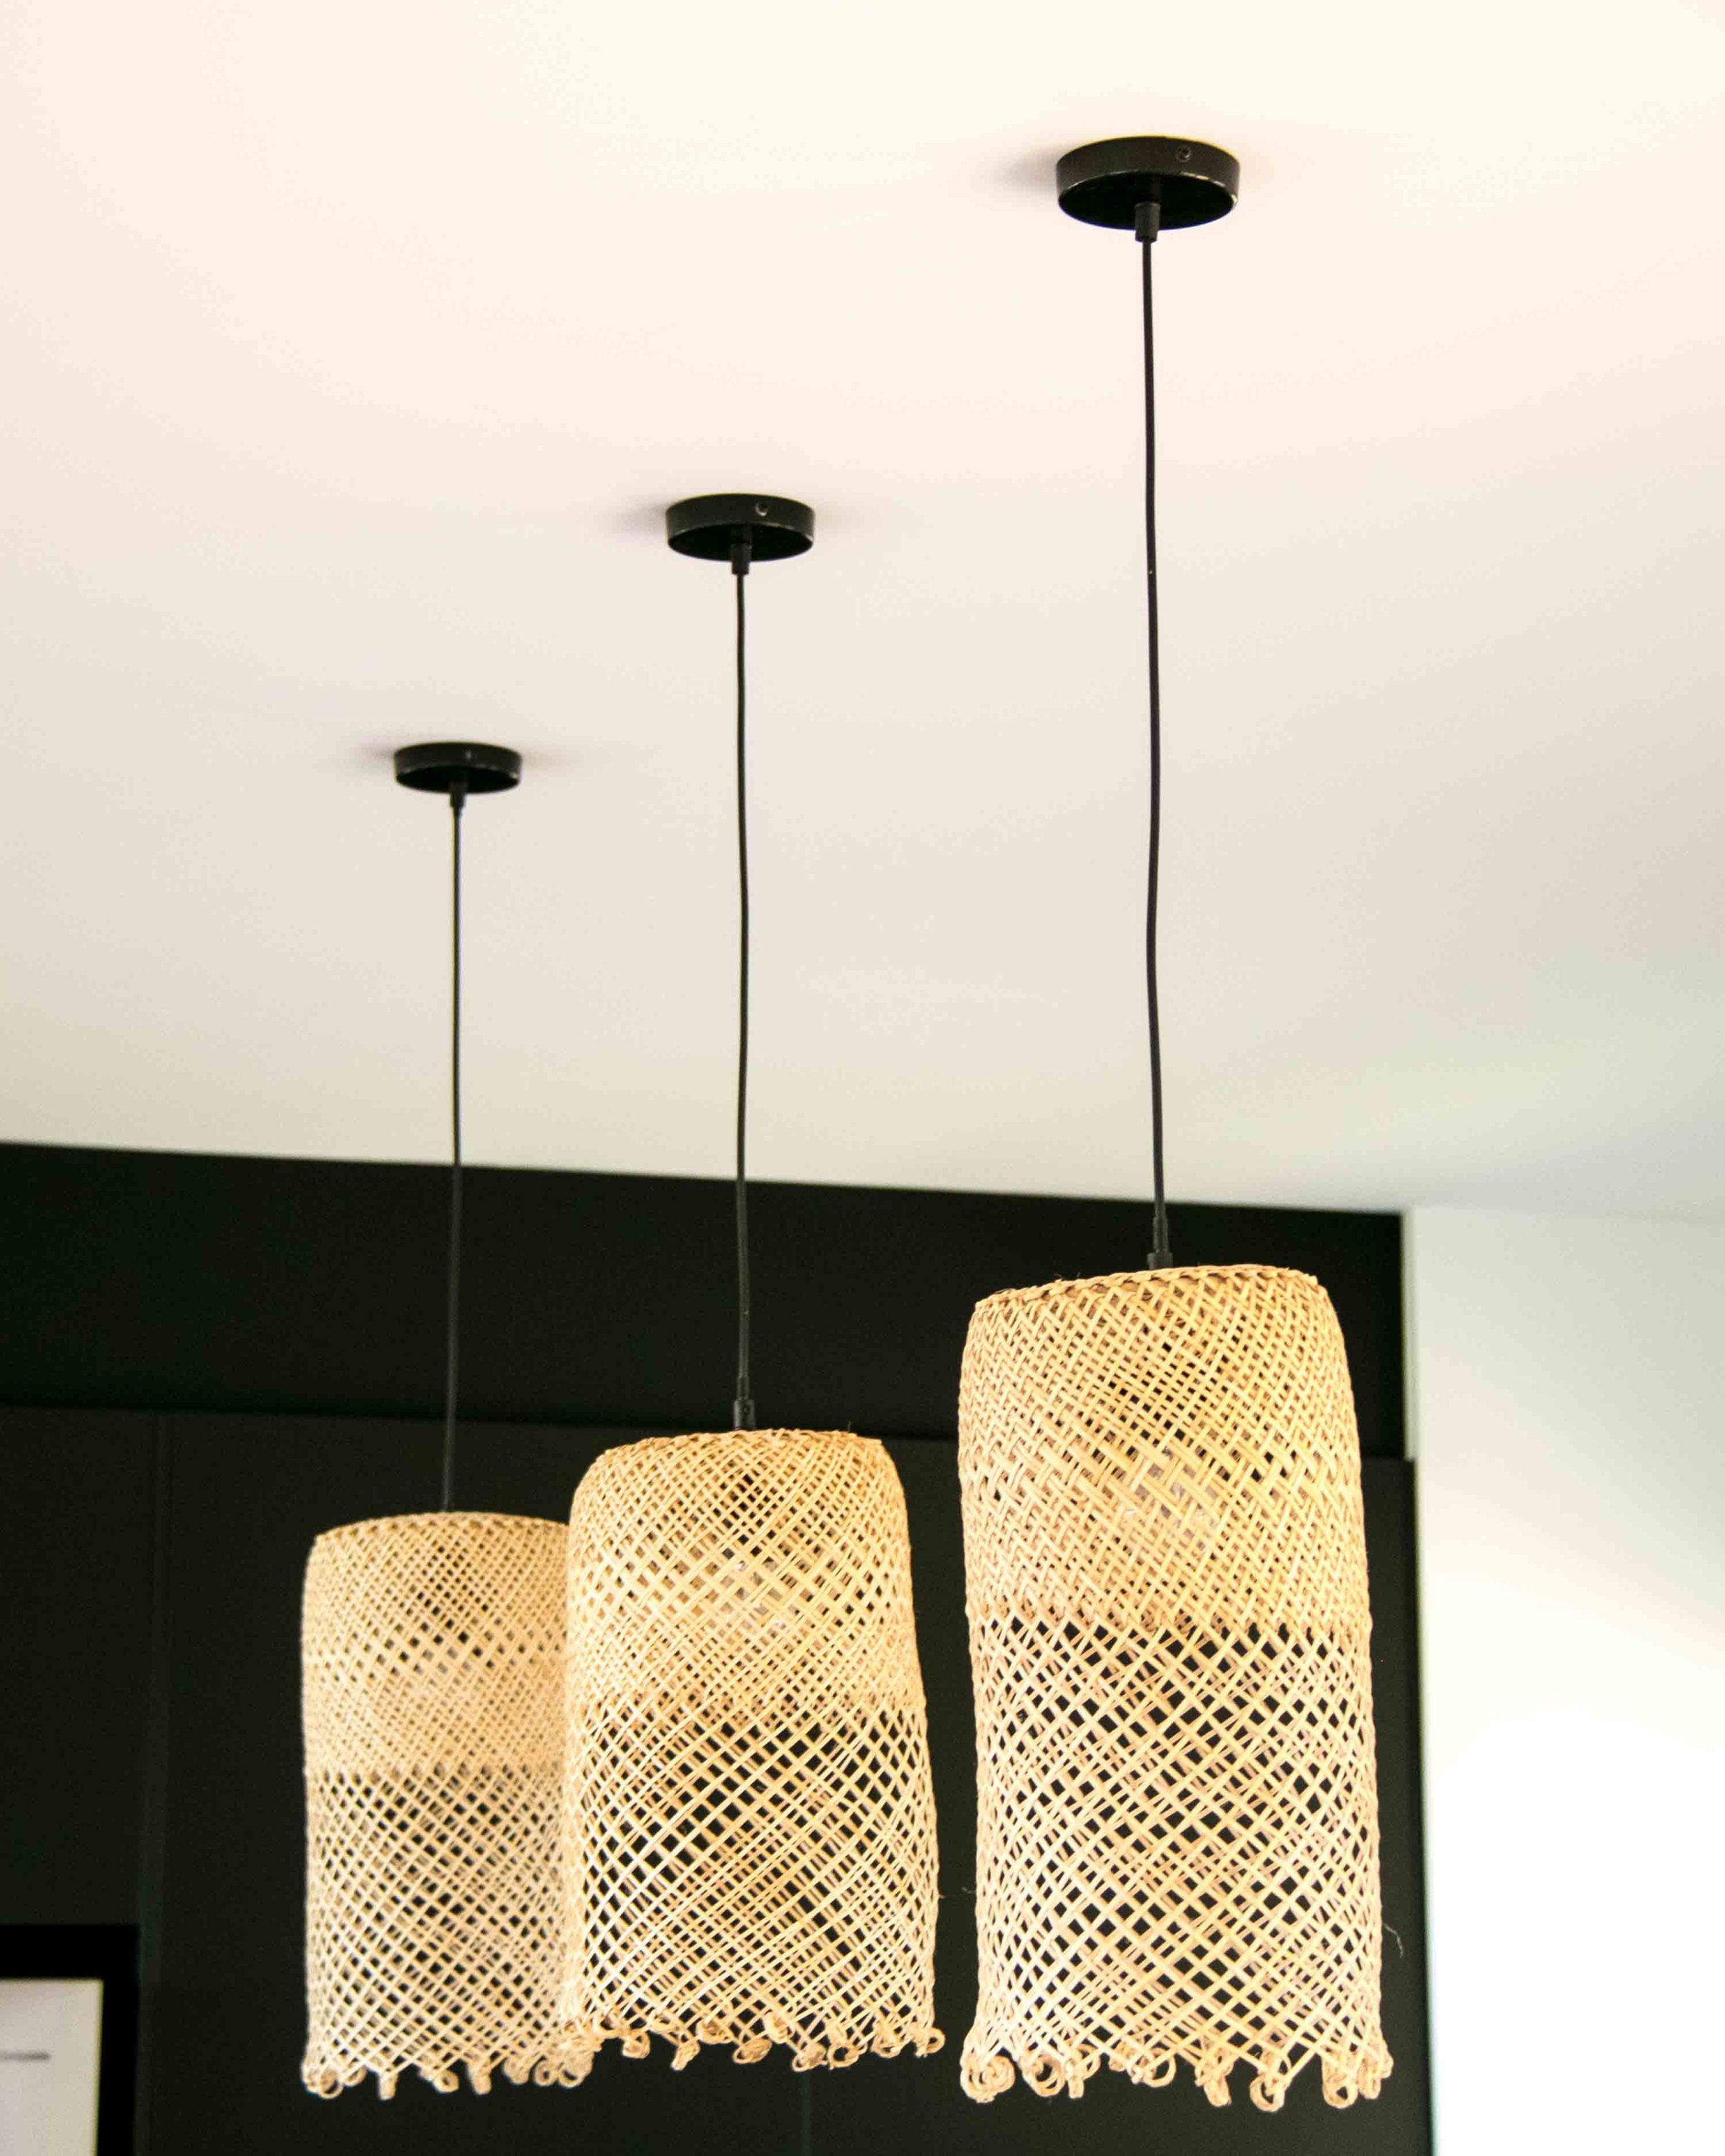
And voila! DIY Basket Pendant Lights.

A simple yet stunning statement pieces to add to your home!
Hope this was helpful! As always, let me know if you give this tutorial a go and how it turns out. Hashtag the outcome #essentialsclub on social media.