
DIY: Collab Gathered Cami Top

Hi guys, it’s Jessica from The Eve. I’m so excited to share with you a little DIY project I recently created for The Essentials Club, a cute ruffle top with tie straps.
If you prefer to watch this tutorial in video format Click Here.

I started The Eve just over a year ago now as a creative outlet to share my styling and photography but in that time it has grown to represent my passions for sustainability and conscious living. The blog itself covers topics from interiors, fashion, urban rituals and travel all designed for the style conscious yet sustainably minded.
I have always had a love for all of these topics but began to grapple with my love of ‘things’ and the effects on the environment. It was a bit of a lightbulb moment one day that perhaps these two could be non-exclusive ideals so that was a real turning point for what I was creating on The Eve. It’s something I’m definitely still exploring and hoping to share more of my journey of this year.
Coming from a background in retail, I already had quite an understanding of the ins and outs of the industry but as I had this lightbulb moment I began to educate myself on the environmental and social effects of it’s whole process beyond what the naked eye could see. I started to really take notice of brands pushing to do better and becoming more transparent. One thing I am continuously working on is being more conscious as a consumer and encouraging others to do so too. The easiest way of doing this is simply starting to be more aware of what you are buying… is it made to last? Are you going to get it’s worth in wear? Can you buy a second-hand alternative? Is it made from natural fibres or synthetic that will stay in the environment forever like a plastic? Does it come in overzealous packaging?
I used to sew when I was younger but since moving out of home had barely picked up a needle and thread. After working more with fashion brands sadly, one of the things that lead me back to sewing again was explaining to my customers time and time again why things were at certain price points do to the effort, skill and many processes that go into making a garment. Girls who would describe as ‘faulty’ because the button was falling off or there was a loose thread left behind by the maker used to infuriate me! My girls would all laugh when I’d start little sewing lessons over the counter to teach those girls (sometimes even their mothers!) the basics of hand mending. This is the reason I am really passionate about reigniting a love for sewing, to reconnect the ‘disconnect’ we all have with fashion and it’s price tag and grow to appreciate the beauty of it again beyond the trends.
So this year, equipped with a brand new sewing machine all of my own I have loved diving back into creating. This is when I’m in my element, for someone who day-to-day is a bit of a pocket rocket it really forces me to slow down and I find nothing as rewarding as having a final product at the end that you can proudly say you made from scratch. This little project was actually the first thing I created to christen my machine and I am so happy to share the process with you today.
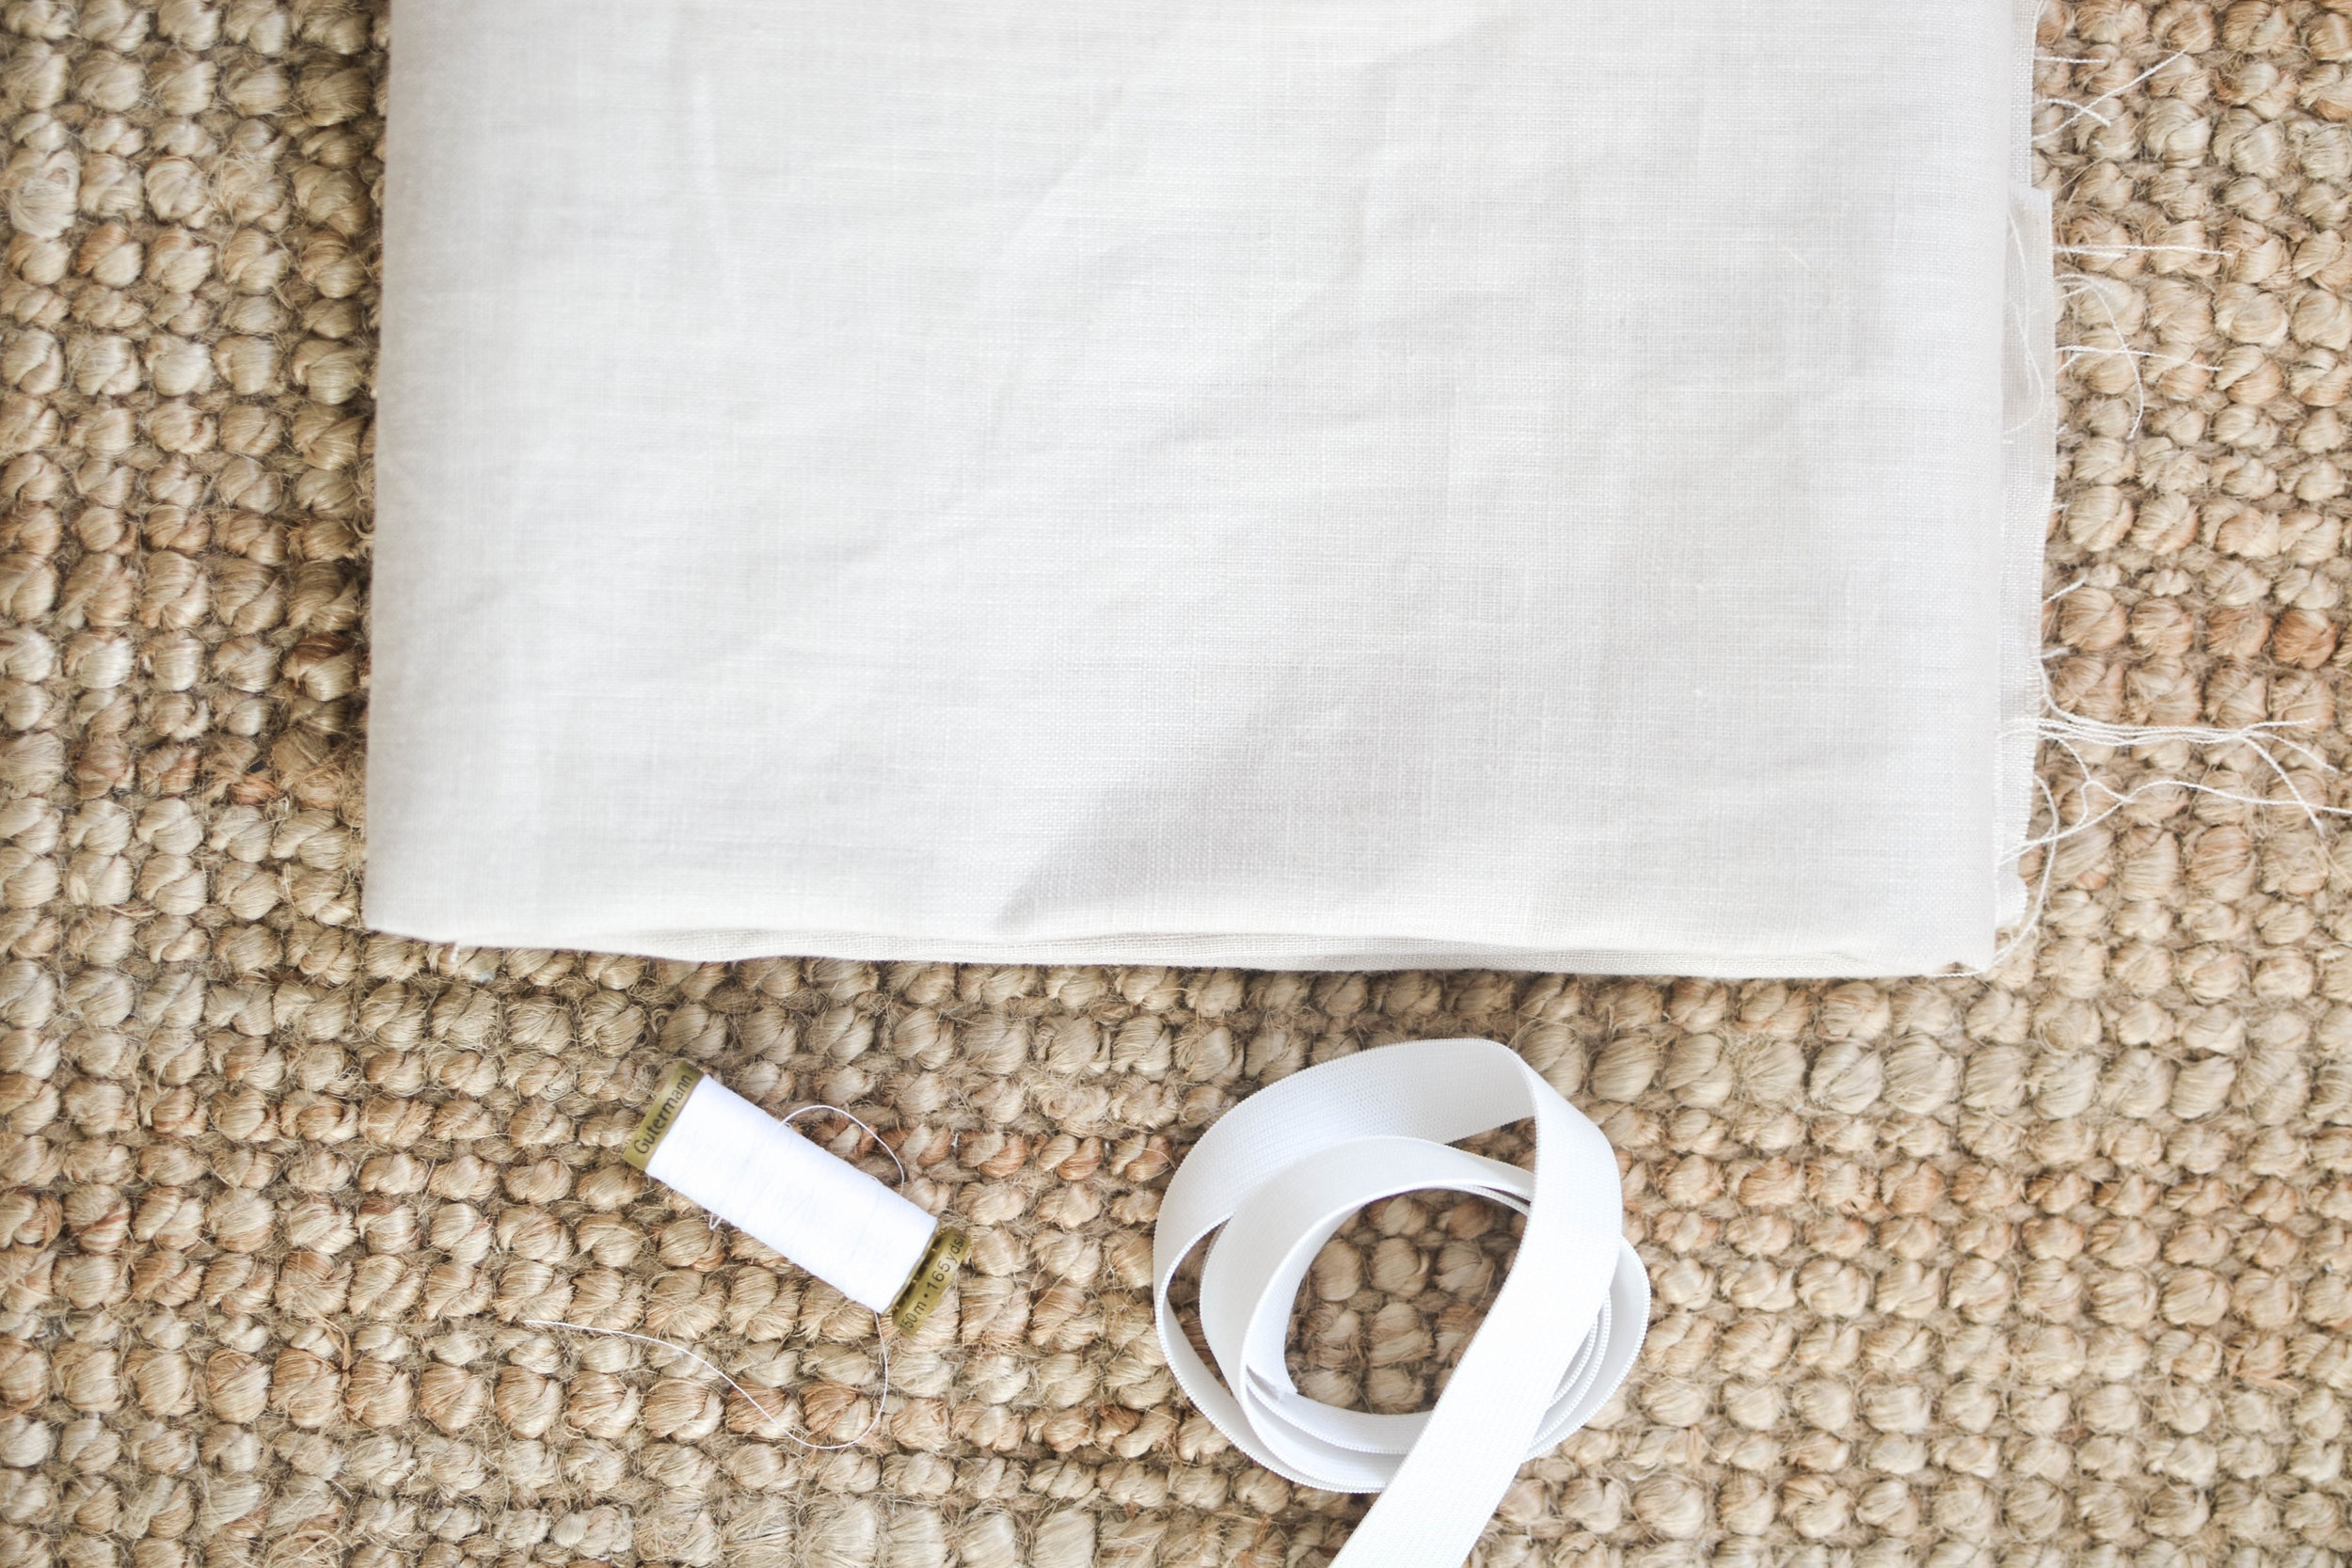
The Essentials
- Aproximately 75cm-1m of fabric off the roll depending on how long you want it to be.
- 2cm thick elastic
- Scissors
- Thread
- 2 Safety Pins
- Dressmakers pins
Steps.
01

Begin by measuring your elastic around your chest and allow an extra 10cm before you trim it. Then use the original full chest measurement as the cutting width of your front and back main panels of fabric (note: this is a gathered top so will initially seem very oversized cutting this but once the elastic is added everything will come together). Then for the height simply measure from your mid chest down to where you want it to finish, then add 10cm for seam allowance. If in doubt go longer as this can always be easily fixed later on.
Cut the two panels down to size and lastly measure in 6cm from the bottom edge and cut at a diagonal. The short side will be your bottom hem.
02

For a nice finish I like to do a French seam on the inside edges. If you’re a total beginner or short on time this isnt 100% necessary, so you can just skip over the next 3 steps and simply sew a straight seam if you like. Although once you get the hang of these they’re a really nice way to leave things super neat.
To start with the french seam, face the wrong side of the two fabrics together (if using Linen like I did you can’t really go wrong here). Start by sewing along the two angled sides on a regular straight stitch then once you’re finished trim the excess sides down to about 3mm thick.
03
Turn the fabric inside out (so that your ‘wrong sides’ are facing out) then iron the edges flat making sure that the seam you just sewed is straight and sitting flat inside. Then sew over these seams from the outside 5mm away from the edge.
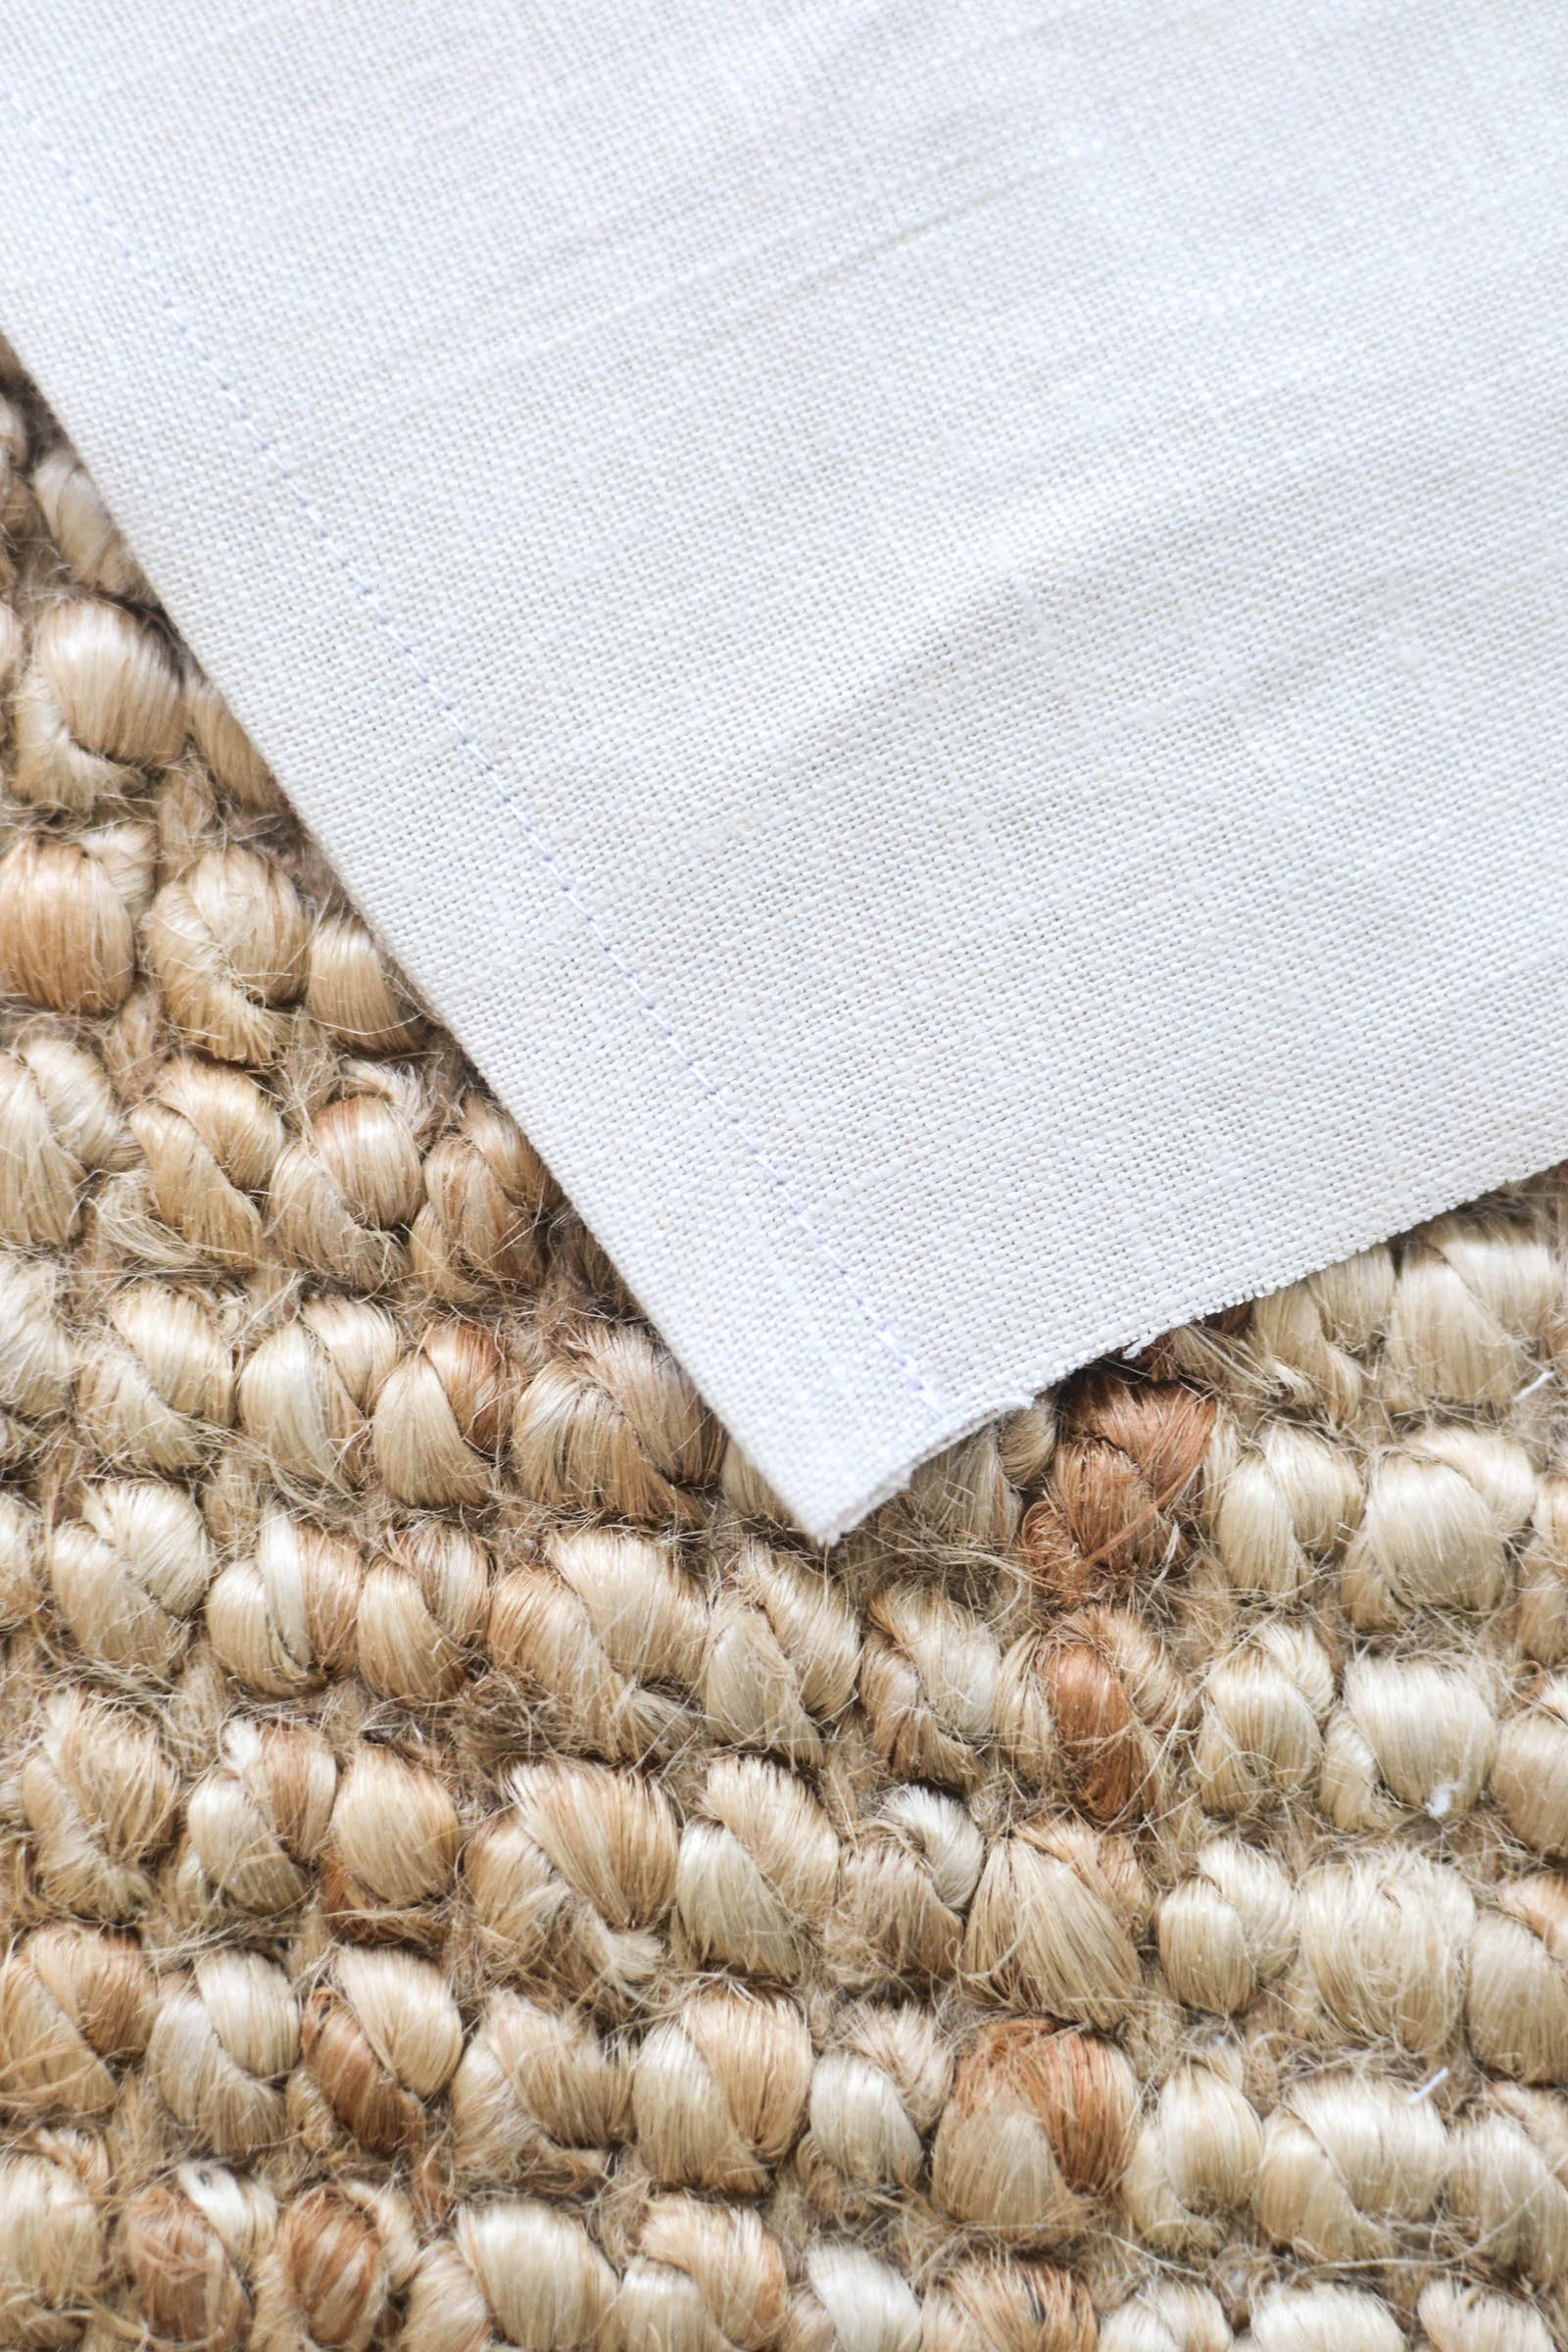
04

You should end up with an inside seam looking a something like this.
05

Next sew a small zig zag stich close to the unfinished top and bottom edges of your fabric (this just stops them from fraying later down the track). Remembering your bottom edge is your narrow side, fold up 1cm of fabric and run a straight stitch to hem this edge.
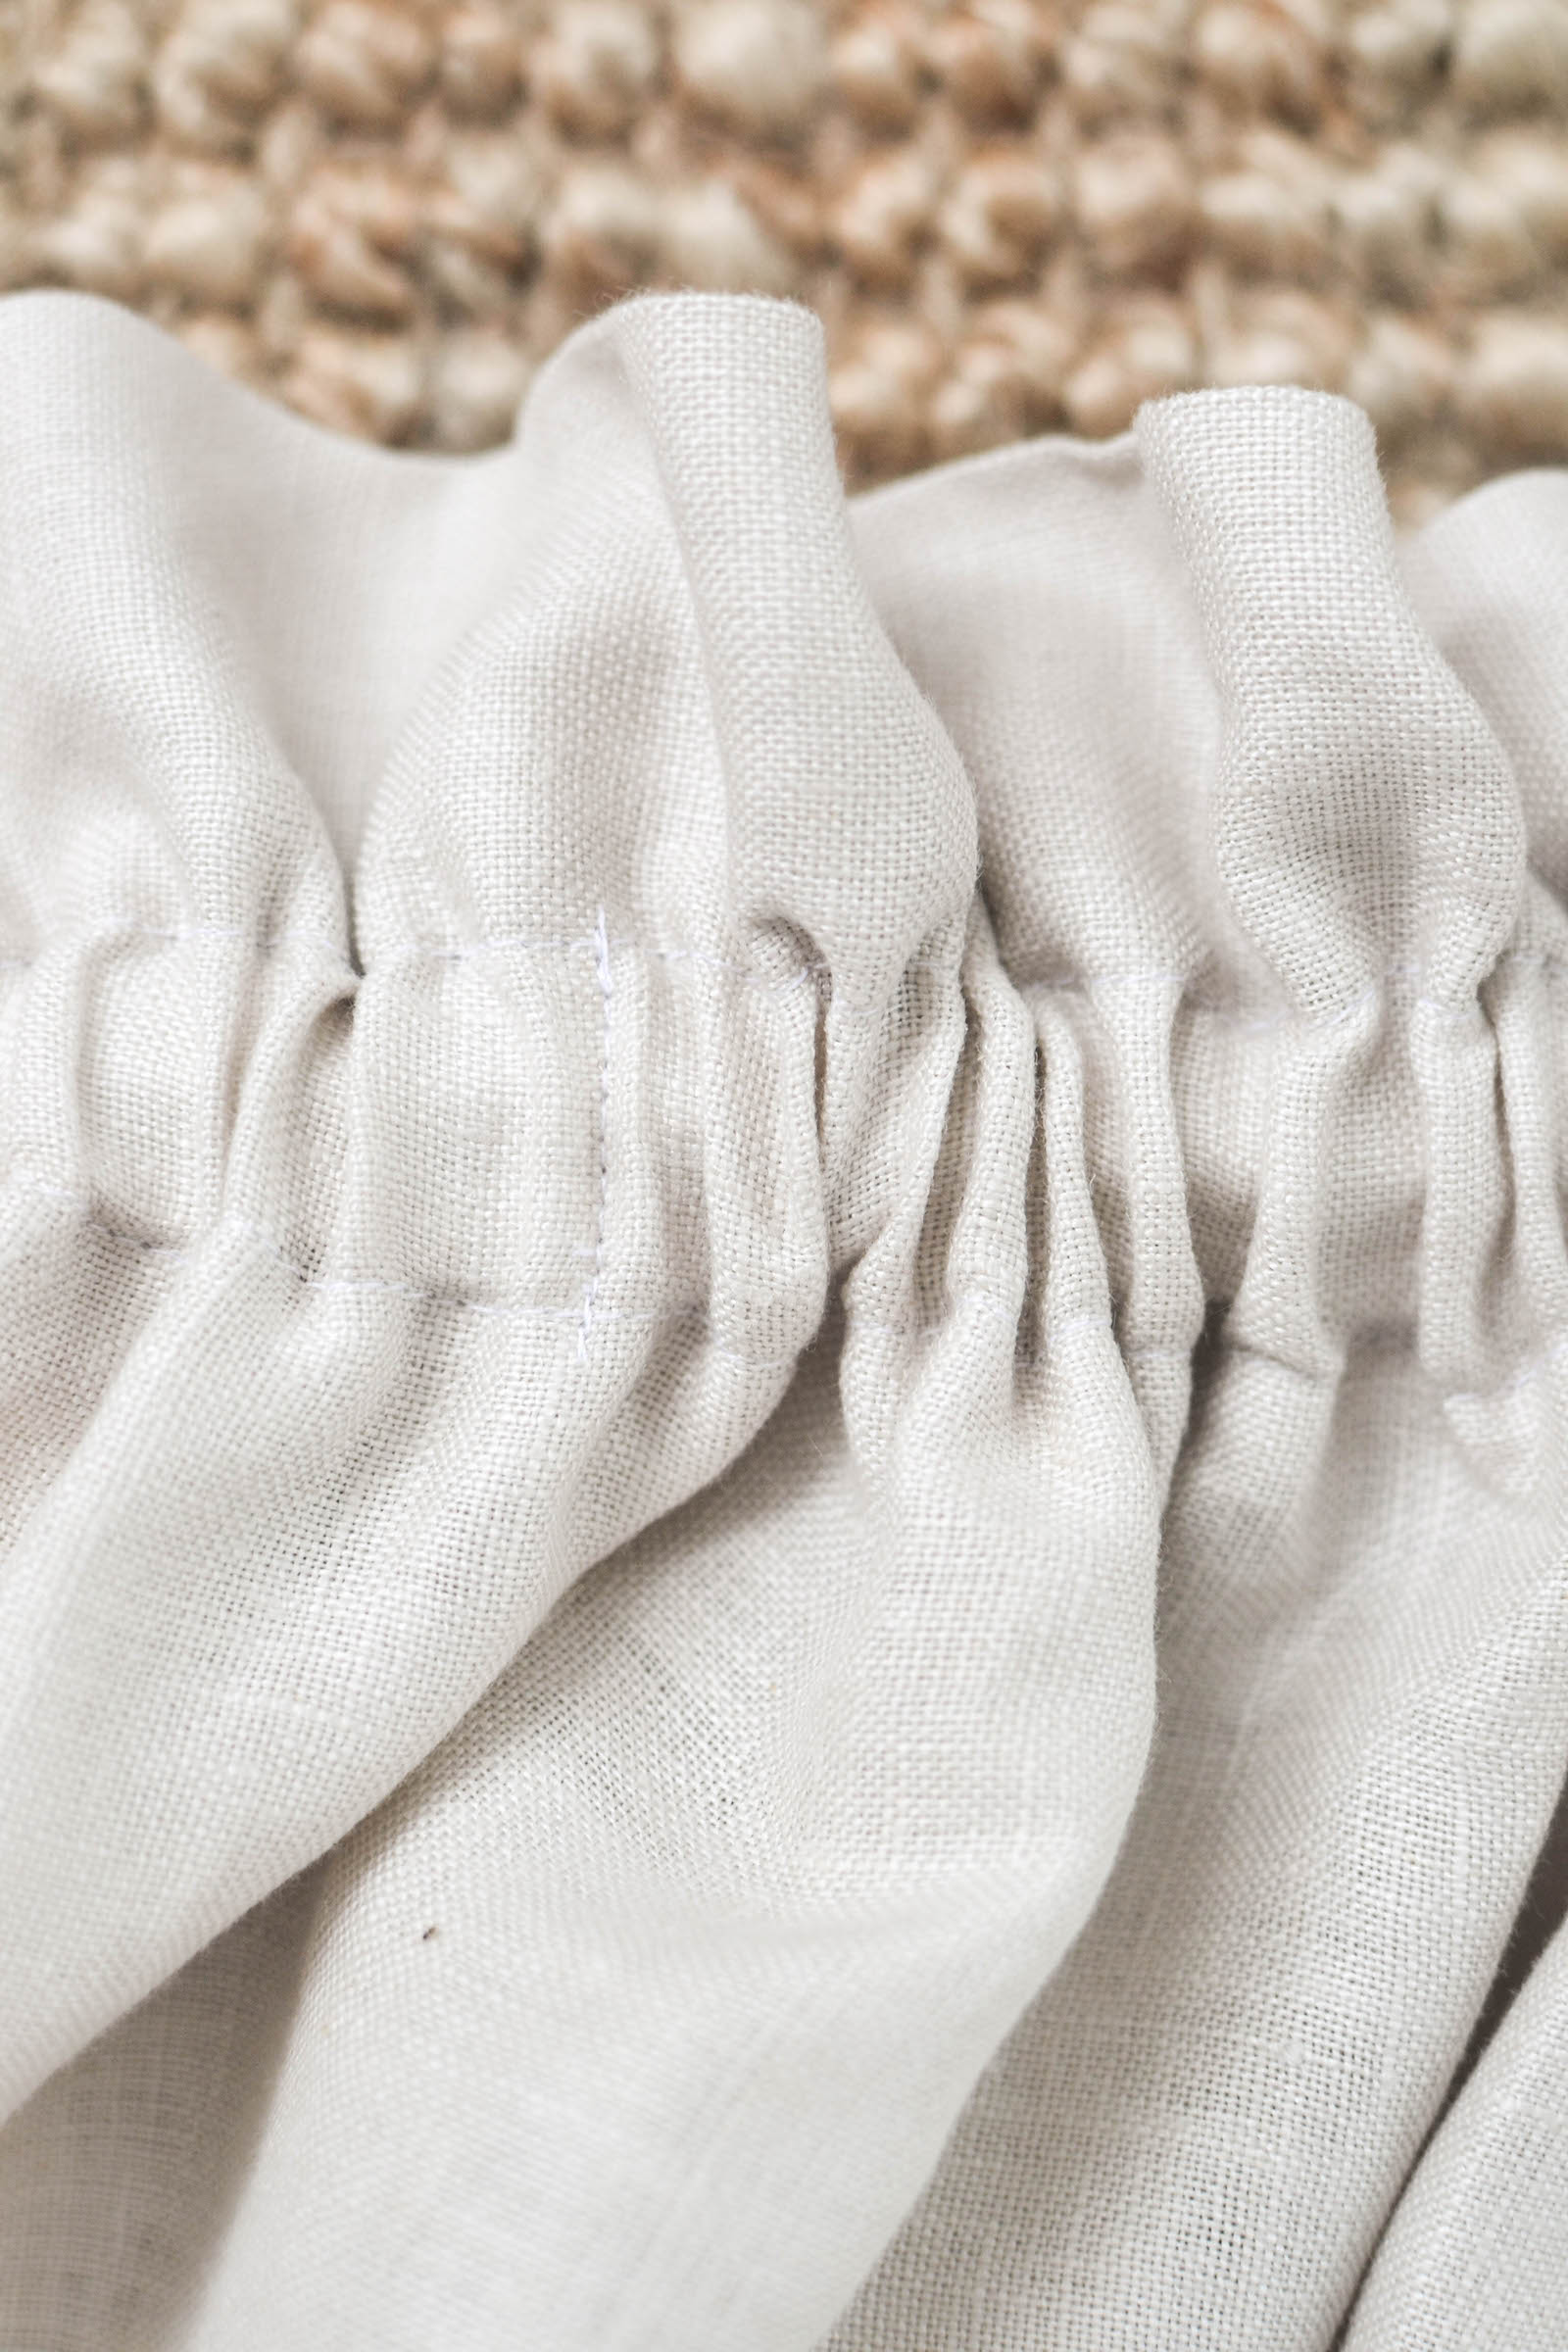
For the top side of the fabric, this hem will create your frill. Fold 8cm back and run another straight stitch around the base of the fold (where the zig zag stitch is), remembering to leave a 5cm gap near one of your side seams.
06

Use your elastic to trace out the width of your next seam lightly with a pencil. Then sew over this line with a straight stitch the whole way around.
07
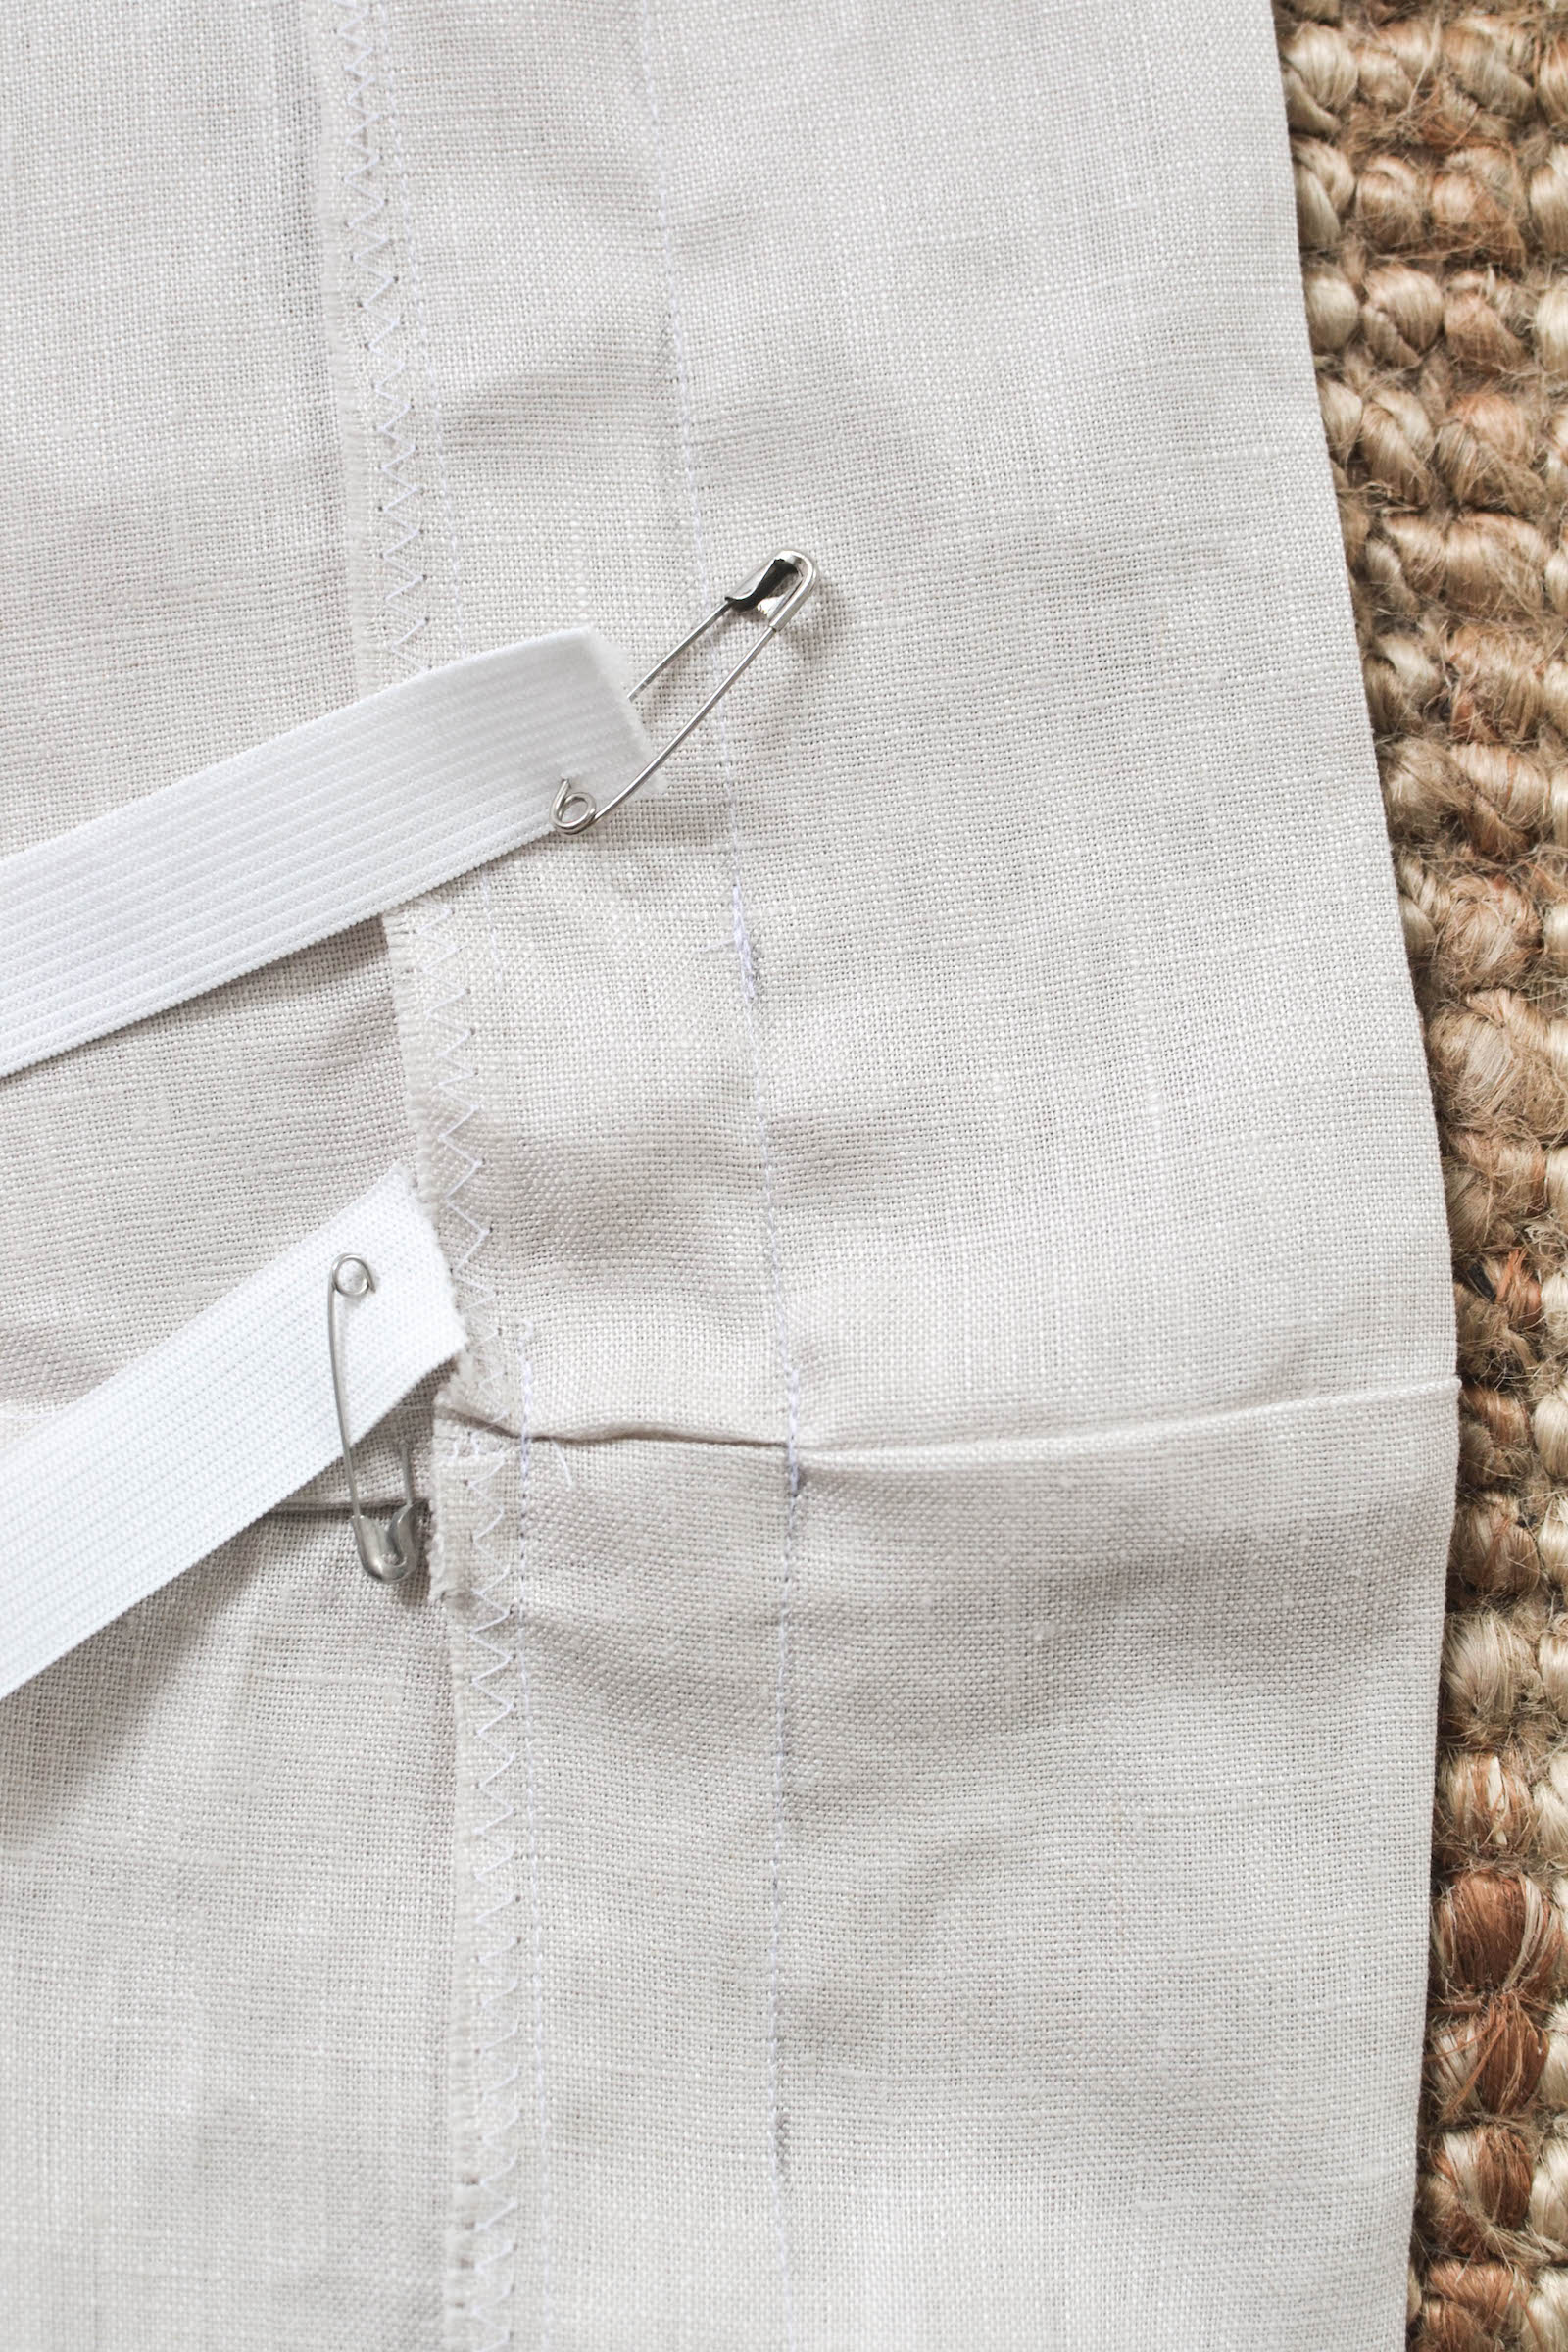
Now you’re ready to thread your elastic. A little trick to this is to use one safety pin as a ‘finder’ when you’re threading the elastic through, but also another to secure it to your fabric so that the end doesn’t get pulled into the channel.
Thread the elastic the whole way through then we’re ready to sew together. This is where that extra 10cm comes in handy, giving you a bit more to work with as you put it though the machine, simply overlap the last 5cm of each side and sew through the middle. You will find you’ll then have that 10cm of excess to chop off.
08
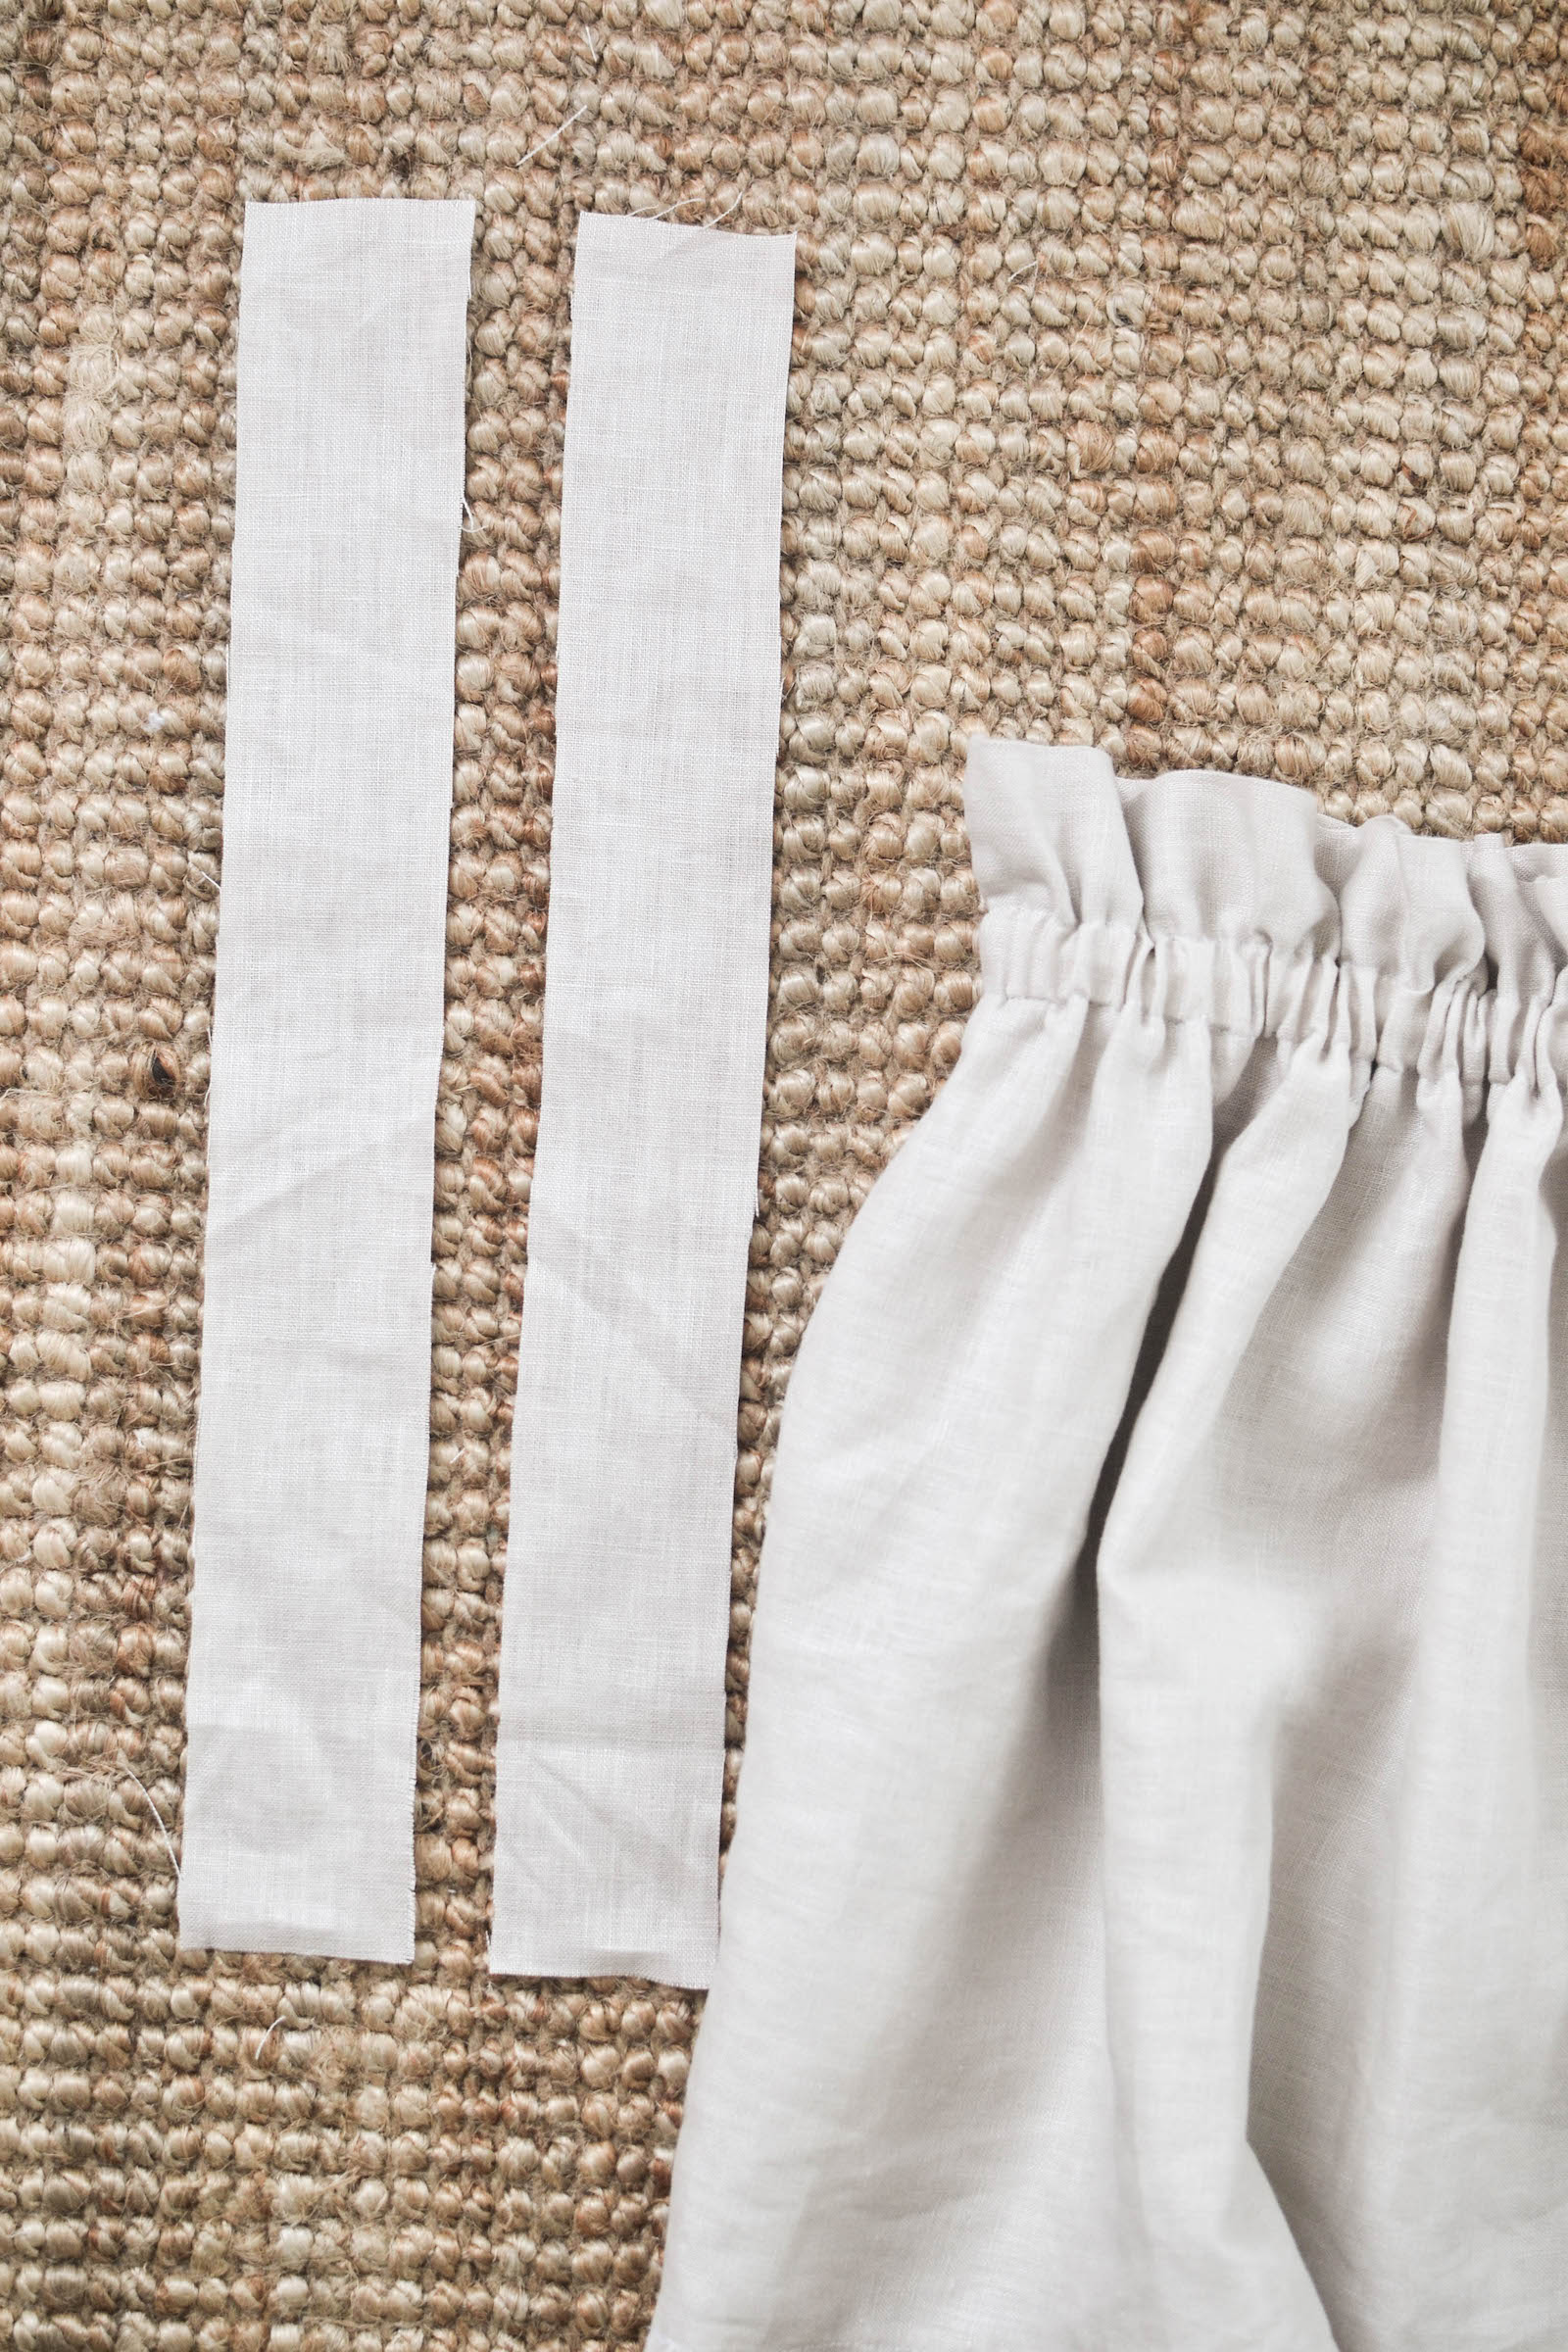
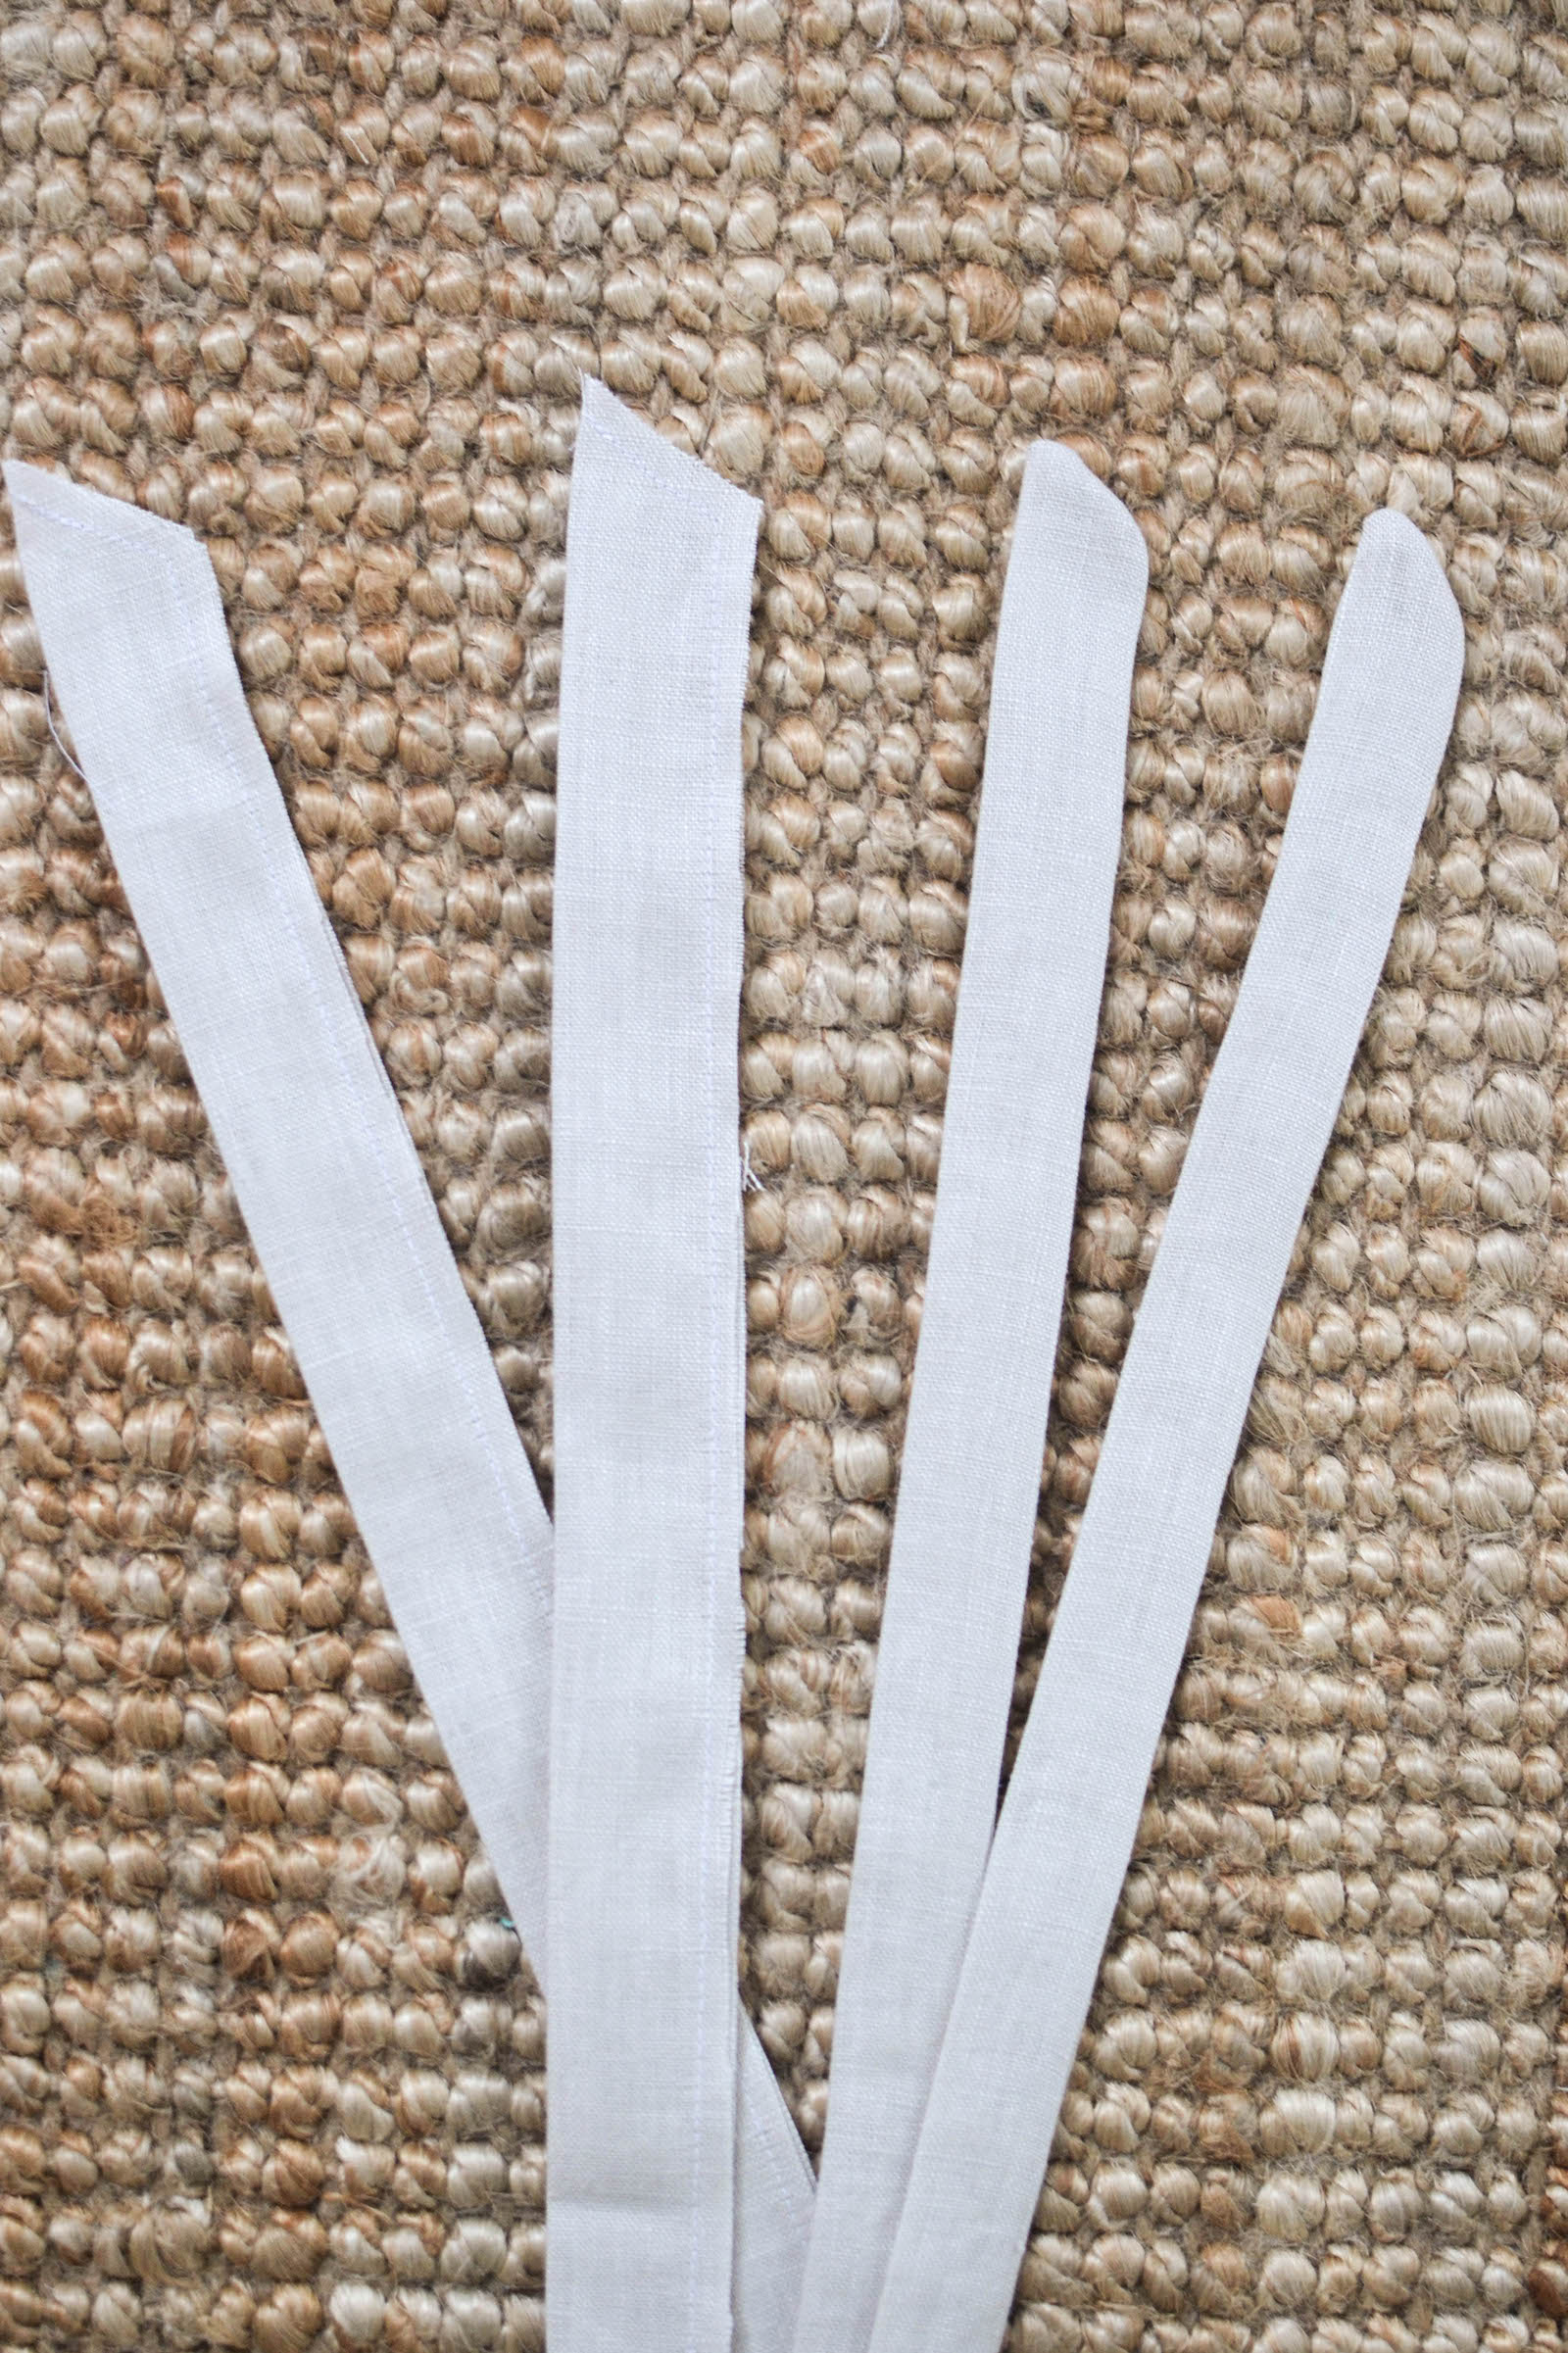
The body of your fabric is now done, you can always stop there for a strapless design, otherwise I like to add a couple of tie straps. Cut 4 lengths of fabric to 40cm x 7cm.
Fold in half along the long side and cut a 45 degree angle off one end of each. Then run a straight stitch along one short side and long side, before turning the right side out and ironing flat.
09

Pin onto the back and front and run a straight stitch over the straps where your elastic seams were so that they blend in together. You don’t have to be so particular about placement here as you can move where they sit by moving the fabric through the elastic. Tie the straps together into bows at the top and you’re all done.
I love to style this over a t-shirt with some kind of denim on the bottom, or with a cute skirt or shorts and boots for a night time ensemble!
Enjoy the video version of this tutorial below as a part of the simple cami tops series!
Find more of Jess and her beautiful eye for detail over on her
Instagram - @theeve__
Blog - www.theeve.net

STYLISH

MINIMAL


ELEGANT
Hope this was helpful! As always, let me know if you give this tutorial a go and how it turns out. Hashtag the outcome #essentialsclub on social media.