
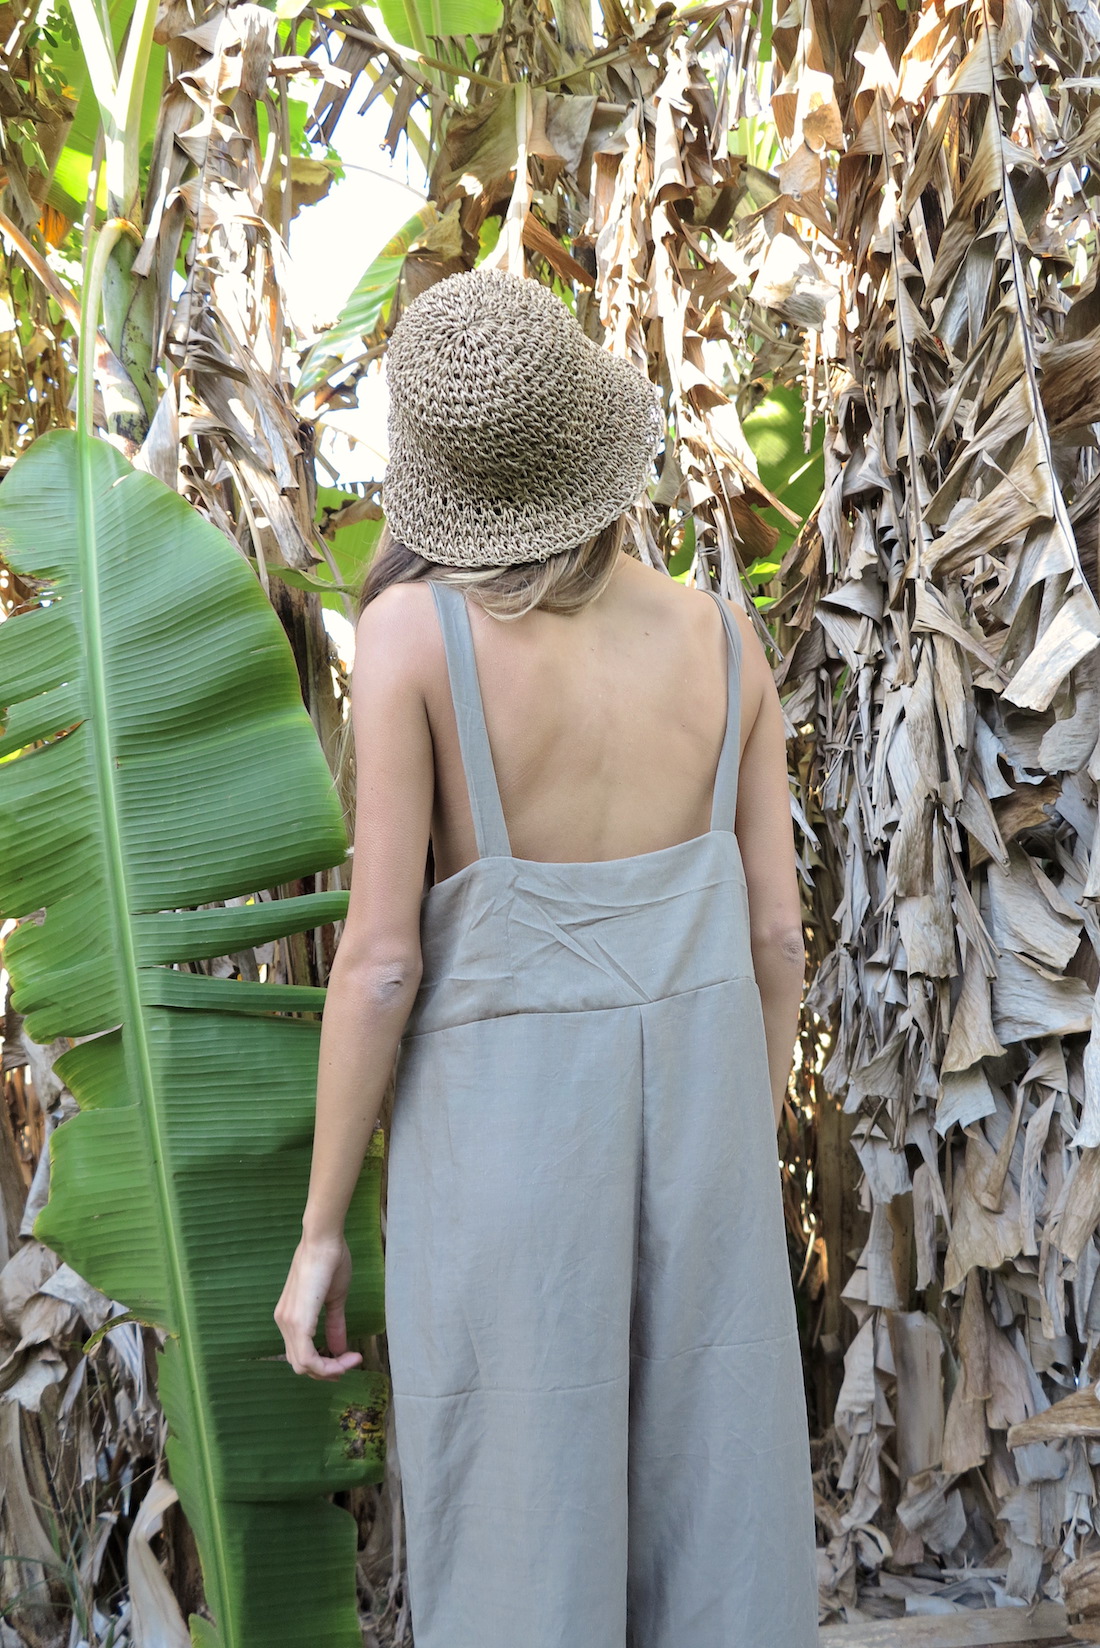
DIY: Jumpsuit with Button Detail

Such a versatile, comfortable and stylish piece that will be perfect all year round. I used a light cotton/linen blend which will be cool but protective for summer and then able to layer up easily to keep warm in winter!
If you prefer the video version of the tutorial WATCH HERE
The Essentials
- Light/Durable Fabric (size 6-10 approx 2-2.5m, size 12-16 approx 2.5-3m) (AUS SIZES)
- Scissors
- Thread
- 2 Buttons

Steps.
Follow along this tutorial with your choice of video or written steps below!
01


MEASURE
You'll end up with ten pieces to begin making the jumpsuit. Think of it as making a top and pants and joining together.
Top Width: To start, loosely measure your widest point (generally hips or bust). Once you find the full circumference measurement half this and add 5 inches to allow for side seams and ability to slip on. This measurement will be the width of one top panel.
Front Top Height: Measure from your mid chest to waist and this will be the height of your top front panel.
Back Top Height: Start at the point under your armpit where you would like the underarm section to stop/sit. Measure from here to your waist and this will be the height of the back panel.
Top Straps: The straps need to reach from the back panel over to the front with a little extra length for the button area. 22-26 inches should be a safe length for this. Then the width depends on how thick you'd like the straps. With the button feature it's best not to make it too thin. I cut mine at 5 inches which ended up around 1.5 inch after folding in half and seams were sewn.
Pant Panel Width: Have a pair of pants handy that you like the fit of the crotch. Using the Top Width that you first measured (half circumference + 5 inches) halve this amount and add how ever much you need to allow for the crotch section. This will be the width of the leg panel.
Pant Panel Height: Measure from your waist to the point where you'd like the bottom hem to be. This will be the heigh
02
CUT AND SEW TOP FRONT PANELS
With these measurements ready to go it's time to begin cutting out the panels.
For the top front cut out two panels that are the Top Width measurements by the Front Top Height.
Once you have those two rectangles ready measure in 10cm from the top corners along the top and mark a spot. Then from the same top corners mark another spot 20cm down the side. draw an angle from these two points and cut along line.
Once you have the two identical panels with the angles cut along the top place good sides together and sew along the top three edges. Flip good sides out and the front panel is good to go.
03
CUT AND SEW TOP BACK PANELS AND STRAPS
Cut out two rectangle pieces that measure Top Width wide and Back Top Height high. These are you back panels ready to go.
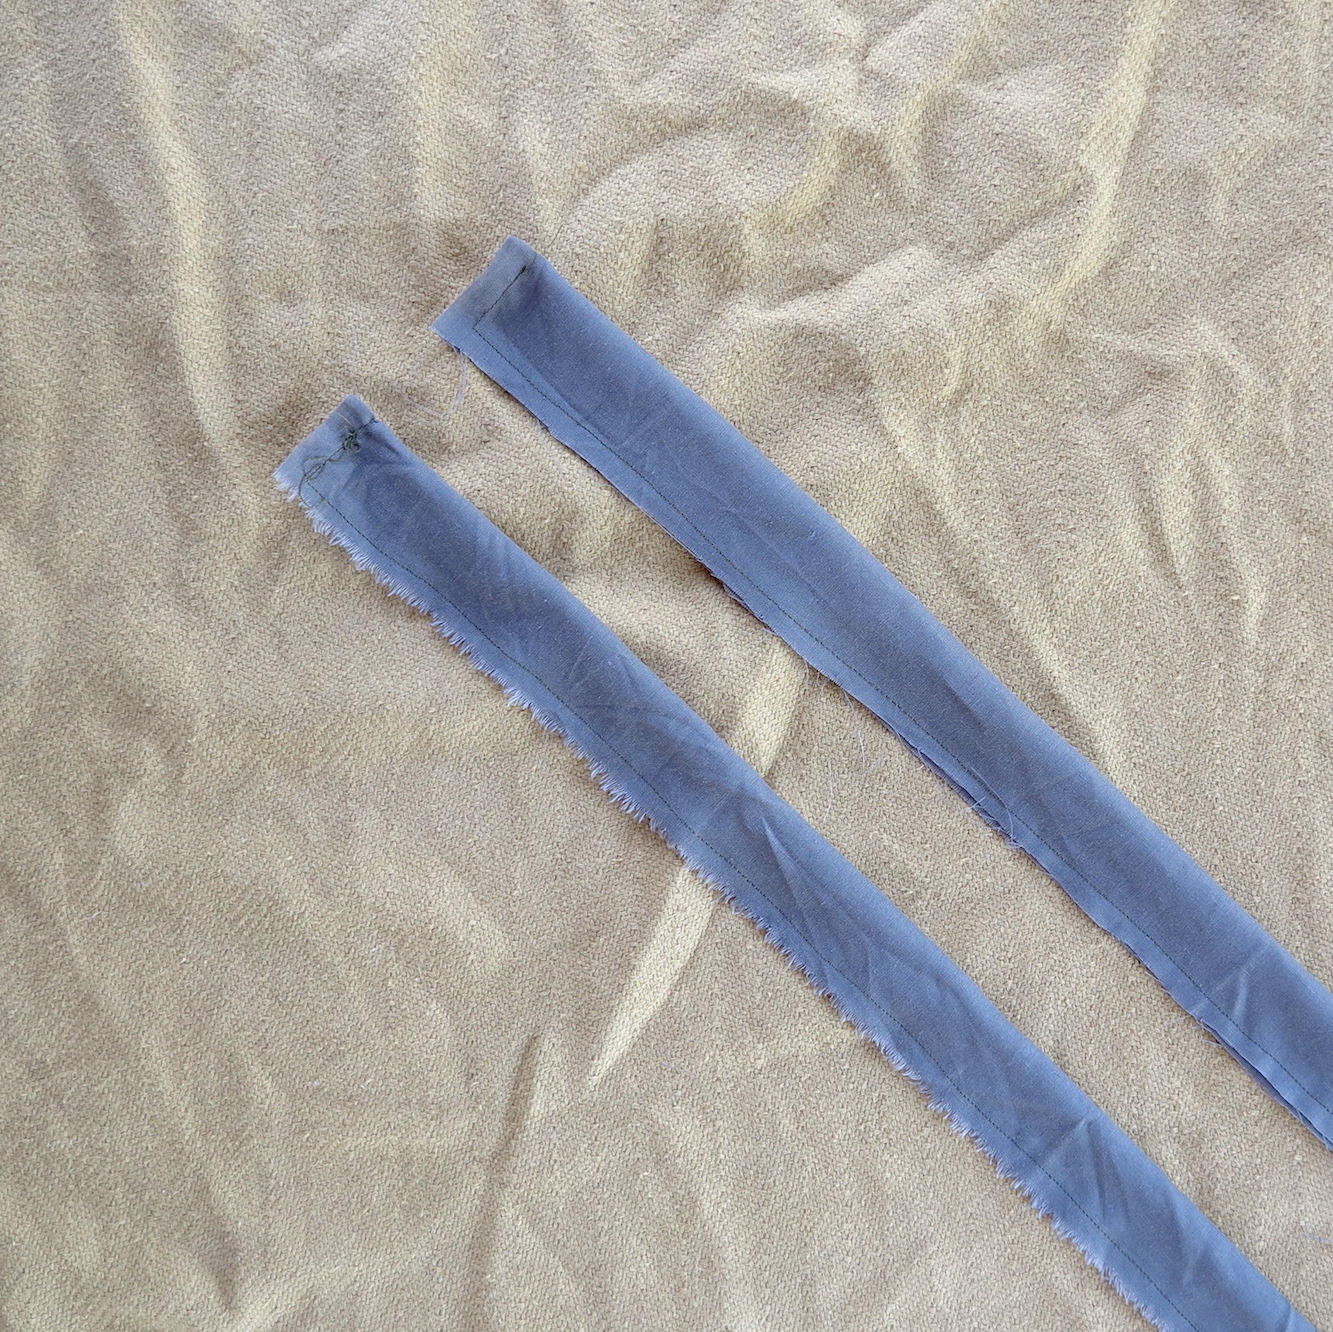
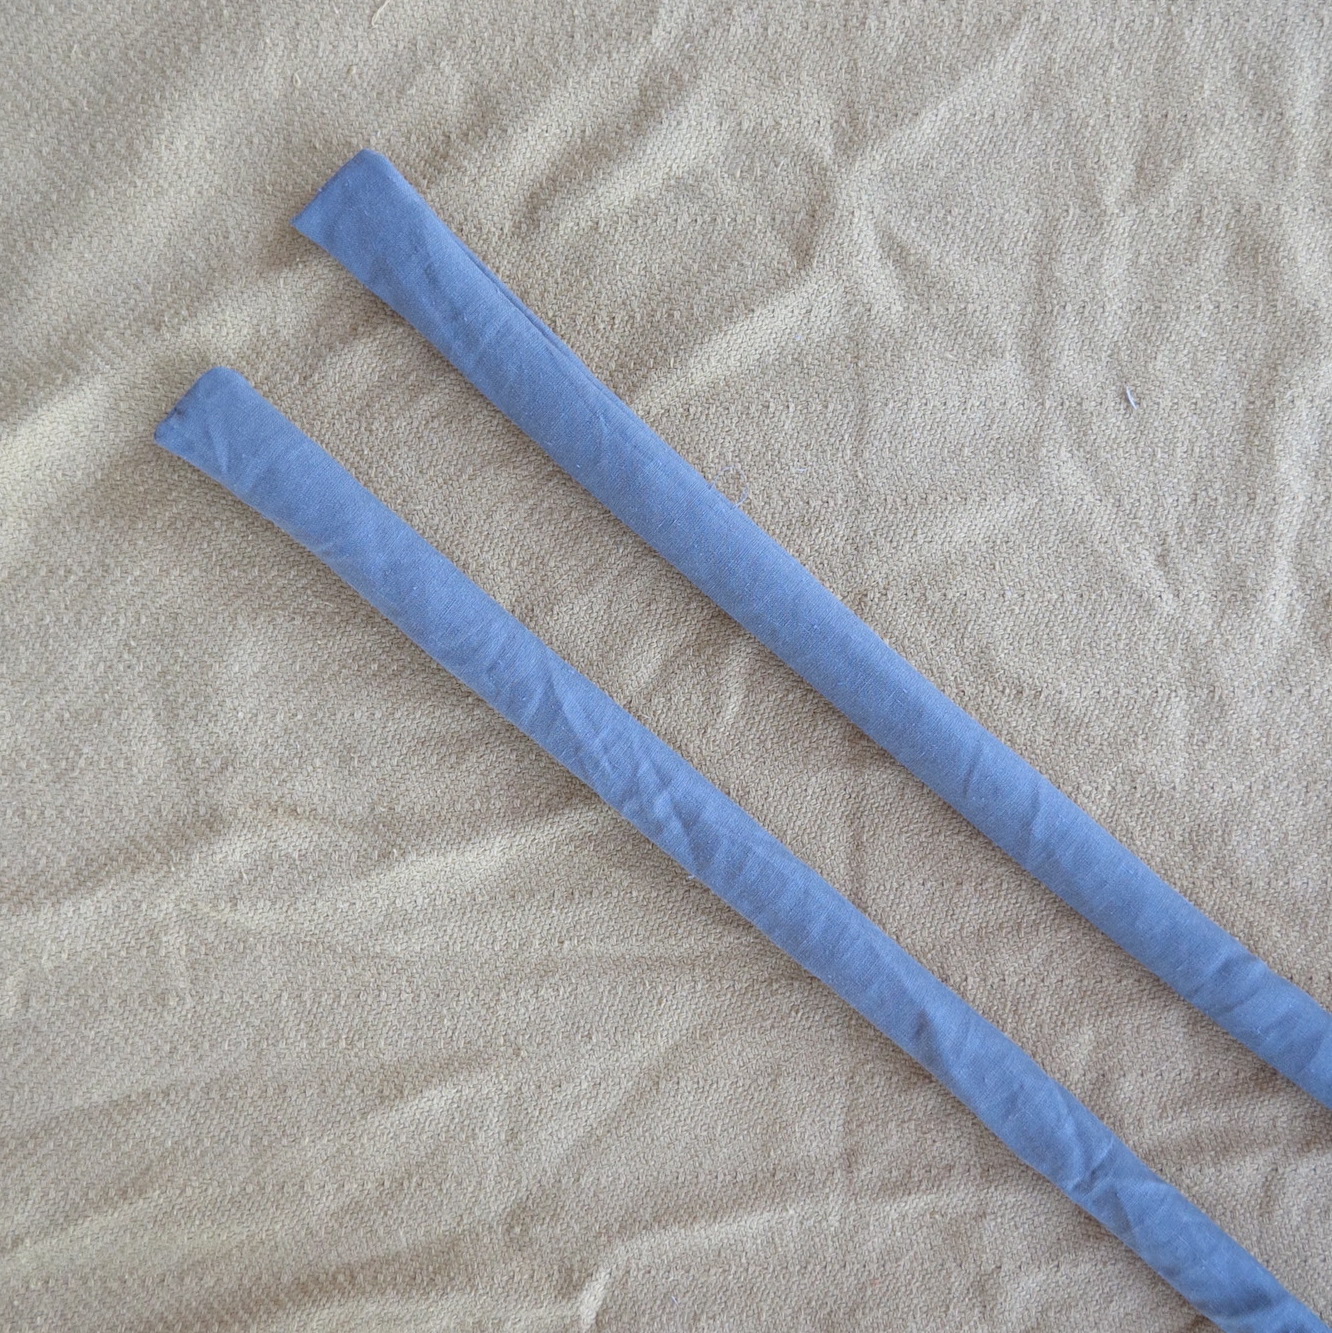
Then cut another two panels for the straps measuring 3.5inches wide and approx 25 inches long (or whatever measurements you decided on).
Fold each strap in half with good sides facing in and sew along one short side and the full length on the frayed side then leave the other short end open. Repeat on other strap and flip good sides out through open end.
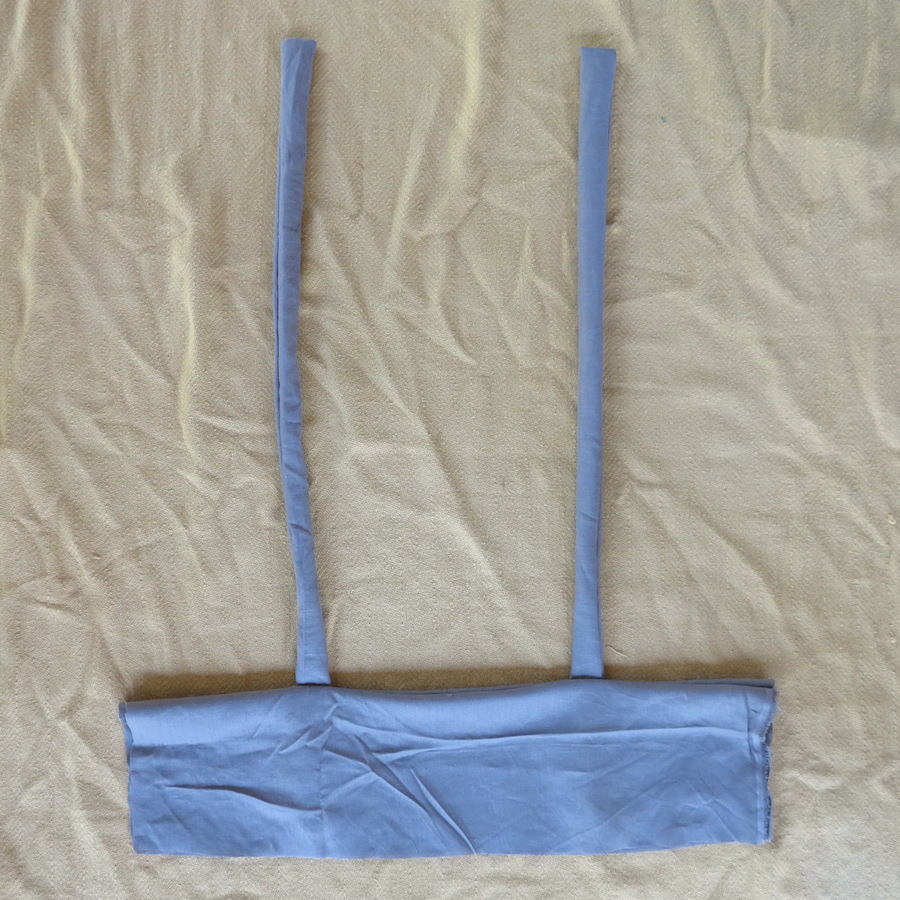
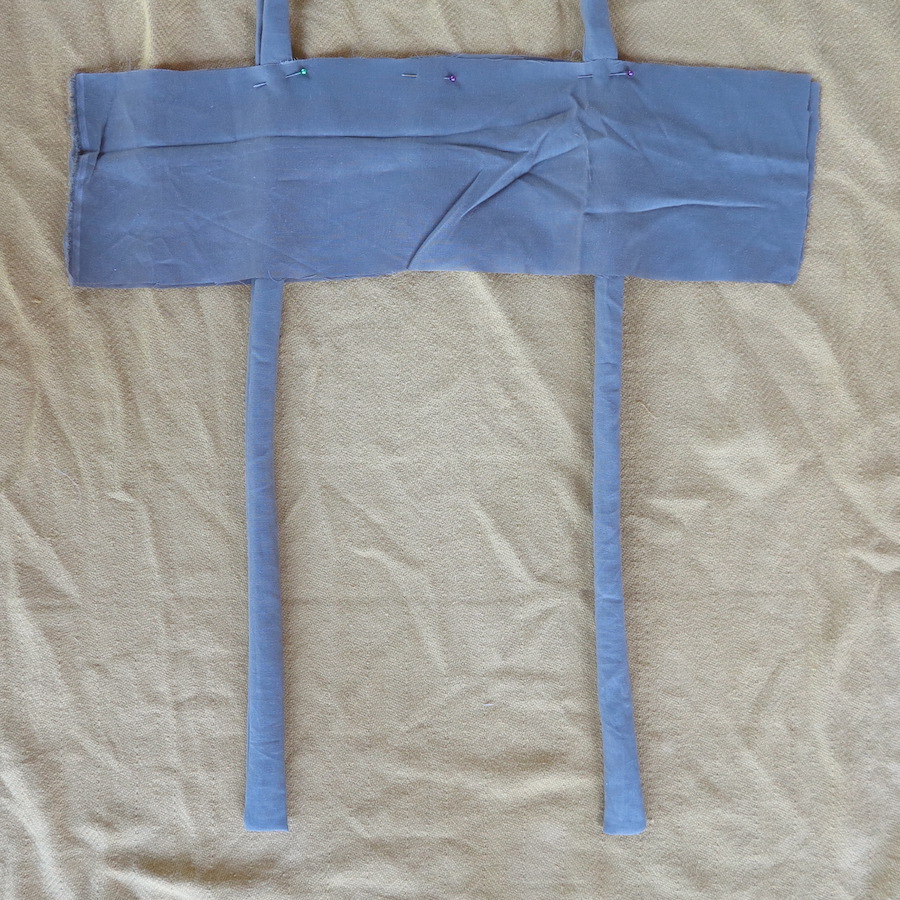
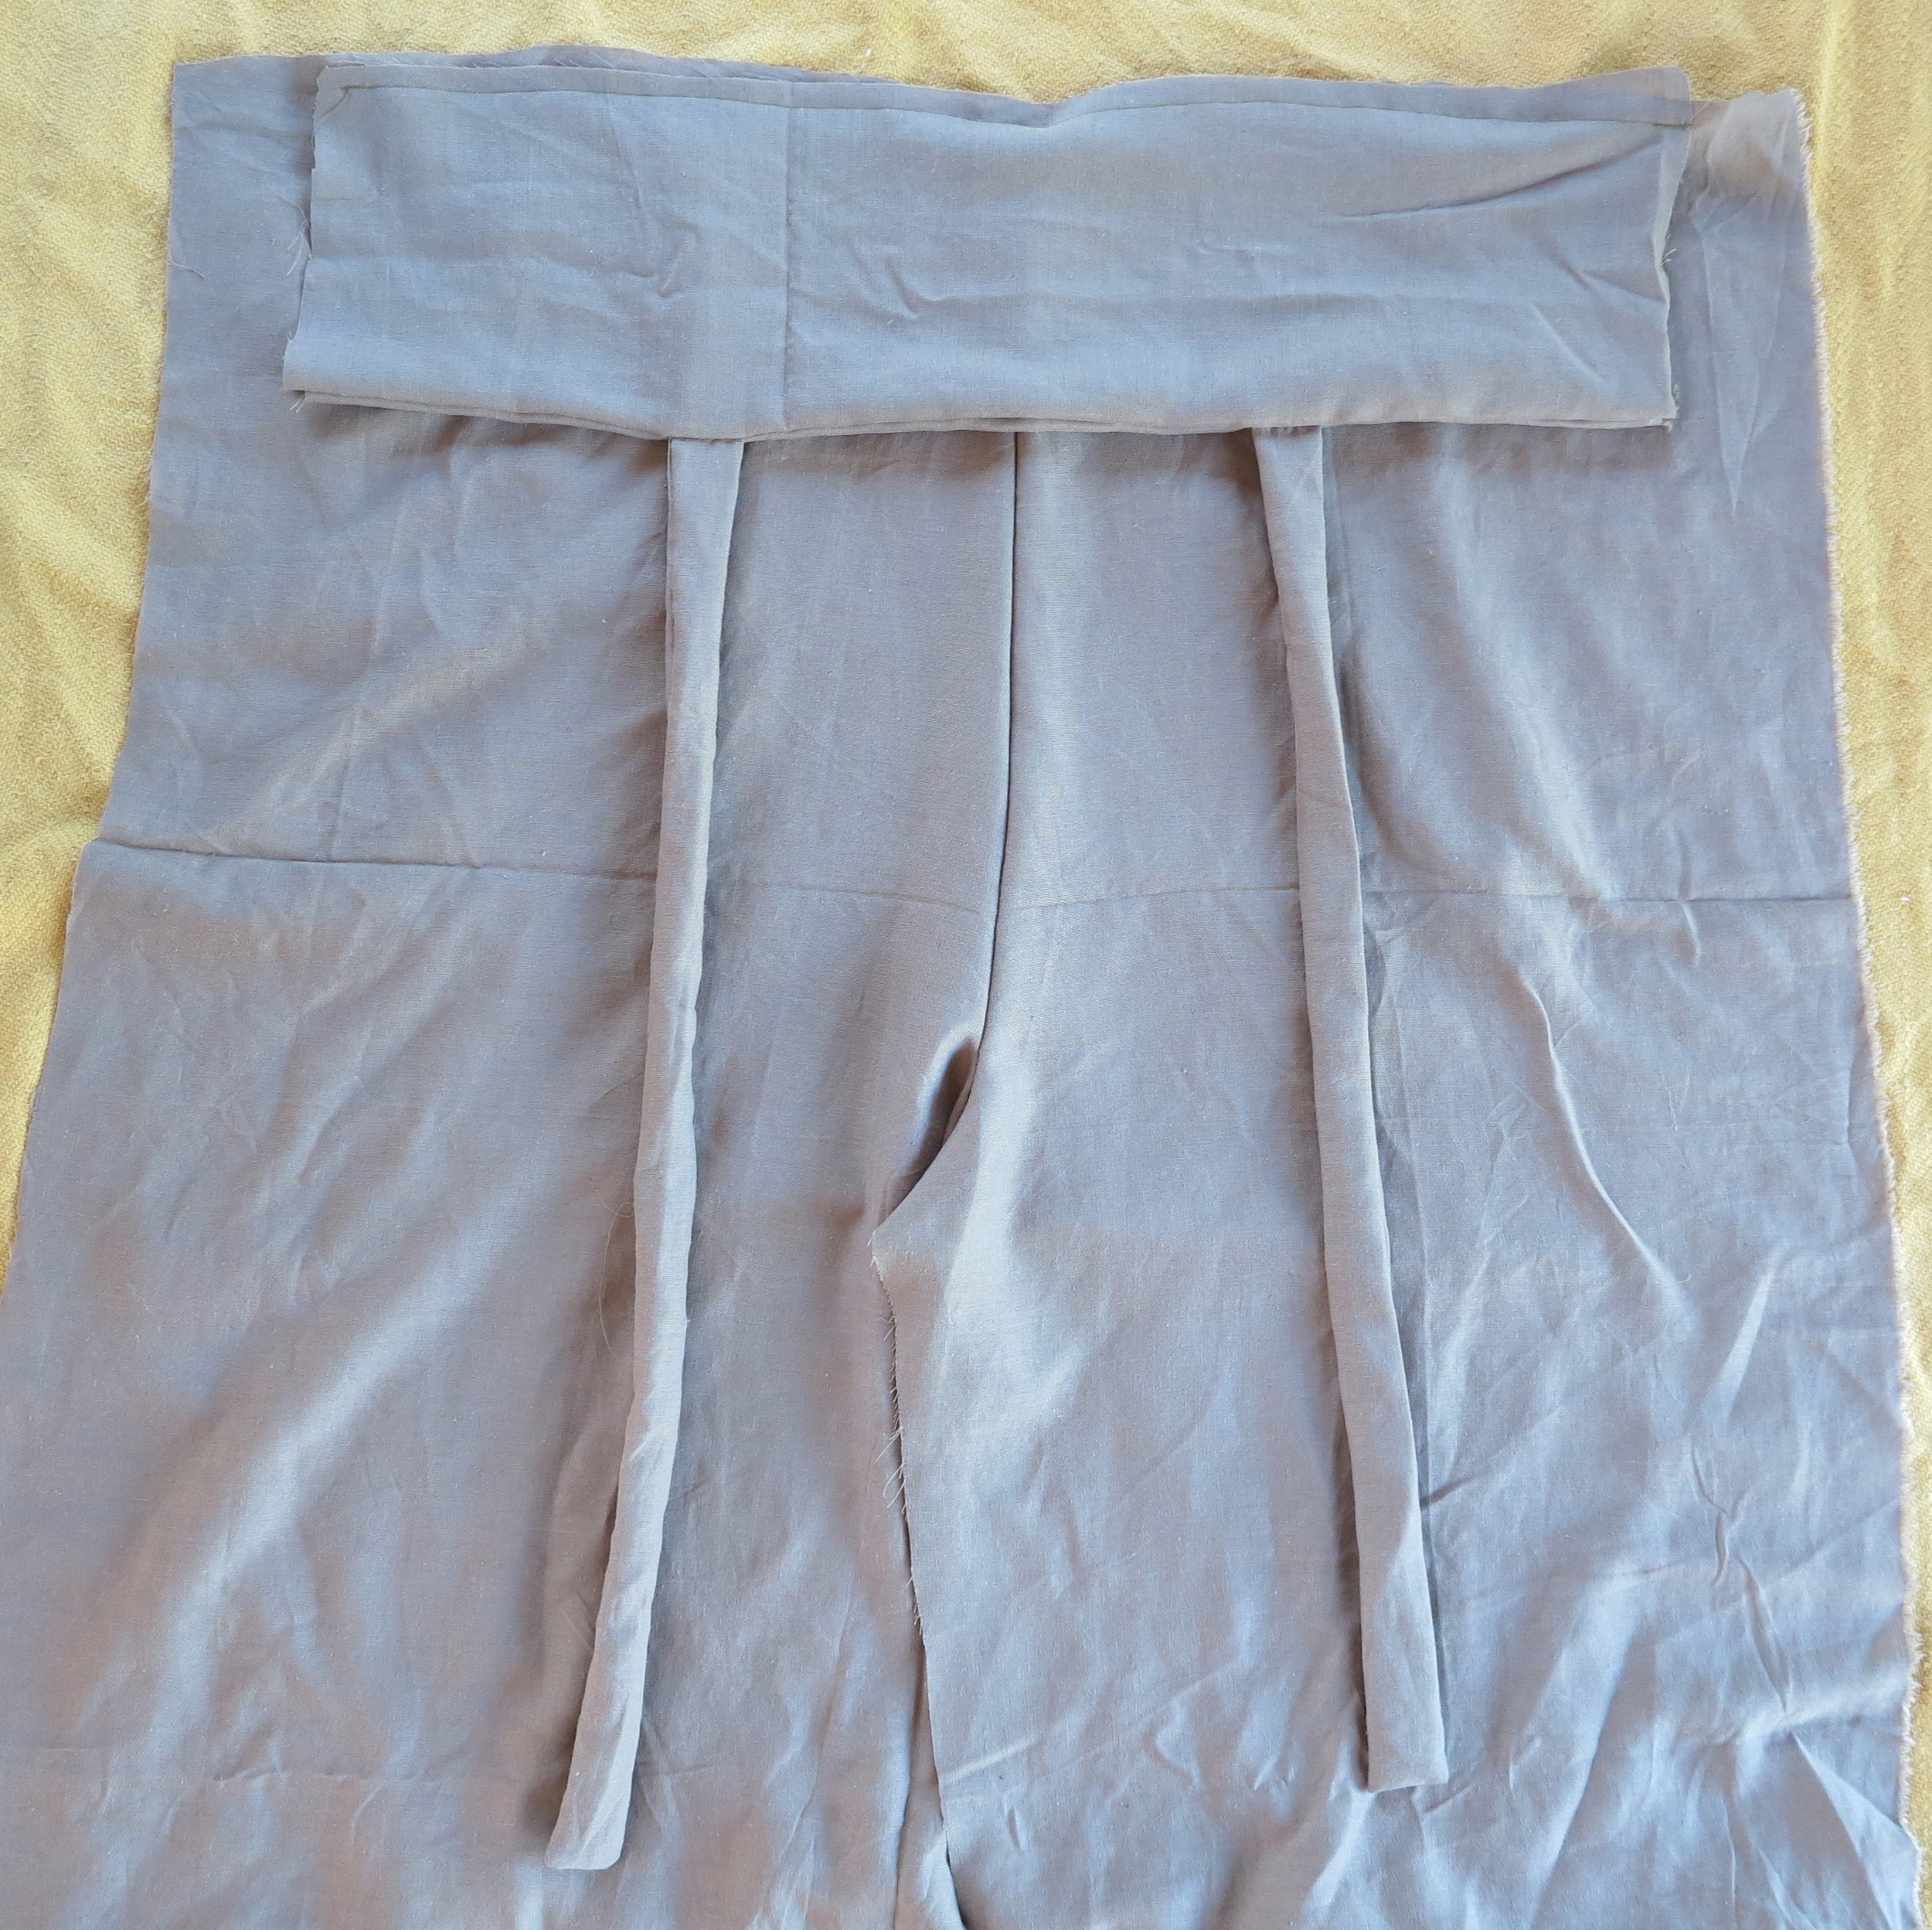
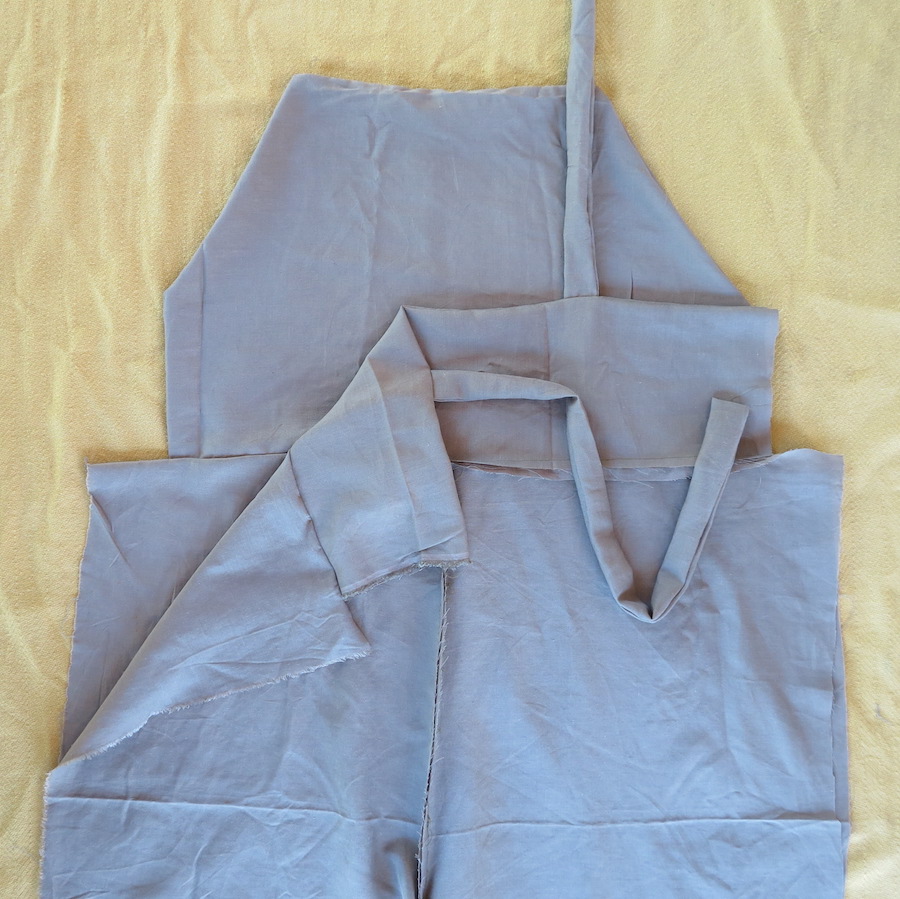
Lay one of the top panels down with good side facing up then place straps about 8 inches apart in the centre and so that majority of the fabric is sitting on top main panel with frayed end hanging off the short end that will be hidden. Once that's in place put the second top panel on top so that the good side is facing down. It ends up being a sandwich with one of the top panels on the bottom, the straps inbetween and the other top panel as the top bun. Pin in place and sew along top then unfold so good sides are facing out. There you have the back panel and straps joined and ready for the next stages.
04
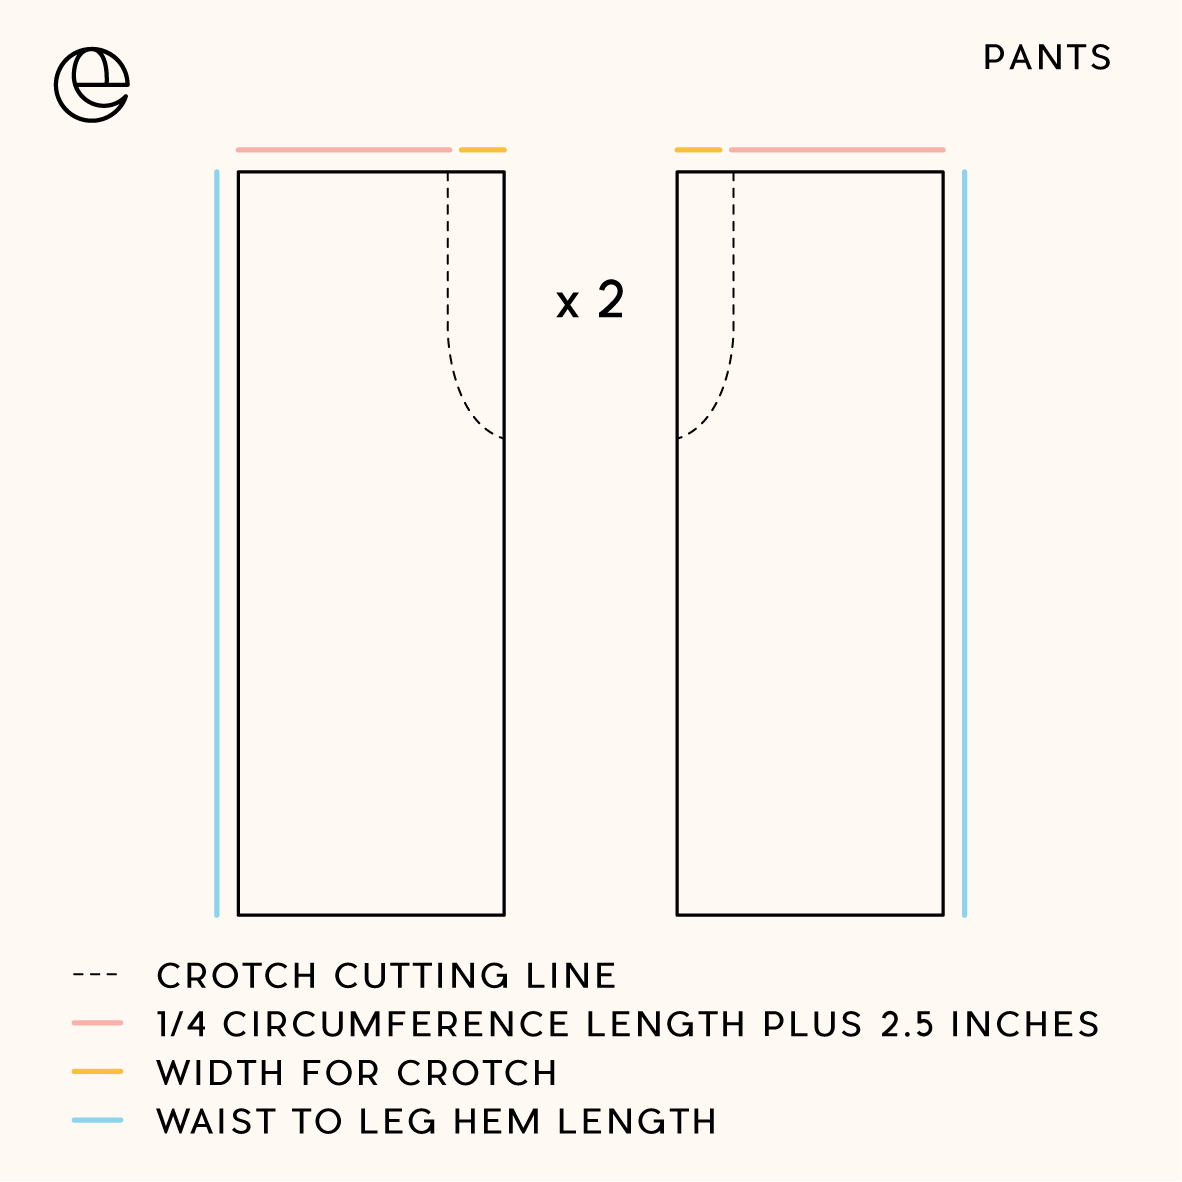
CUT AND SEW PANTS
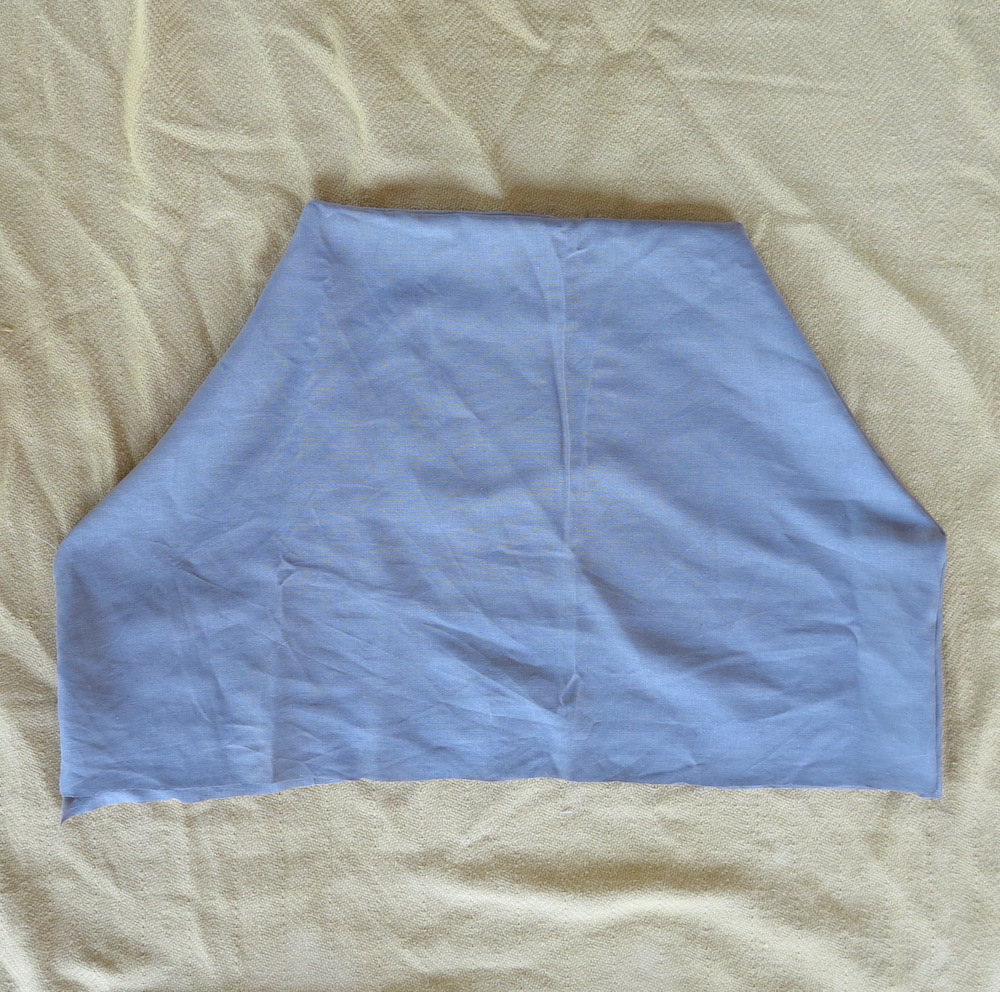
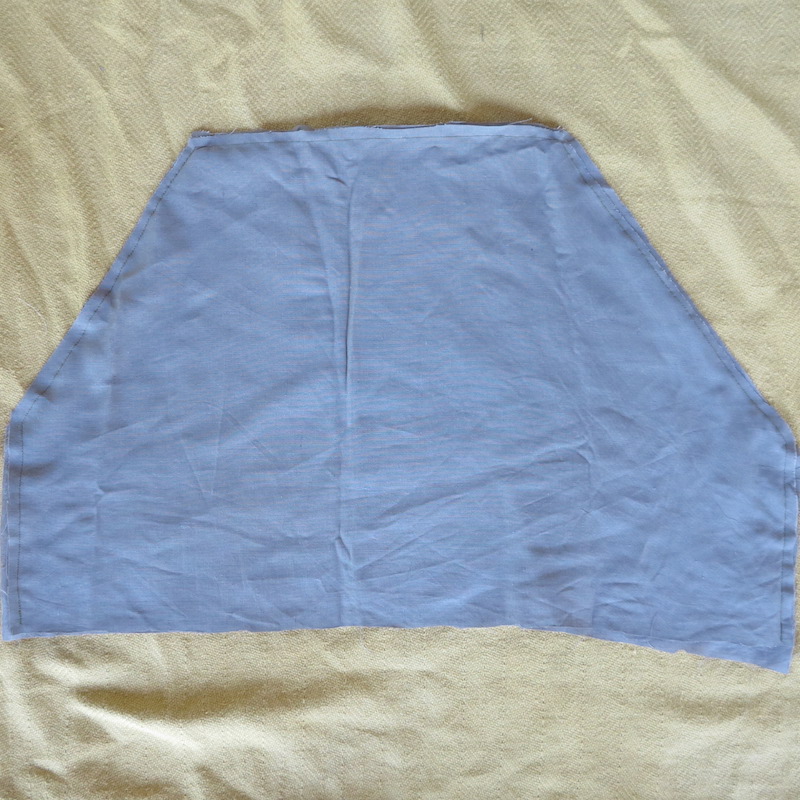
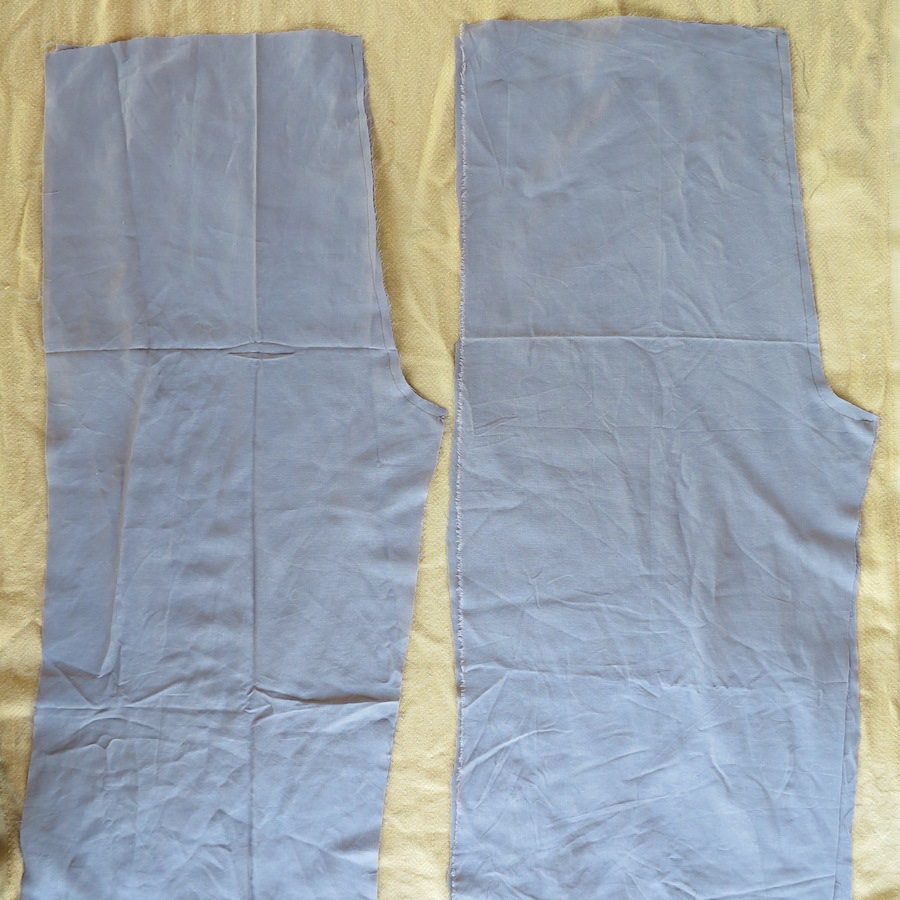
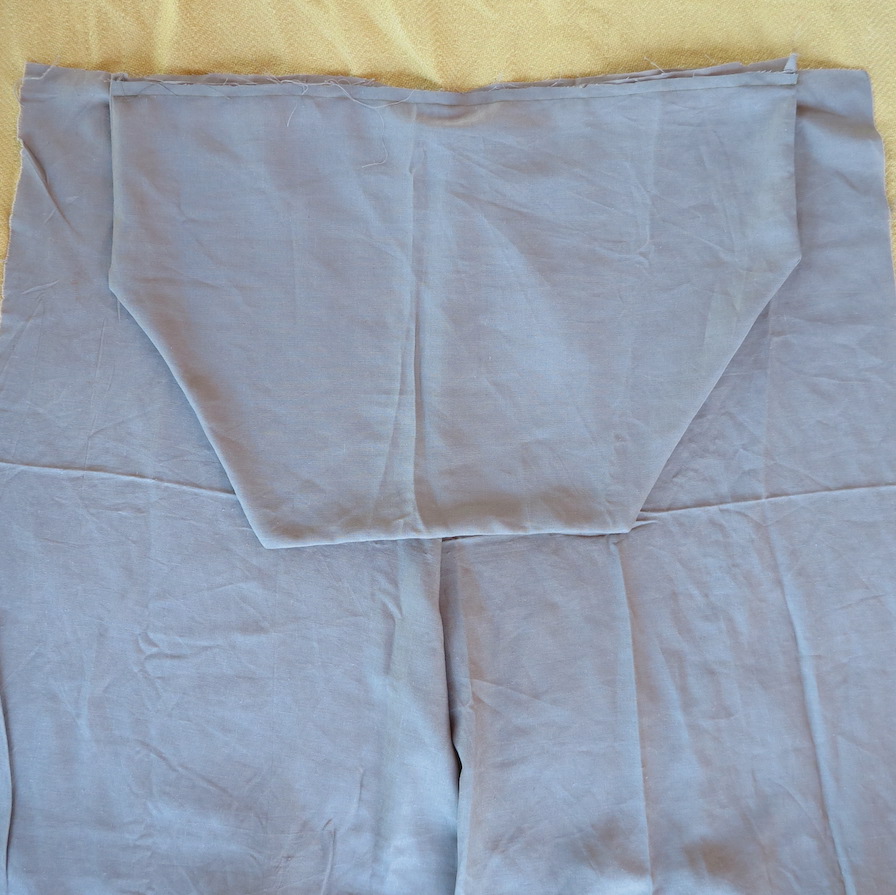
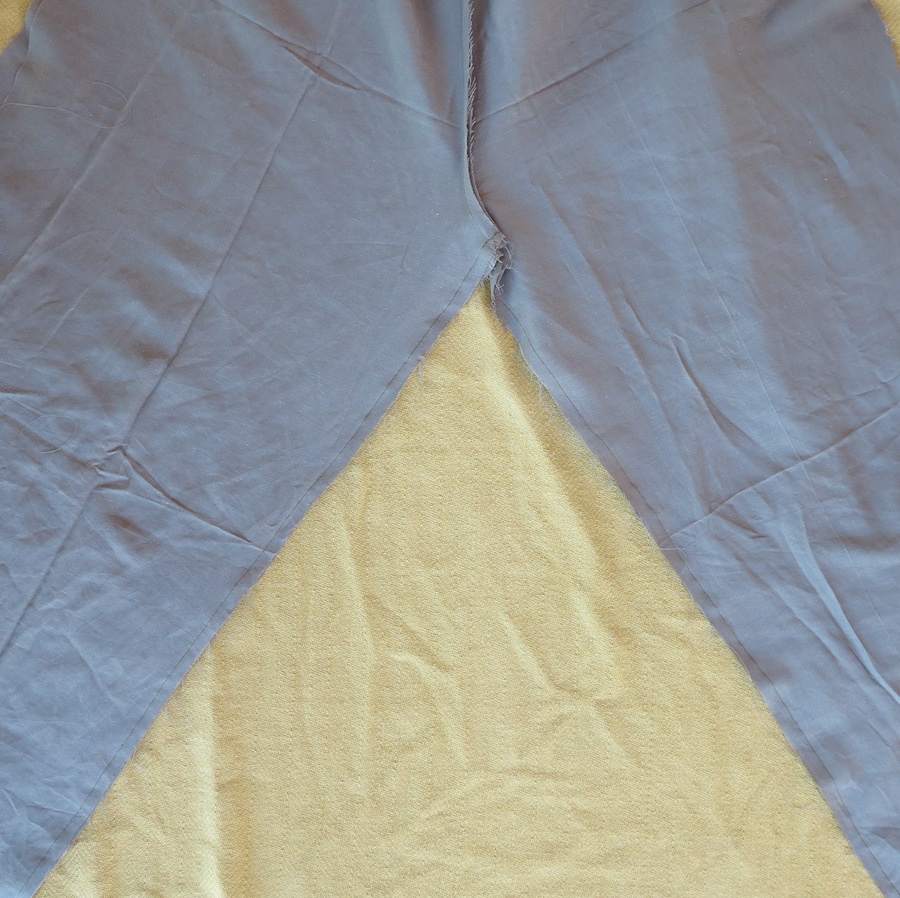
Cut four panels with measurements of Pant Panel Width wide and the Pant Panel Height long. Then grab a pair of pants you already have and like the fit of the crotch and replicate this angle in the top opposite corners of each front panel. Repeat for back pant panels.
Face good sides of the front panels together an sew down crotch. Repeat for the backside. Flip good sides out and lay out flat with them facing up for the next steps.
05
JOIN TOP AND BOTTOM PANELS
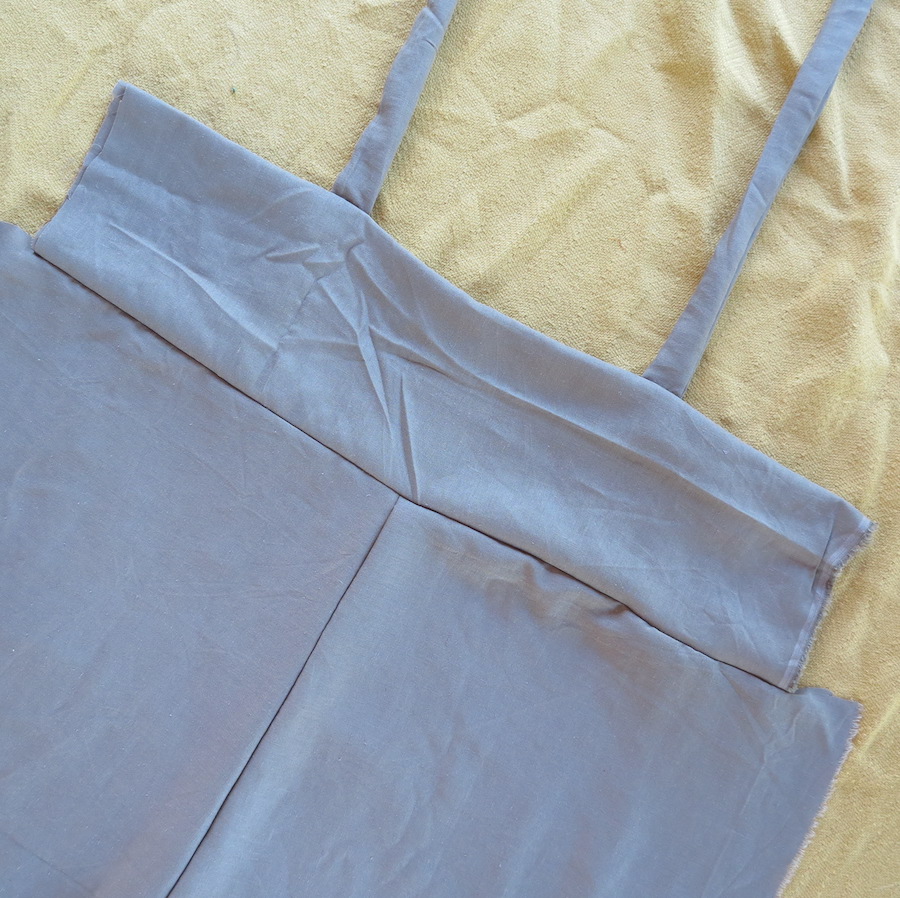
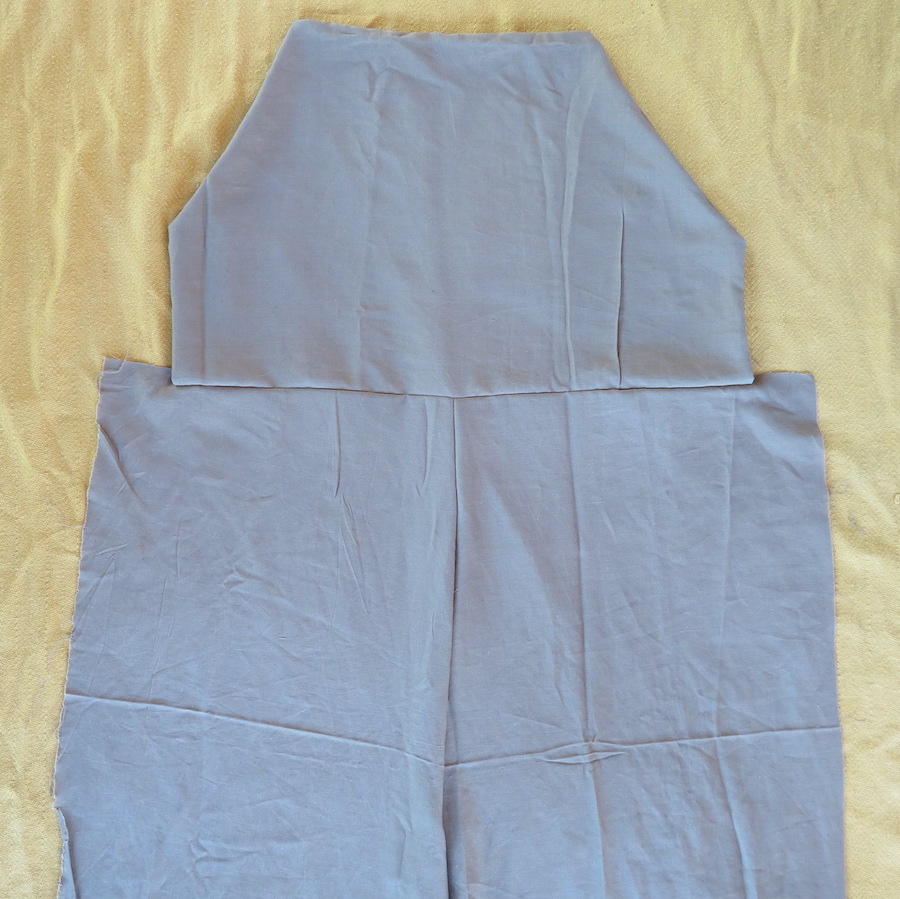
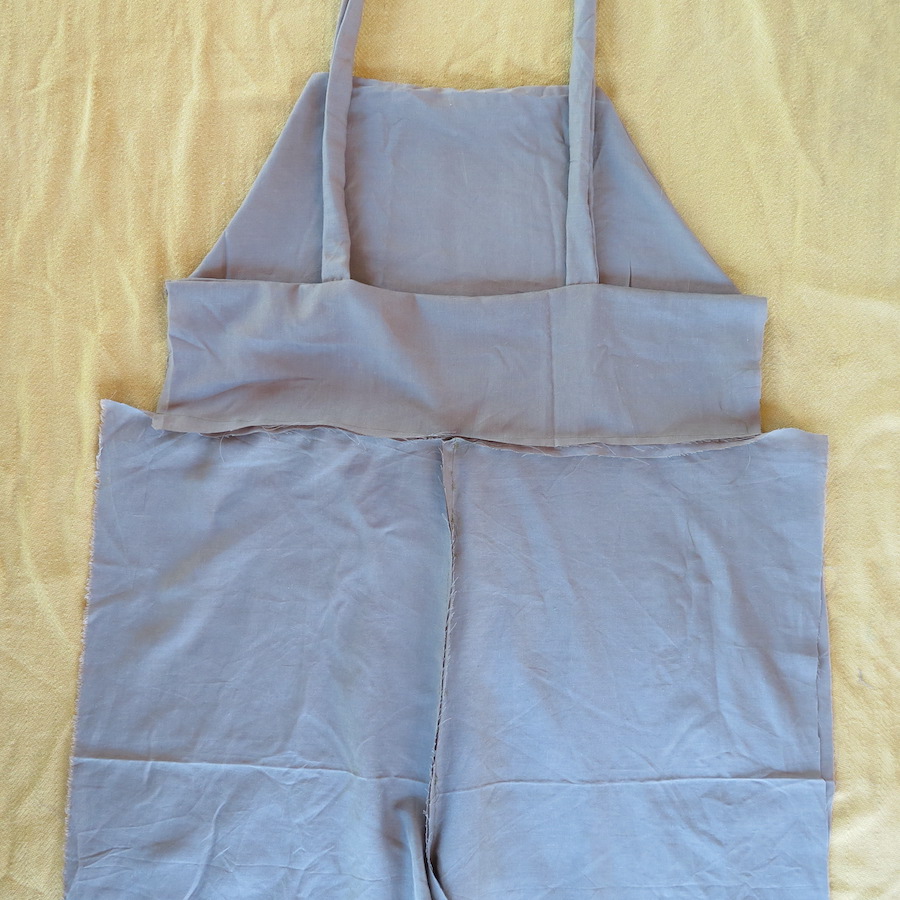
Lay good sides of the top front panels and the front pant panels together and sew along the mid seam, fold good sides out and repeat for back side.
Now the front and backsides are ready to join!
06
JOIN FRONT AND BACK TOGETHER
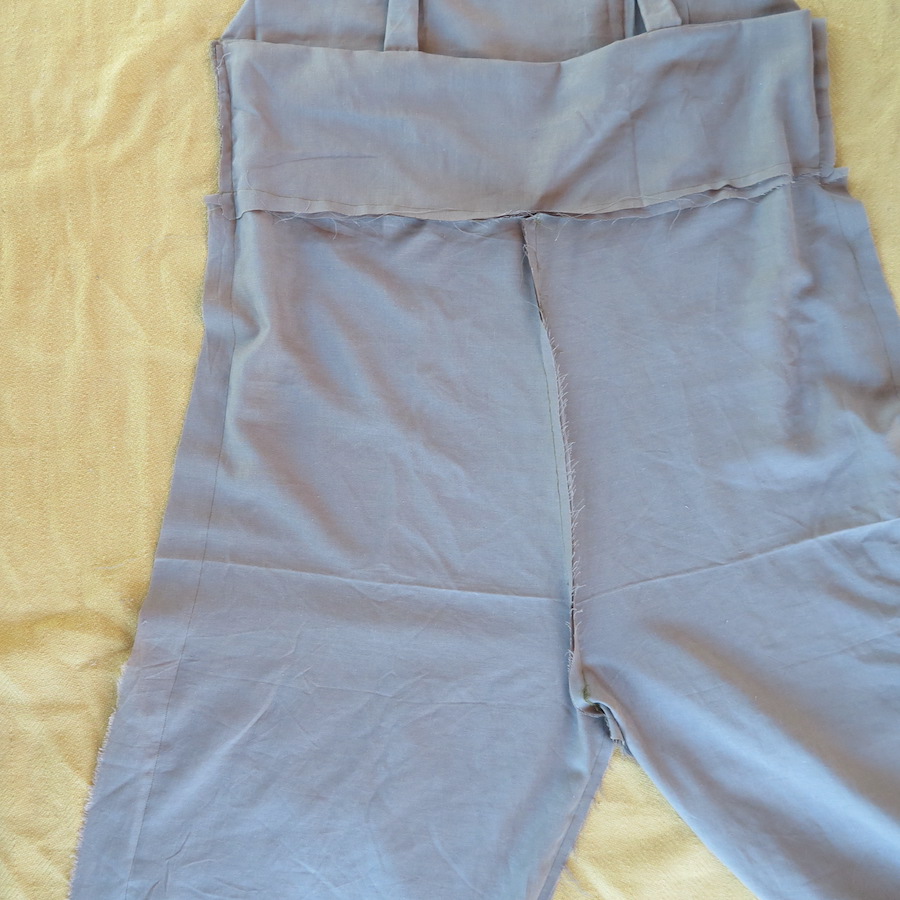
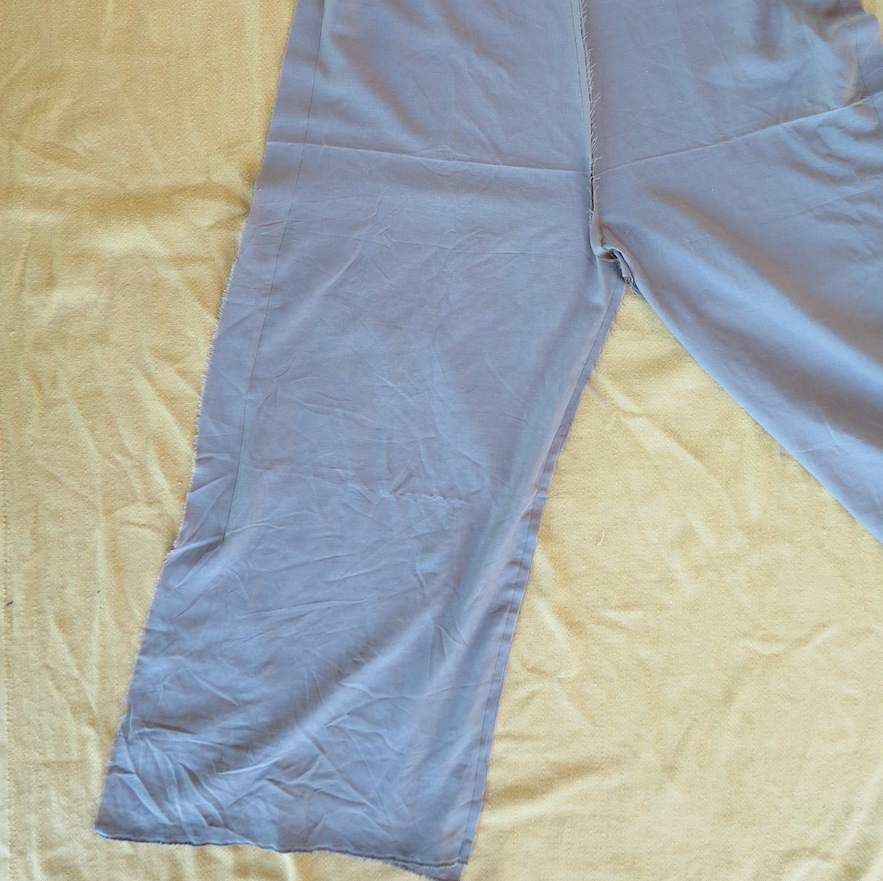
Place good sides of front and back panels together (you'll see my pants ended up a bit wider than the top which I trim down to match).
Sew inner leg seams together.
Sew down full length of each side seam. TIP: if you want splits at the bottom remember to stop before you reach the bottom at the point you'd like the side split to go up to.
07

CLEAN UP EDGES
Hem bottom and side split edges.
08
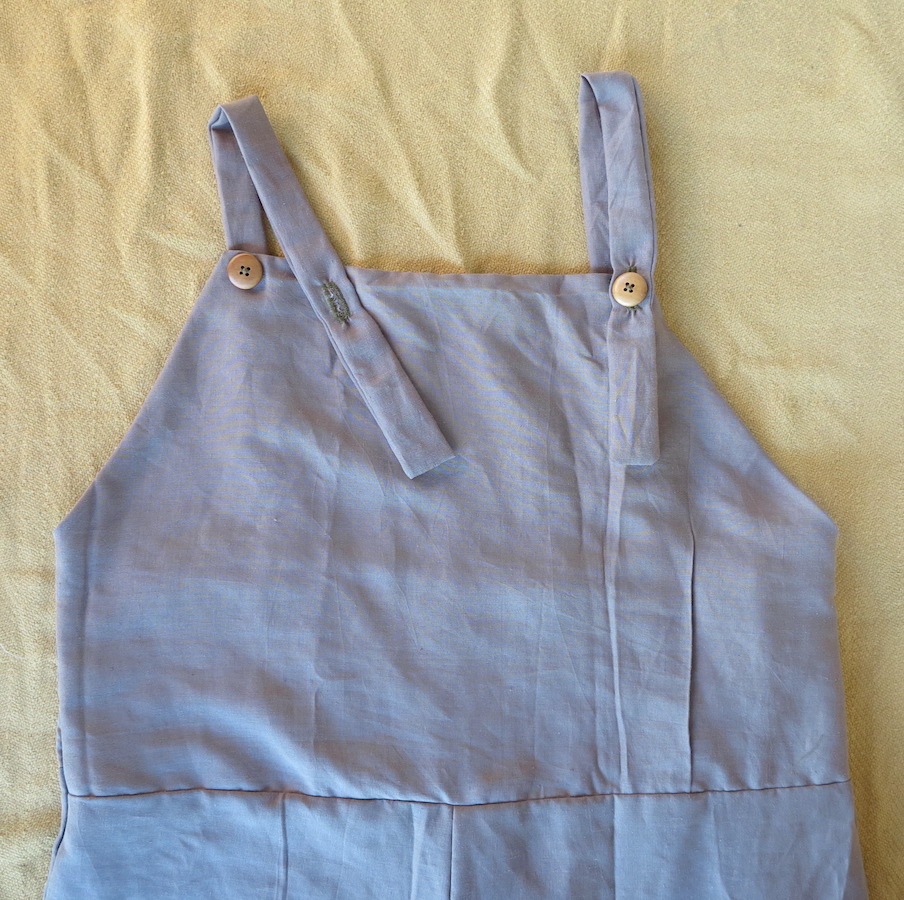
ADD BUTTONS
It's almost there! Try on the jumpsuit to test length of straps and pin where you'd like the button holes to sit.
If your machine has button hole setting then measure that up and sew away. Otherwise if you don't have this setting set the zig-zag mode to extra tight, measure the height of the button and sew an area around this. Then cut the fabric open that's inside.
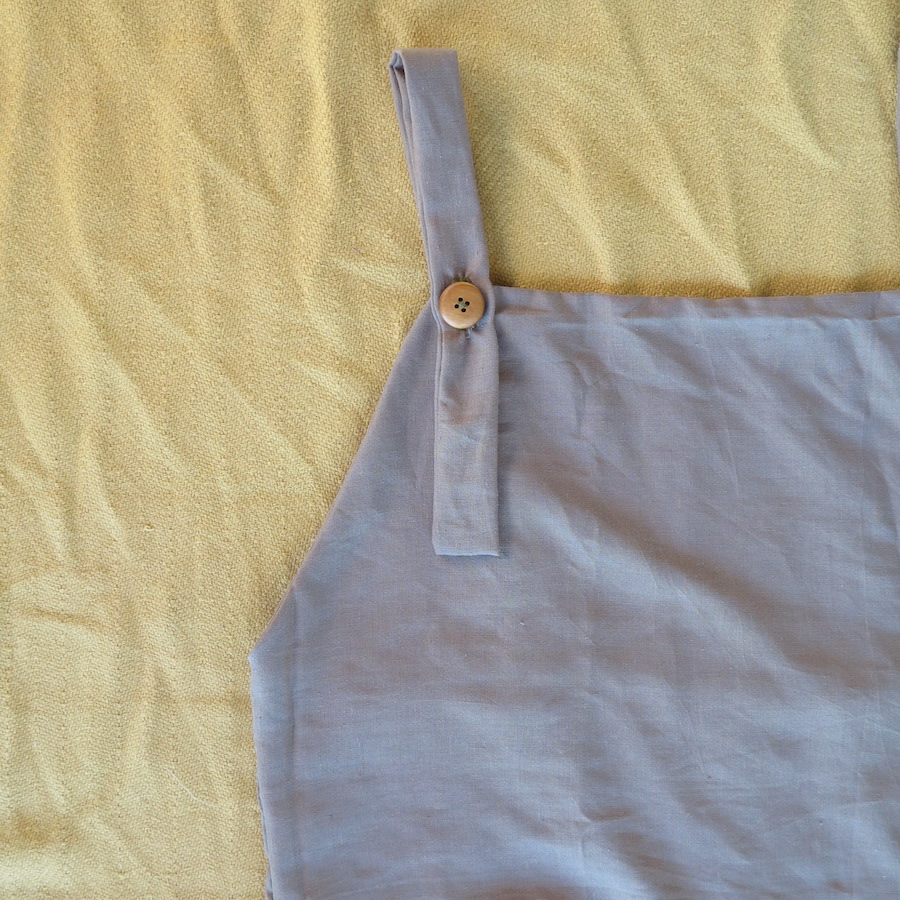
Attach the button in place on the corners of the top panel.
Now go have a boogie in your new jumpsuit!!
(Apologies for the creased fabric and badly lit step photos)
I had a craft day with my beautiful friend Tahnee who I then made get some snaps with the final jumpsuit moments after finishing it.


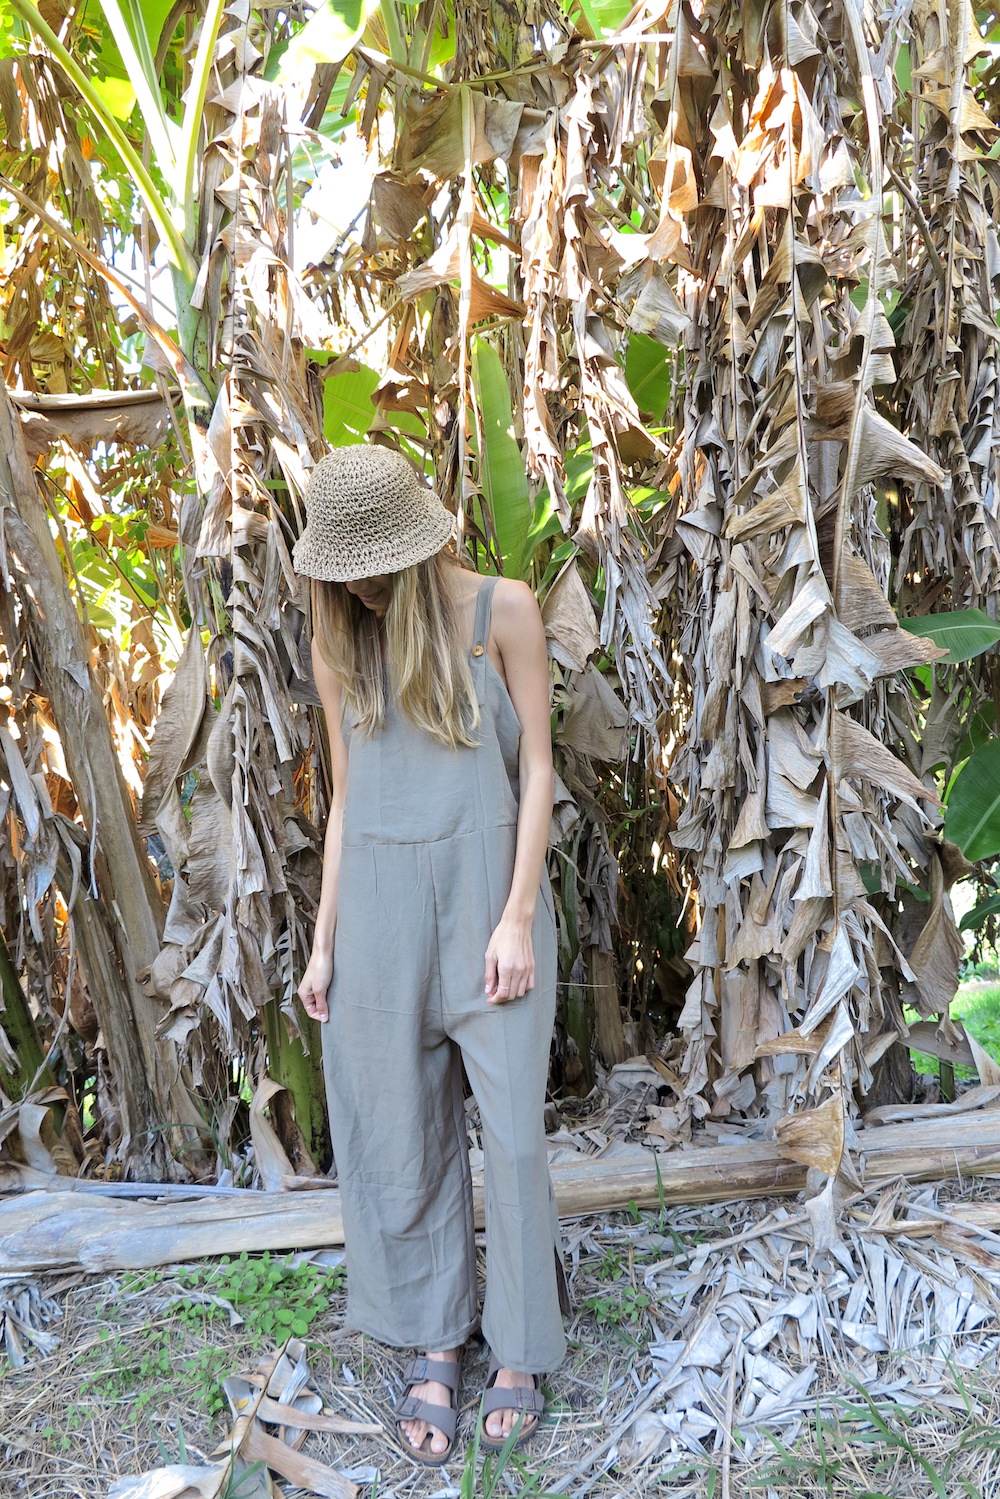

Hope this was helpful! As always, let me know if you give this tutorial a go and how it turns out. Hashtag the outcome #essentialsclub on social media.