
DIY: Gathered Shorts With The Eve
The beautiful Jessica from @theeve__ has been kind enough to share another one of her amazing tutorials with the Essentials community. Enjoy lovelies!

I was on the hunt for the perfect easy wearing summer linen shorts, ones that weren’t too basic but easy enough to throw on for the beach or dress up for casual sunset sips. So I had the idea to add the ruffle from our last DIY collab to the waist of the shorts for something a little bit special.
FIND WRITTEN AND VIDEO TUTORIAL FORMATS BELOW


The Essentials
A pair of elastic waist shorts that you can use as a reference for the pattern
Linen or similar fabric (recommended amount per size below)
Elastic
Matching thread & bobbin
Fabric pencil
Scissors
Measuring tape
2 safety pins
Suggested Fabric Amount Required:
Size Extra Small = 1.25m (off the roll)
Size Small = 1.5m (off the roll)
Size Medium = 1.75m (off the roll)
Size Large = 2m (off the roll)
Size Extra Large = 2.25m (off the roll)
(add or take 0.25 metres for anything larger or smaller than these sizes)

Steps.
01

TRACE AND CUT BACK PANELS
Double your material over and fold your reference shorts with the back facing outwards. Trace onto the material adding the following seam allowances: Add 3cm at the bottom to allow for hemming plus any additional length if preferred, add 10cm at the top seam to allow for the ruffle, add 2cm to each side seam.
02

CUT FRONT PANELS
Repeat the above but this time folding the reference shorts with the front side facing out.
Then cut out along your traced panels. You should have 4 pieces.
03

PREPARE ELASTIC
Measure your elastic waistband against your shorts or on body, add 3cm and cut.
04

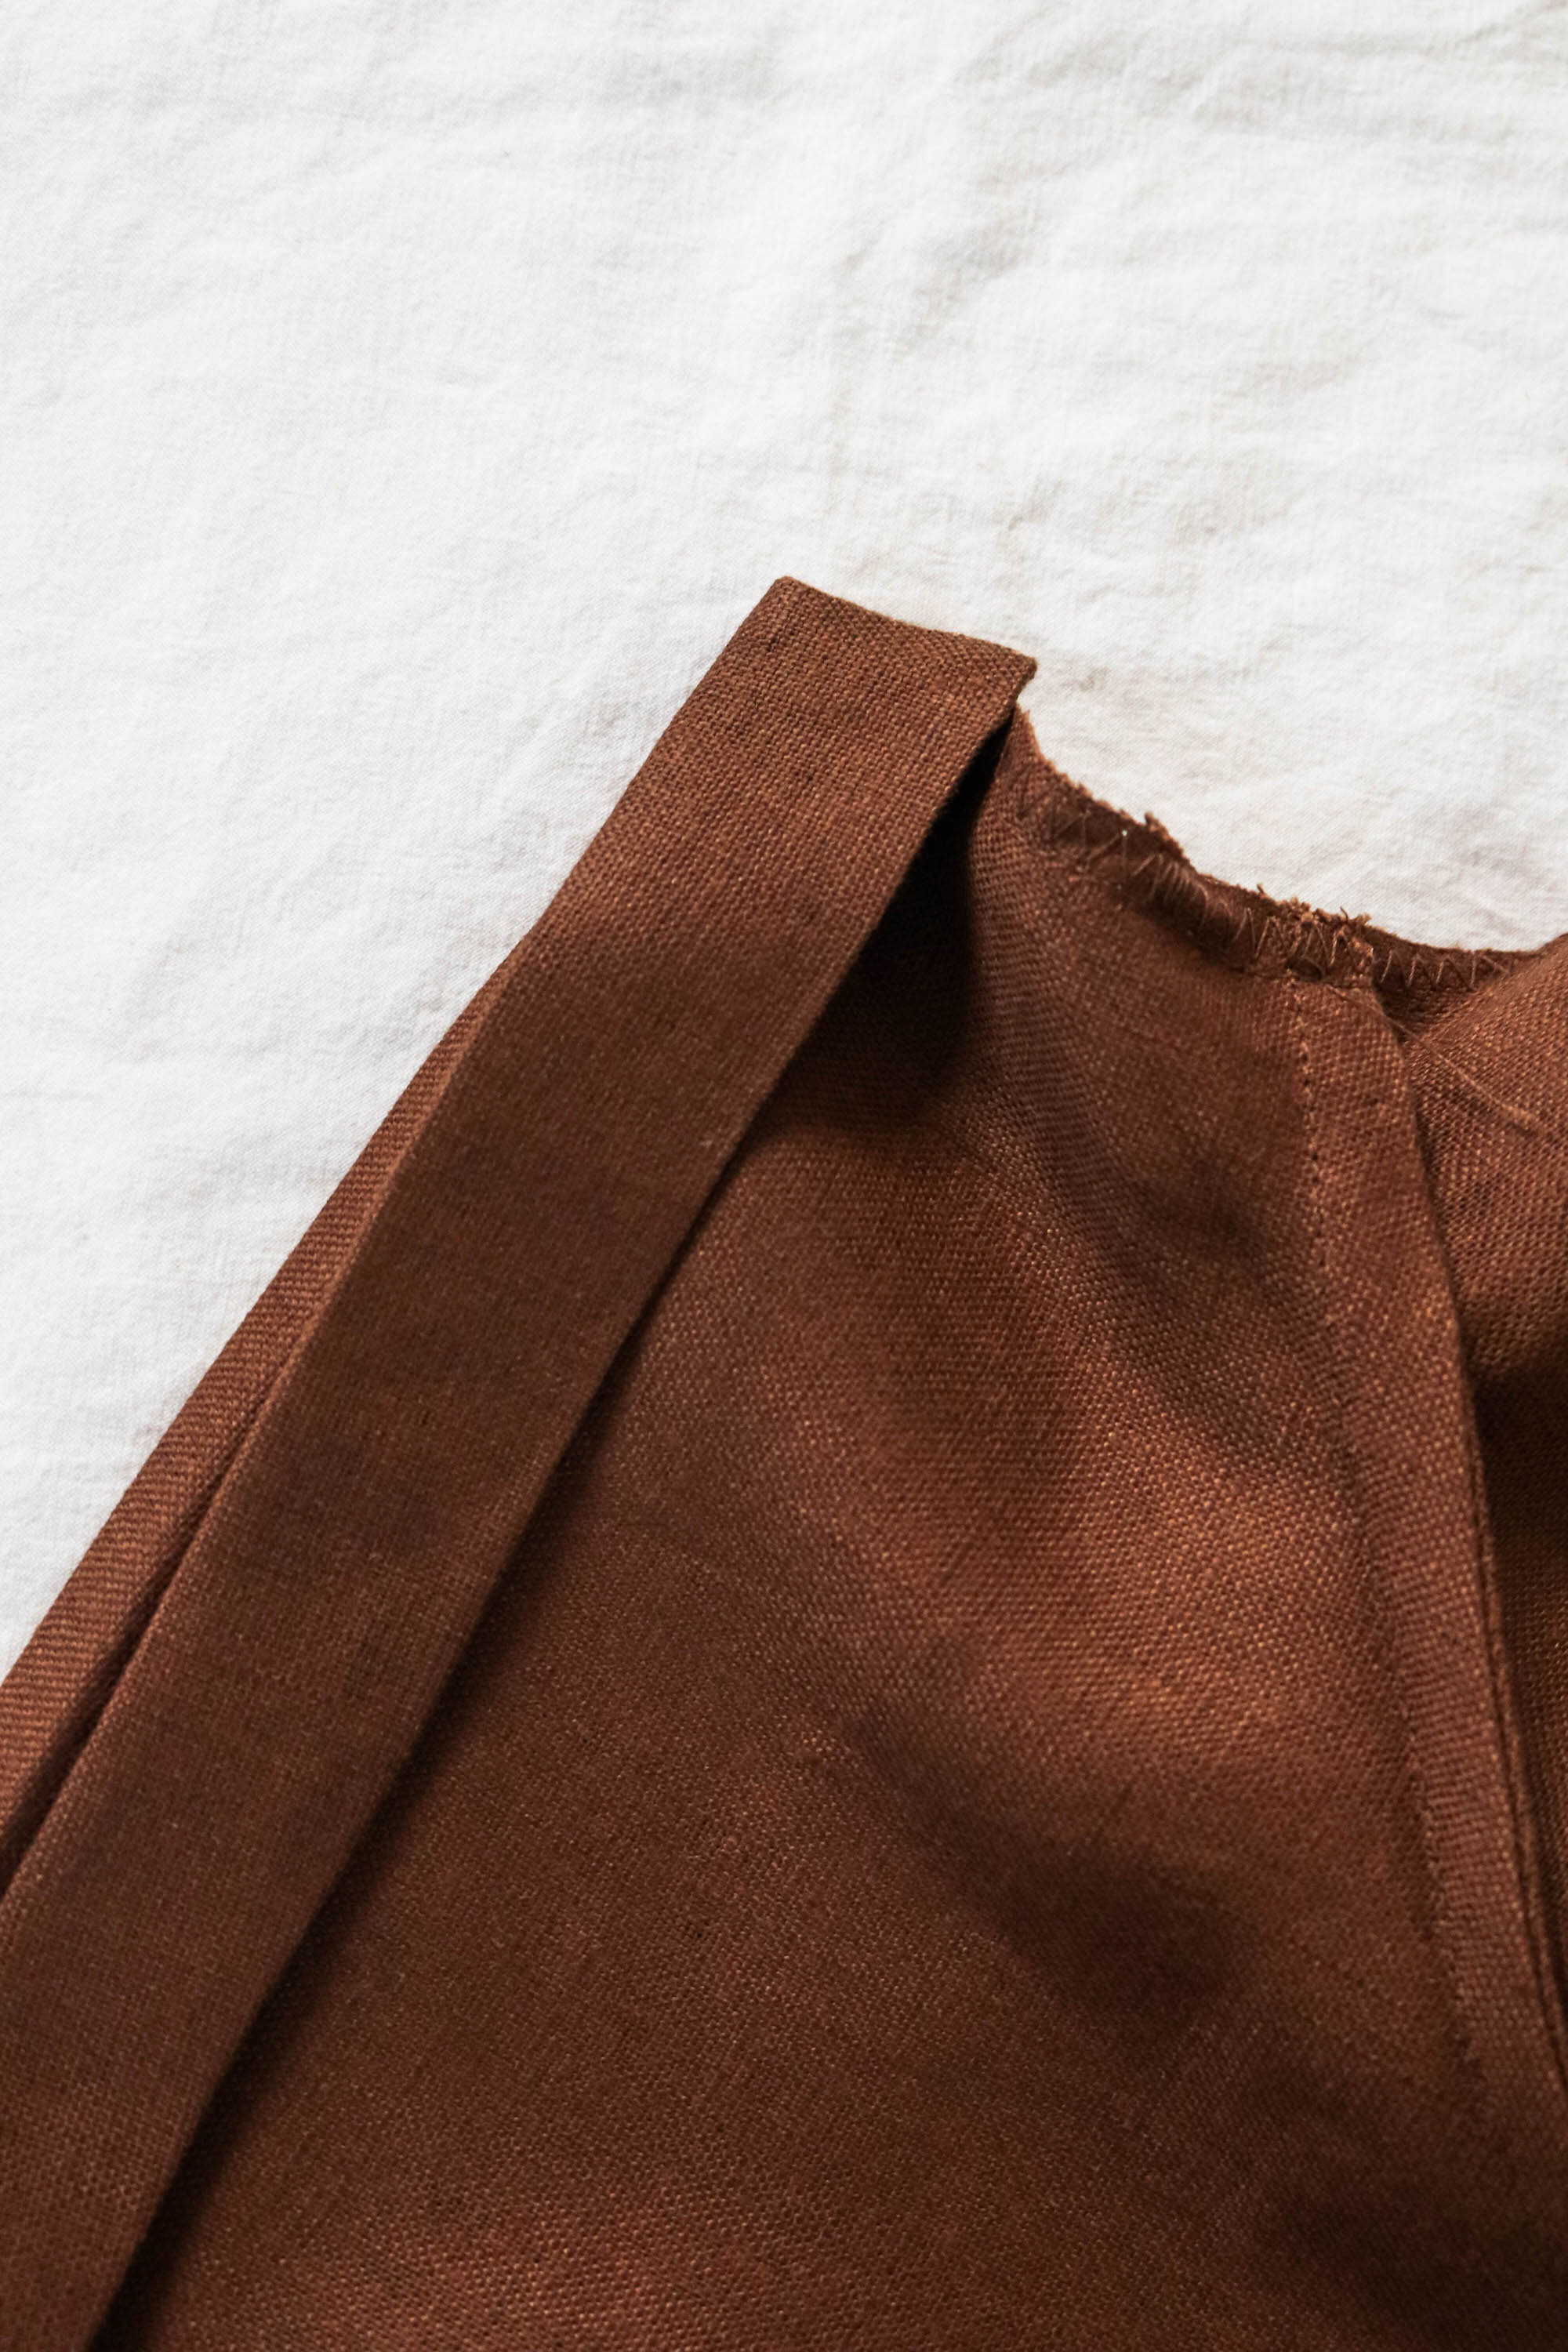
SEW CENTRE SEAM OF MATCHING PANELS
Using a straight stitch we’re going to sew the front seams of both of the front and back panels. I prefer to do this with a french seam so that the inside edges are tidy and they don’t fray in the wash. Start by facing the right sides of the fabric out (ie. if you are using a pattern, the pattern side should be facing out). Sew 5mm from the edge.
05

FINISH FRENCH SEAM
Cut along where you have just sewed to neaten the edge. Then flip so that the right sides are facing in and iron along the seam. Sew along this edge once more, this time 7mm in. You should have a fully concealed french seam. Repeat this step for the other side.
06
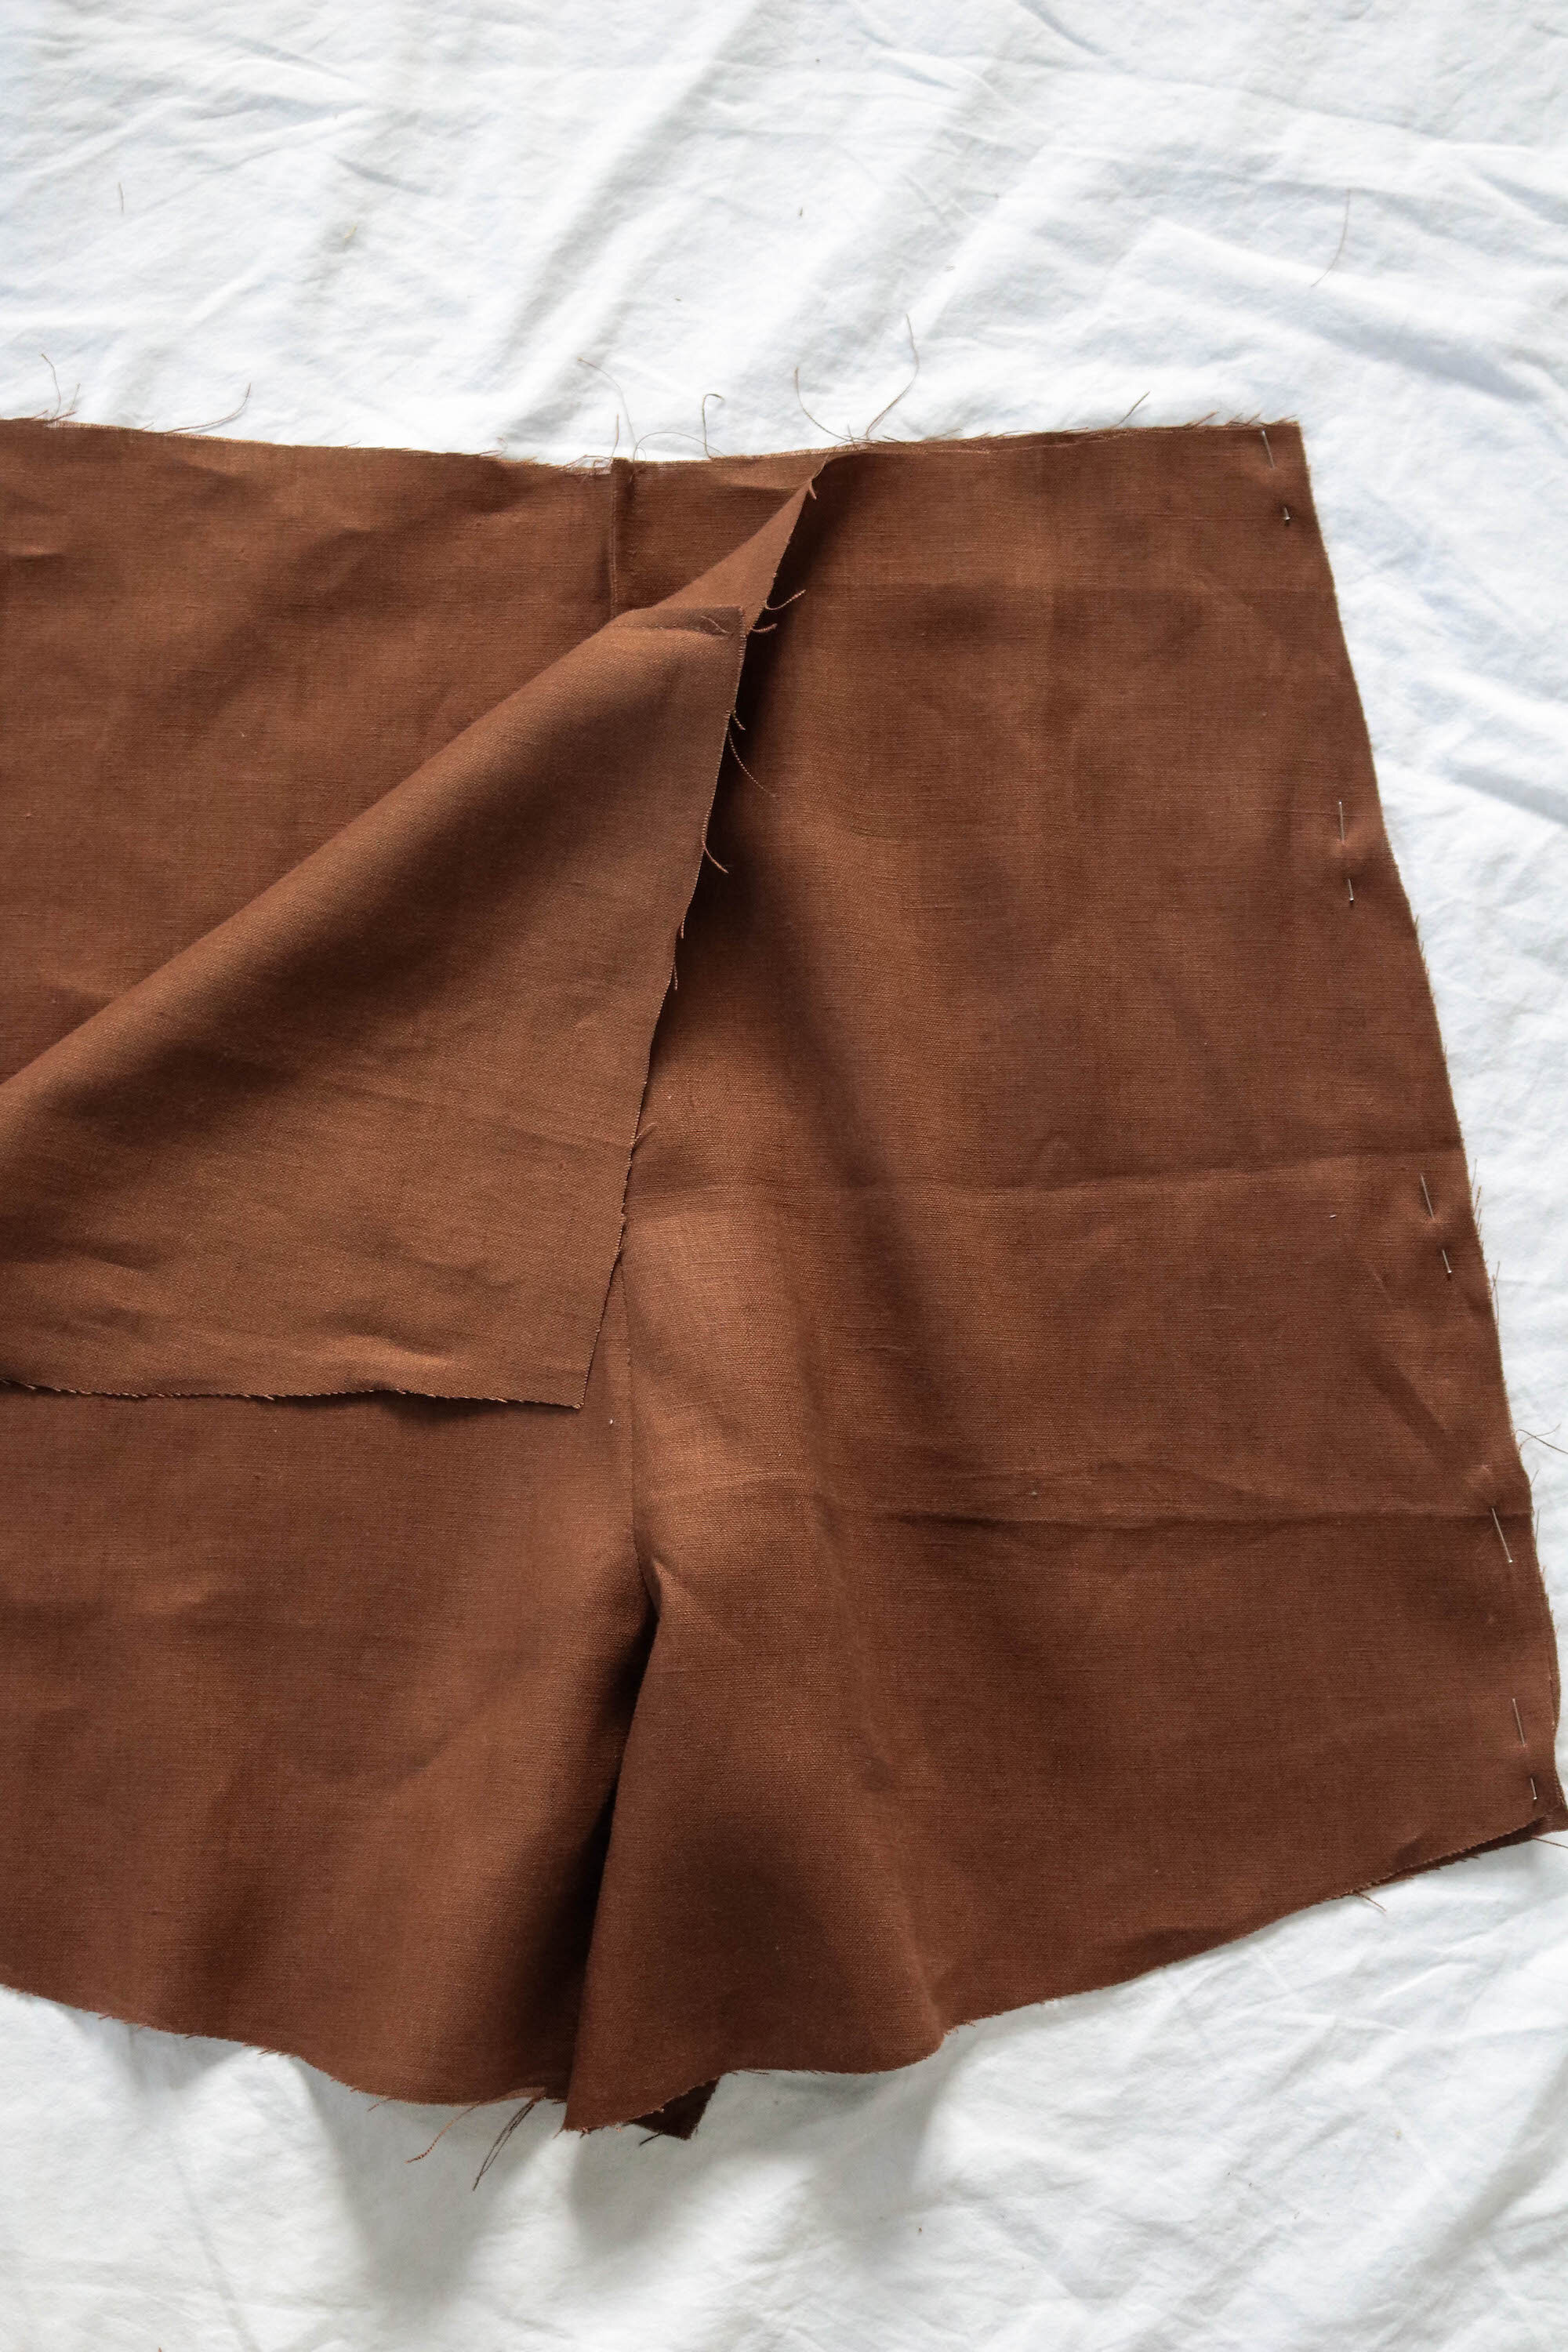
JOIN SIDE SEAMS OF FRONT AND BACK SECTIONS
Now that you have the front and back panels together we’re going to attach them at the sides with another french seam. Face the right sides out, pin along the side seams and sew 5mm in from the edge. Once again trim to tidy the edges then iron so that the right sides are facing in and sew 7mm in from the edge.
07

SEW CROTCH SEAM
While the shorts are still turned inside out, sew the crotch together using a straight stitch 7mm in from the edge. Then go over with a zig stitch or overlocker closer to the edge to prevent the fabric from fraying.
08
CLEAN UP BOTTOM HEMS
Next we’re going to hem the shorts, you can do this any way you like. I allowed a few cm of extra length when I cut the pattern as well as 3cm to do a turned up hem. Iron a fold of 1cm from the bottom. Turn up the fold 2cm a second time and sew with a straight stitch to secure.
09

PREPARE WAIST SEAM
To start the top frill hem the top edge by folding over 1cm and securing with a straight stitch.
10

CREATE LARGE HEM SECTION FOR ELASTIC & FRILL
Next you will need to measure the width of your elastic - mine was 2.5cm thick. Use this to dictate how much to fold over from the top. For these shorts I allowed 6cm for the foldover which included 2cm for the frill, 3cm for the elastic and 1cm overhang. Mark these measurements on the fabric around the shorts and sew. Leave a 5cm gap in the lower seam to feed through your elastic.
11

INSERT ELASTIC
To feed through the elastic put a safety pin on one end of the elastic and another securing the opposite end to the shorts (this will stop it from pulling through as you feed it through the panel. Make sure that the elastic is sitting flat through the panel then secure the ends together & sew over the opening.
FINISHED

There you go! A pair of cute ruffle shorts perfect for summer.
WATCH STEPS IN VIDEO FORMAT BELOW
SAY HELLO TO THE NEW SUMMER ESSENTIAL
Be sure to give Jessica some love on Insta if you give this tutorial a go!


Hope this was helpful! As always, let me know if you give this tutorial a go and how it turns out. Hashtag the outcome #essentialsclub on social media.