DIY: Fringe Wall Banner

With its neutral tones, varying textures and defined shape this is such a cute, soft addition to introduce into your home!
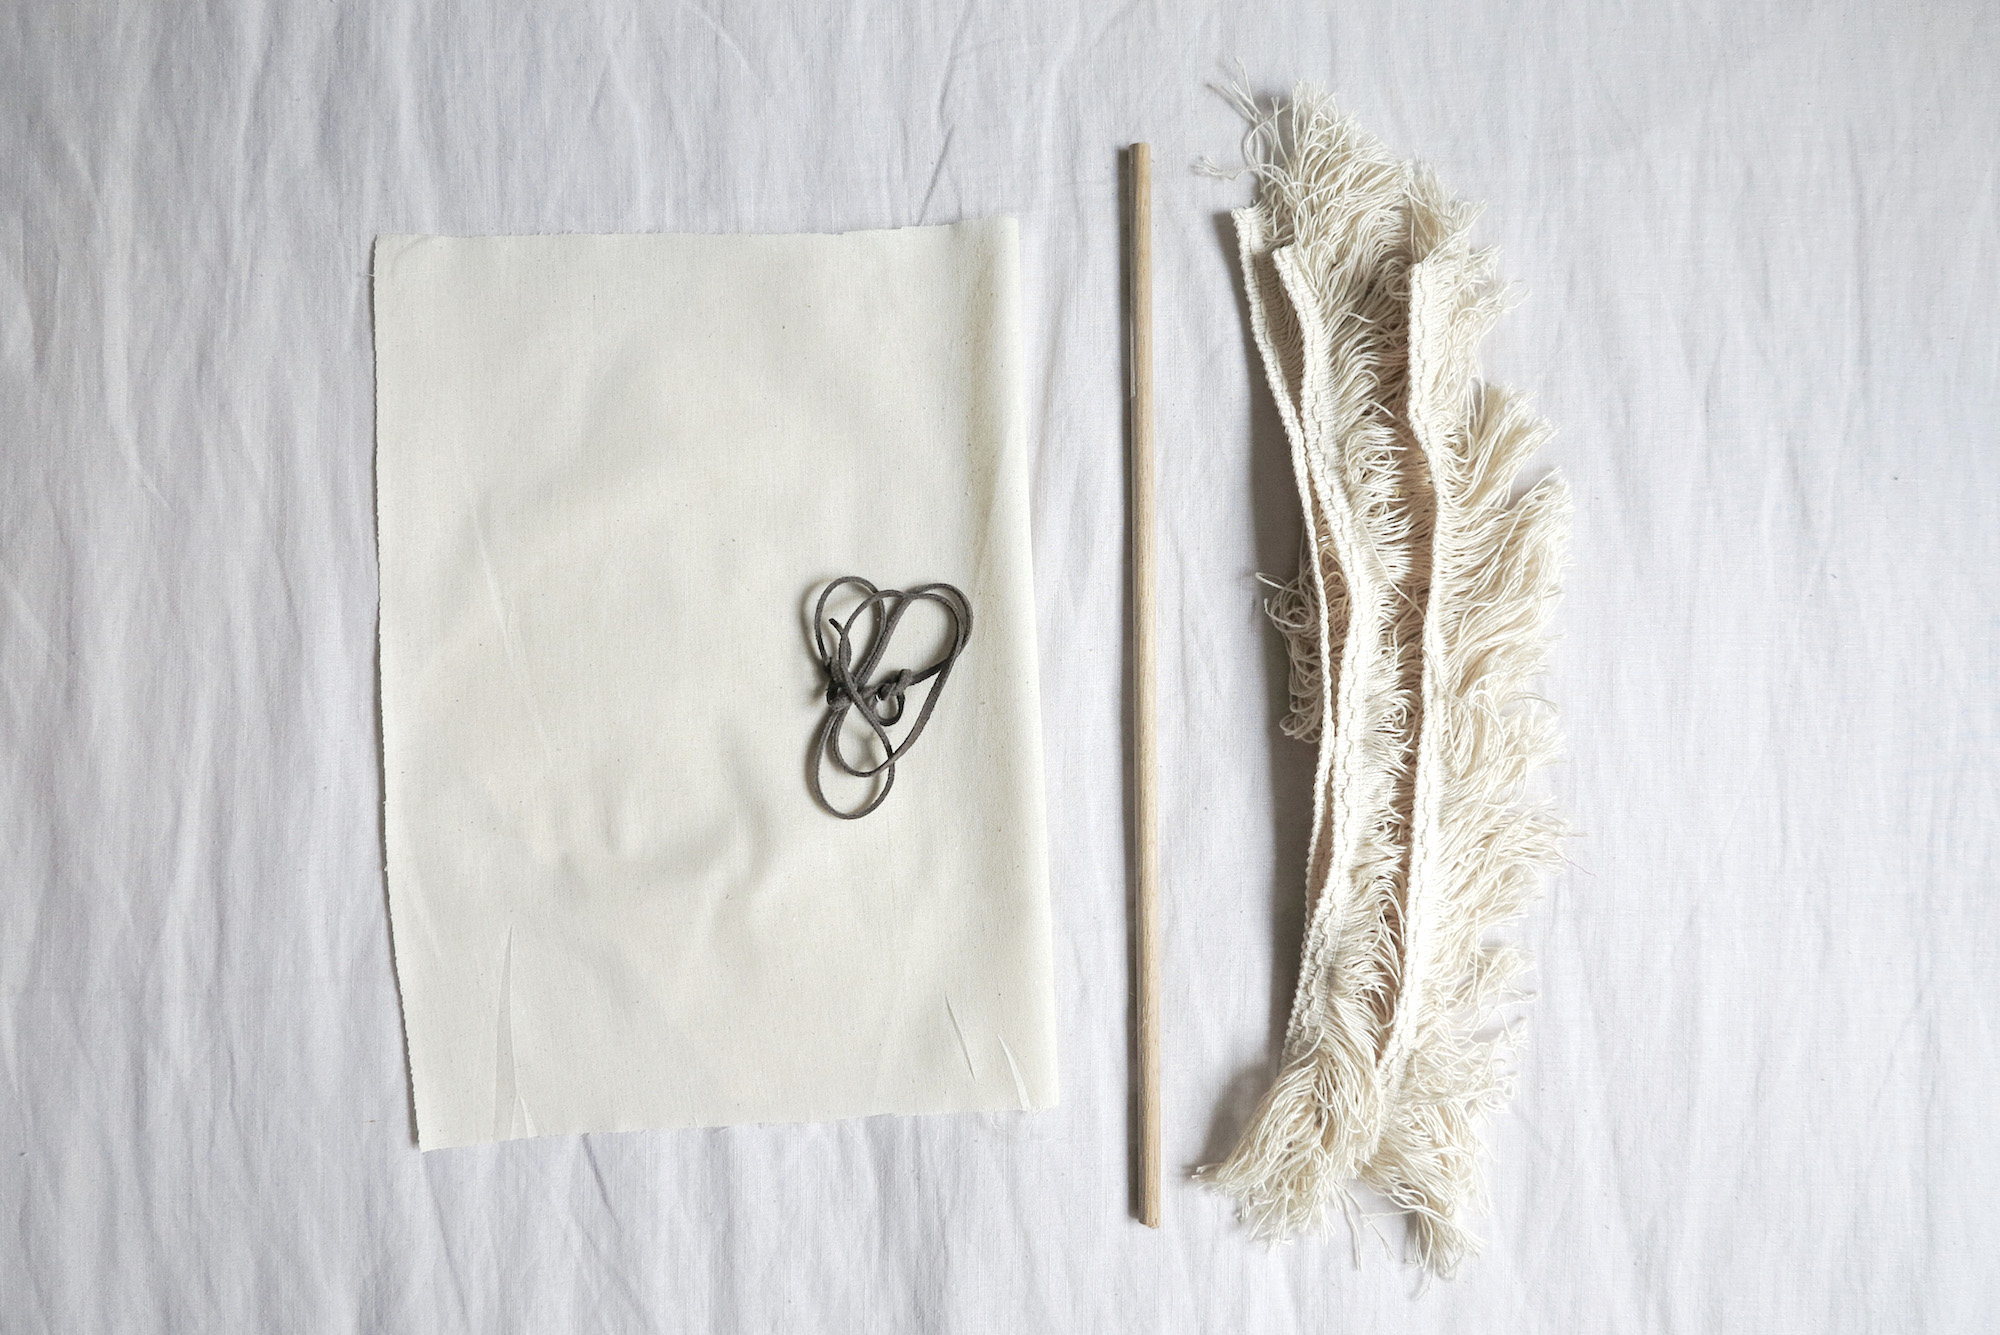
The Essentials
- Calico - approx 75cm from the roll
- 1m of fringed material
- Pine Dowel - cut to 40cm
- 50cm string (I used a suede finish string)
- Scissors
- Thread
Steps.
01
MEASURE & CUT
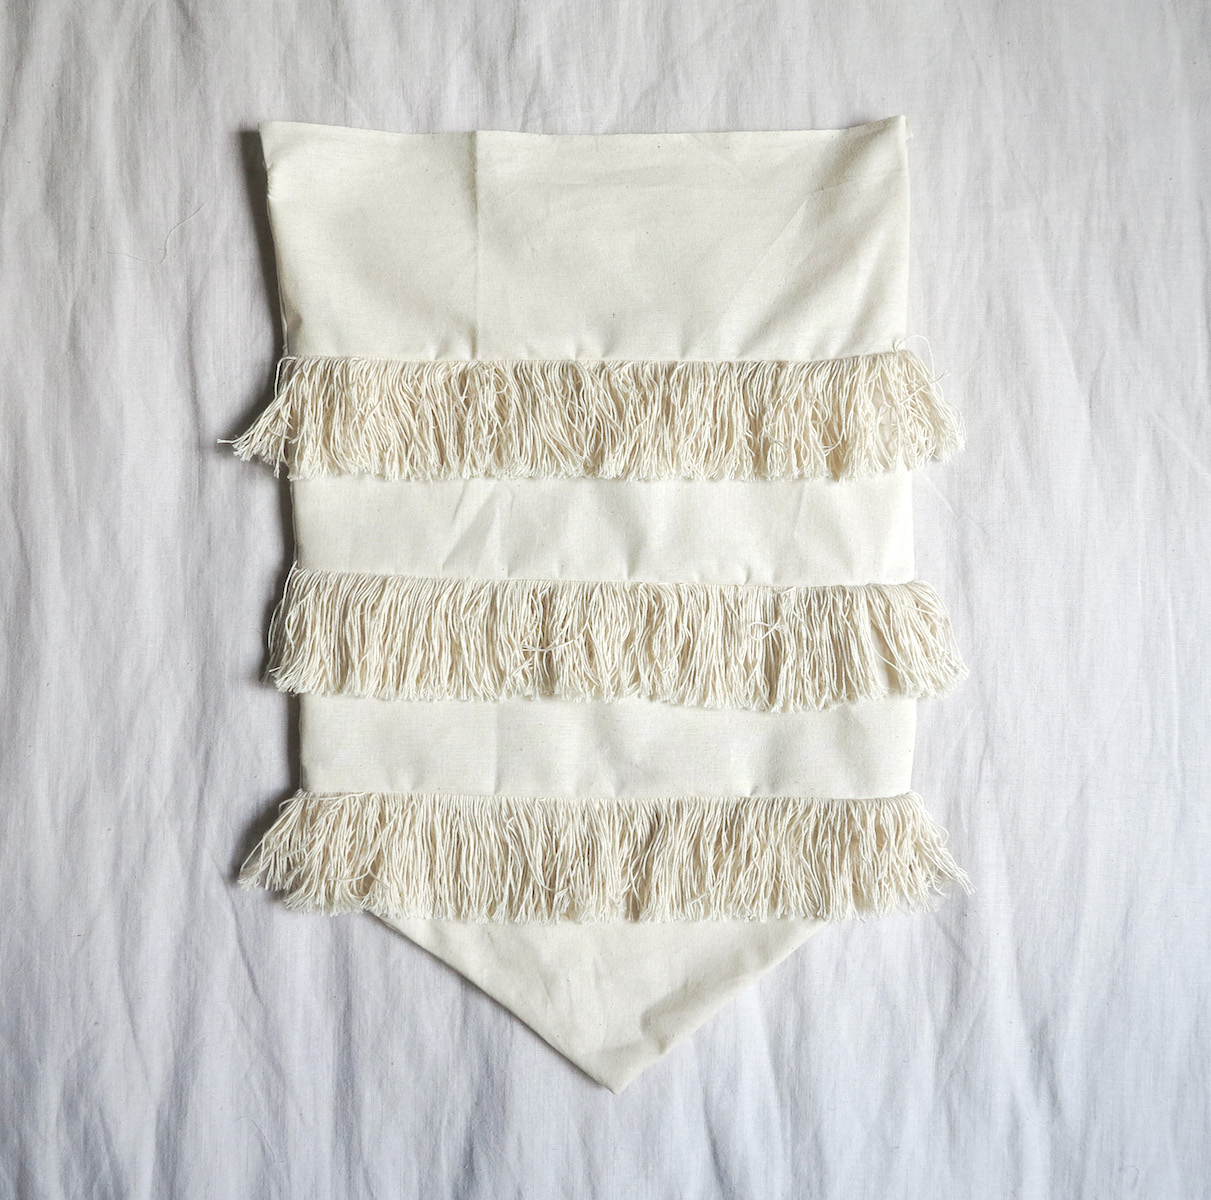
You'll end up with five pieces to begin making the banner.
Front Panels: Cut three panels measuring 33cm wide by 15cm high. Then cut one more panel but with more height at 33cm wide by 22cm high.
Back Panel: Cut a rectangle 33cm wide by 55cm High
Frill: Cut three pieces of the fringed material at 33cm each in length
Pine Dowel: If you got a stock standard length then cut the rod down to 40cm
(All measurements include seam allowance)
02
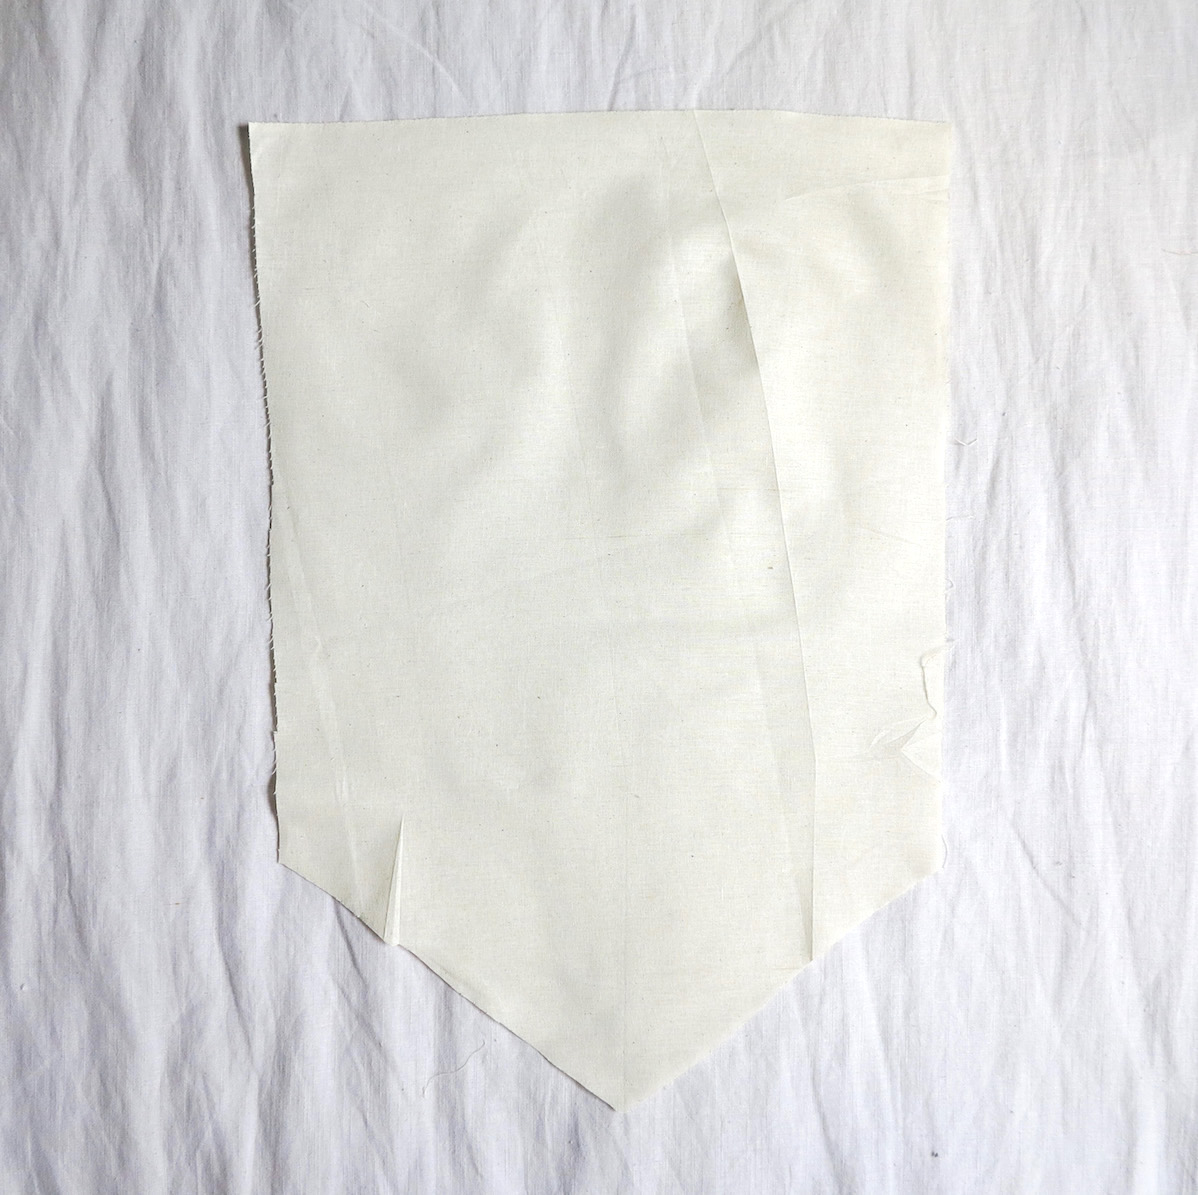

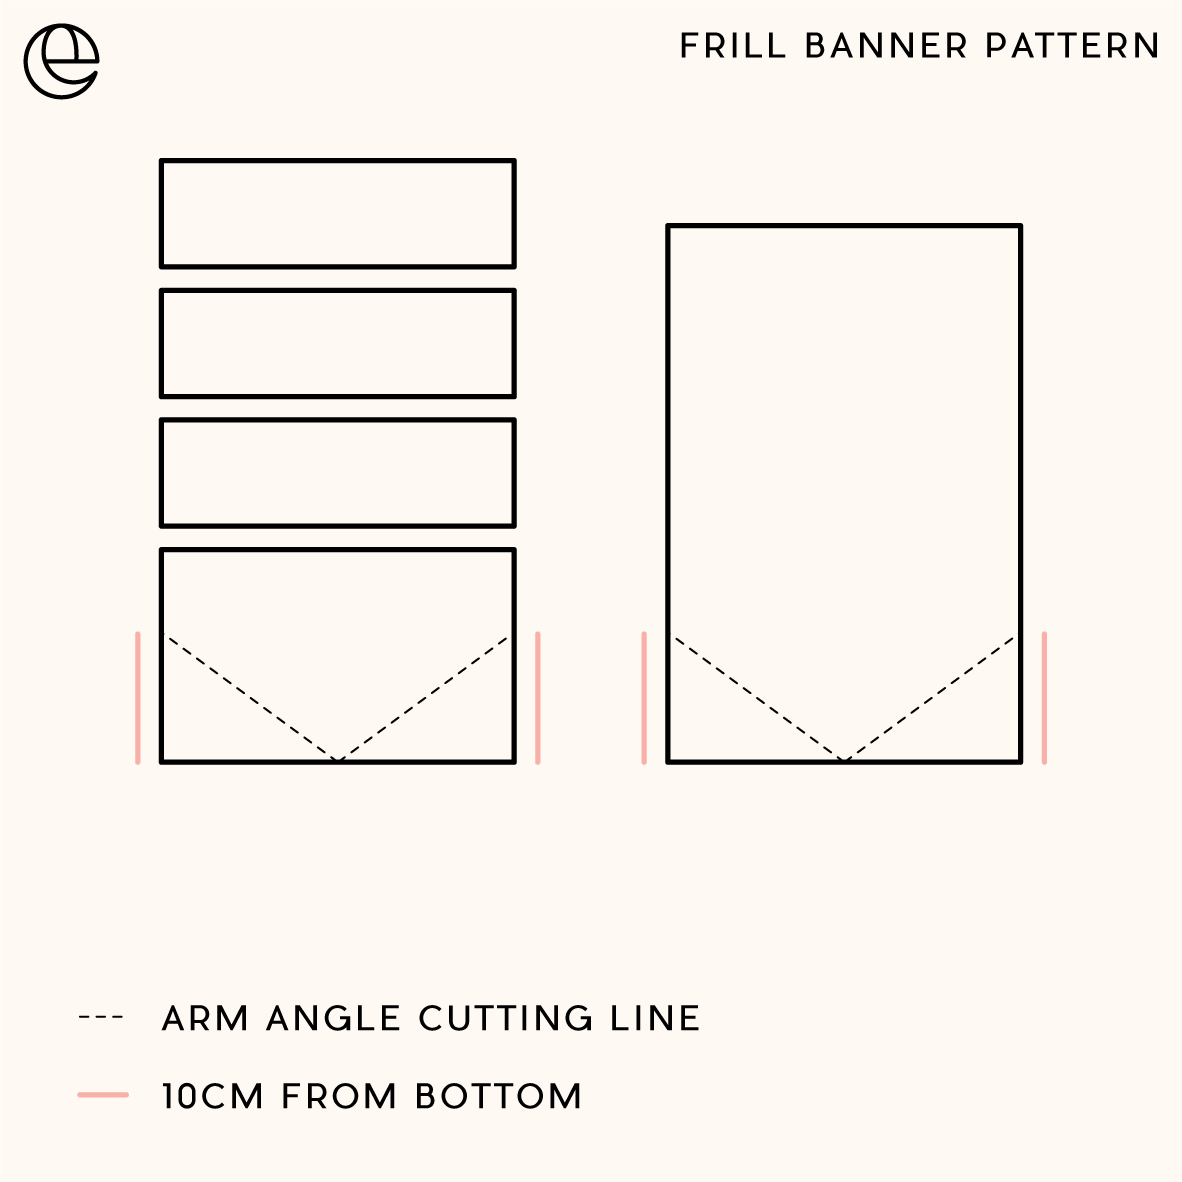
CUT BOTTOM ANGLES
On the back panel and the largest front panel start from each bottom corner and measure up 10cm and place a mark there. Then from each of these points draw/cut a line to the centre of the bottom.
This will create the bottom tip of the banners to give it that flag look.
03

SEW FRONT PANELS
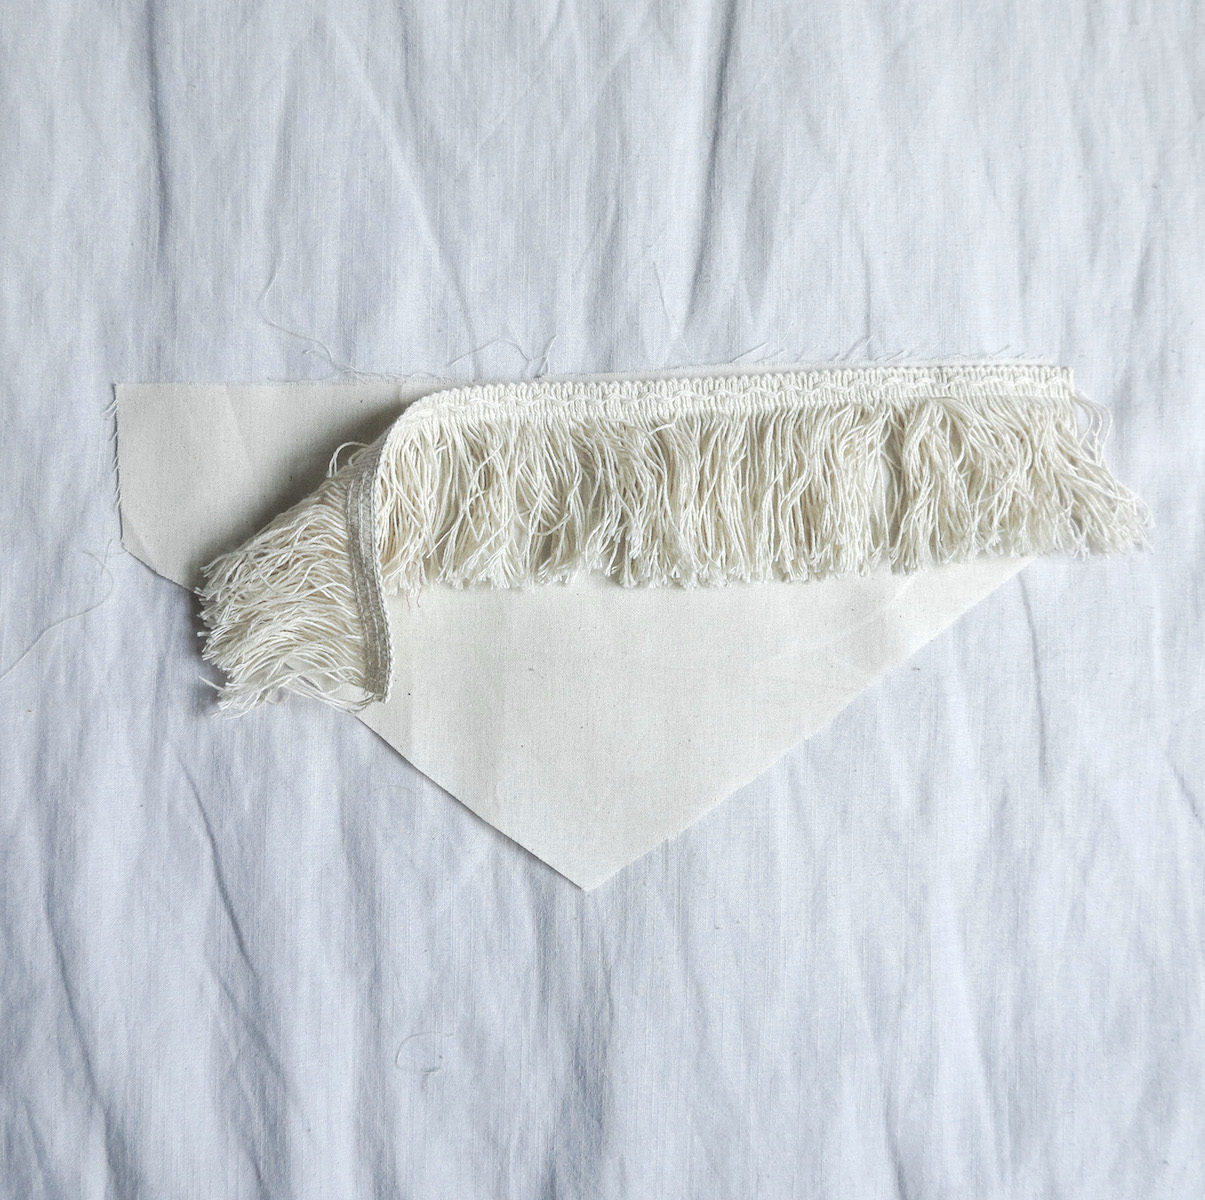
To sew the fringe fabric between the panels is a step by step process that builds up.
First, lay down bottom angled panel (if you used something other than calico make sure the good sides of the fabric are facing towards each other) then place the fringed fabric across the top and then the next panel on top of this. Creating a sandwich where the two panels are the buns and the fringe the patty. Pin down and sew along straight.
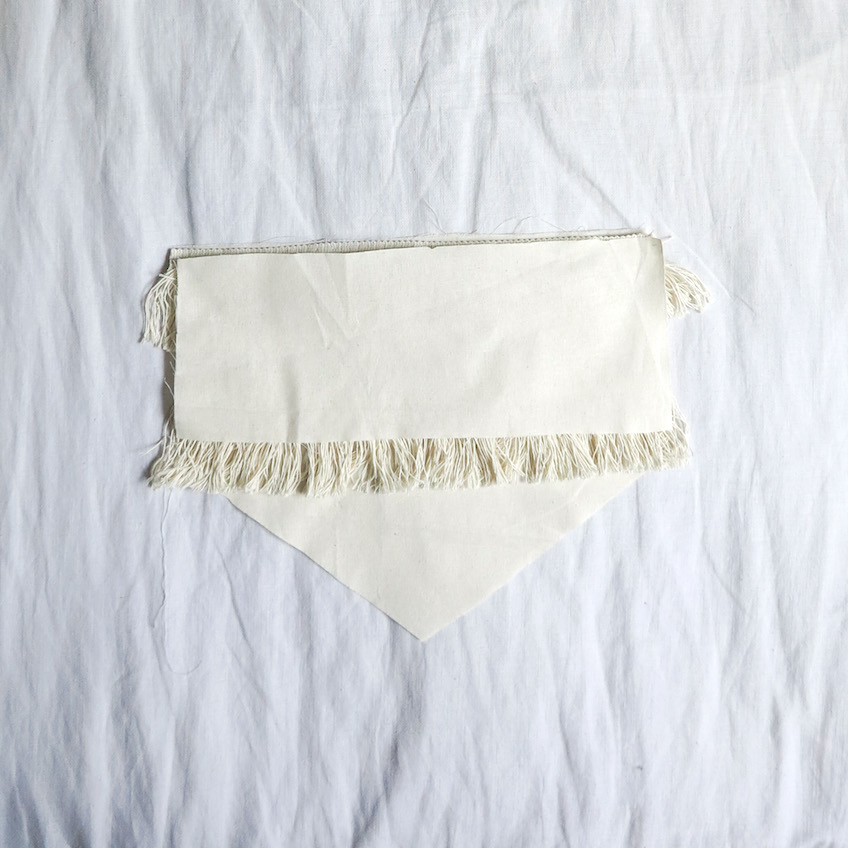
Unfold and you’ll see that the first section is complete.
04

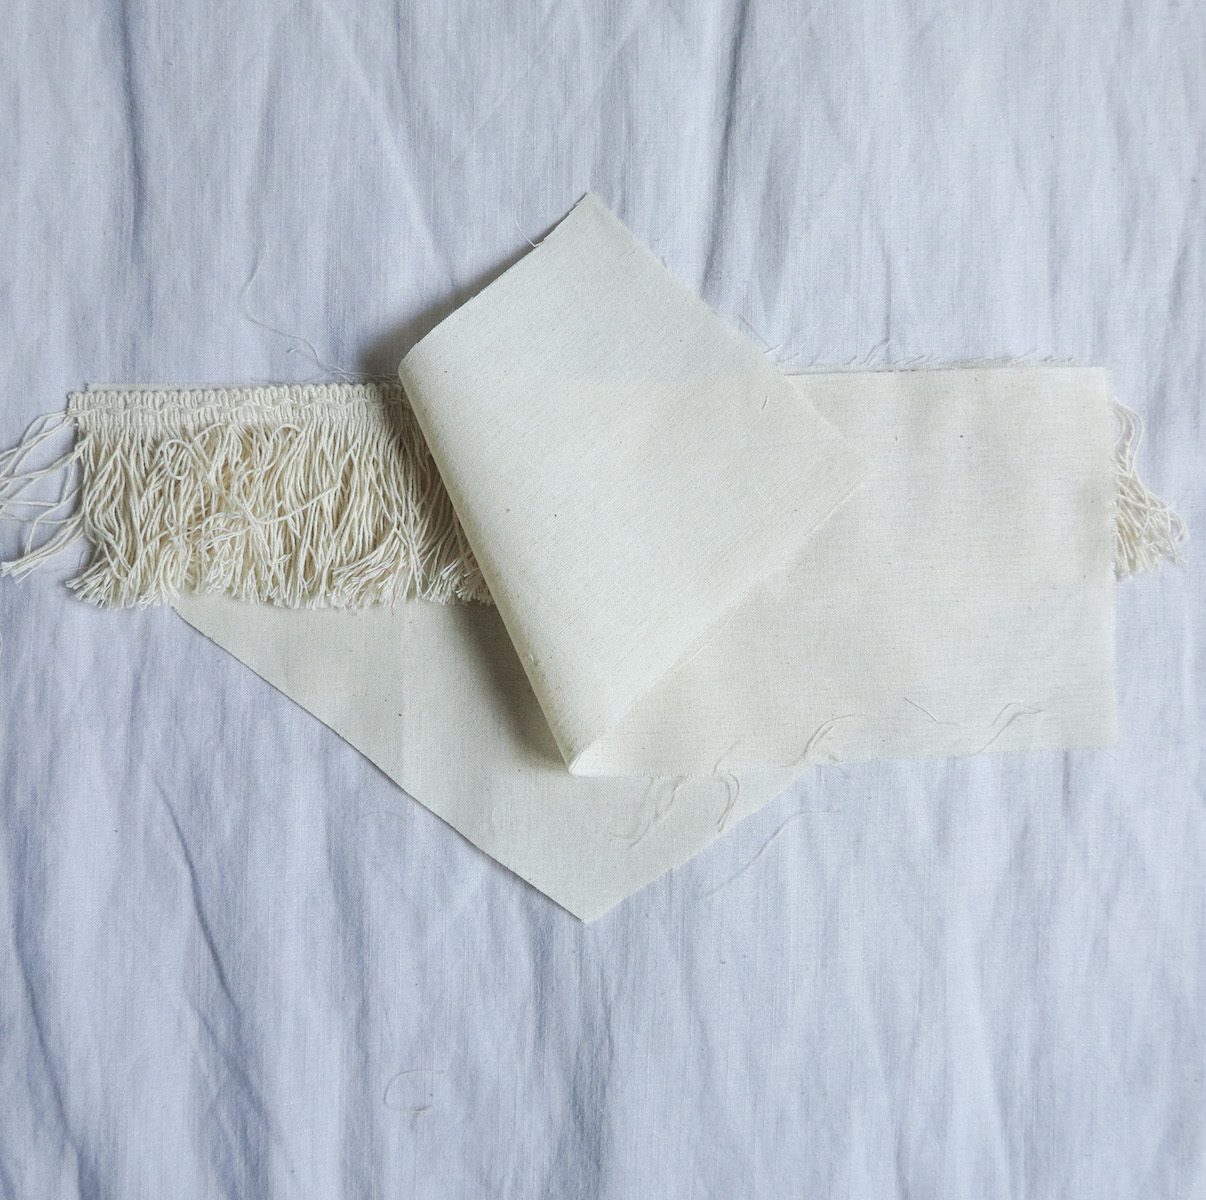
REPEAT AND SEW
Lay down the sewn panel you just completed with good side facing up. Then repeat the steps along the top line of fabric - lay down fringe on top edge and cover with other panel then sew together.
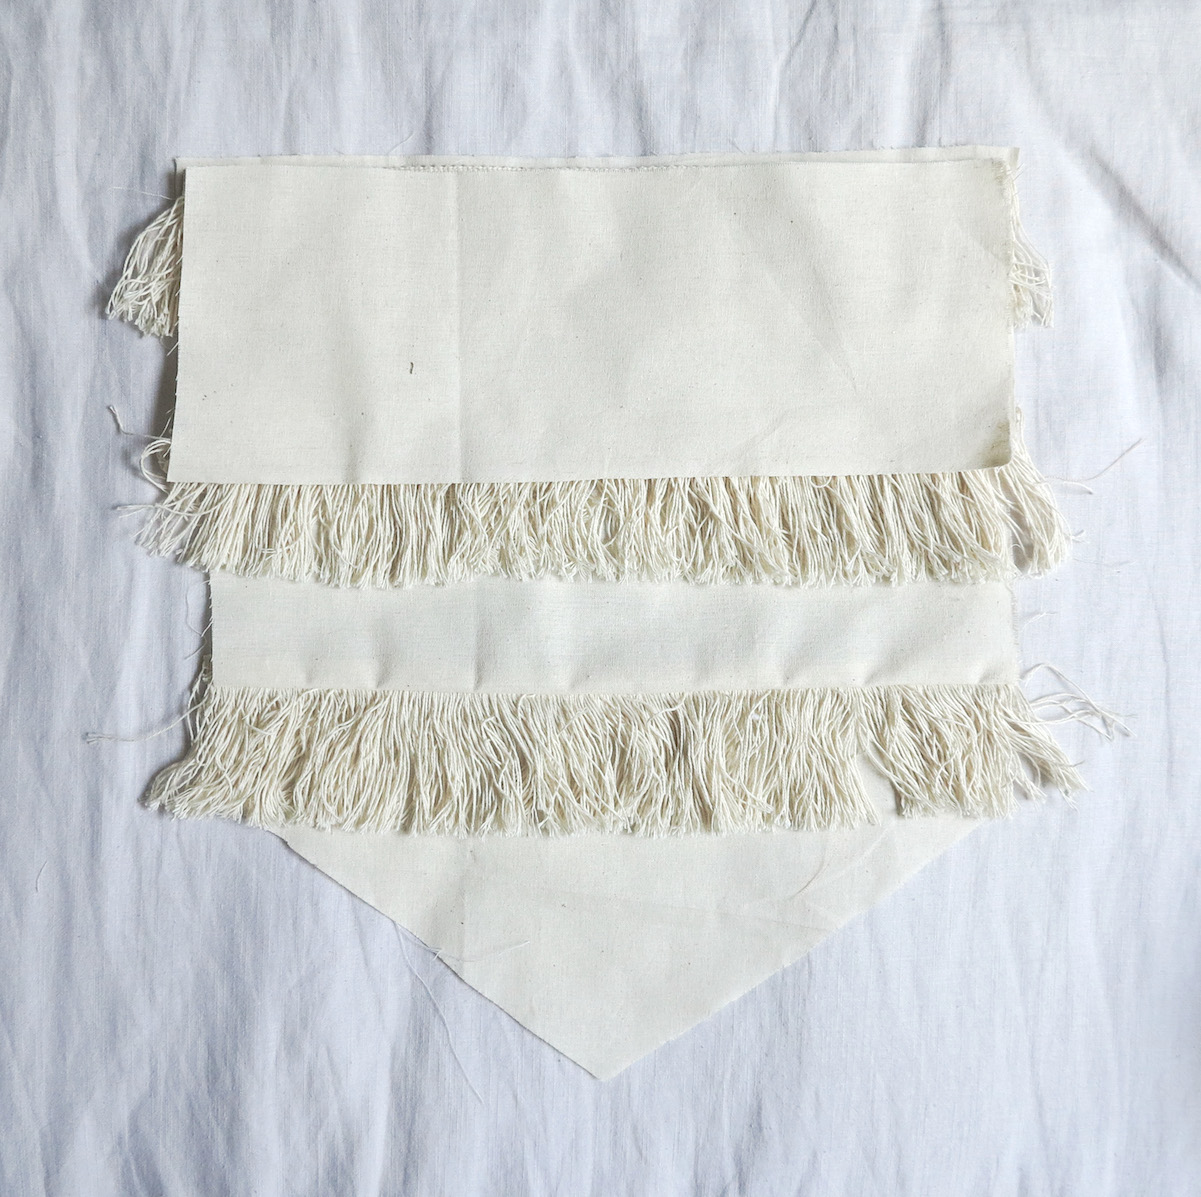
Unfold the sewn part and repeat for final section.
05

JOIN TOP AND BOTTOM SIDES
Unfold the sewn fringe front side and place down with the good side facing up. Then place on top of this the back panel and pin together around the edges.
Sew down two side seams and bottom seams and leave top section open. Once sewn together flip the good side out.
06
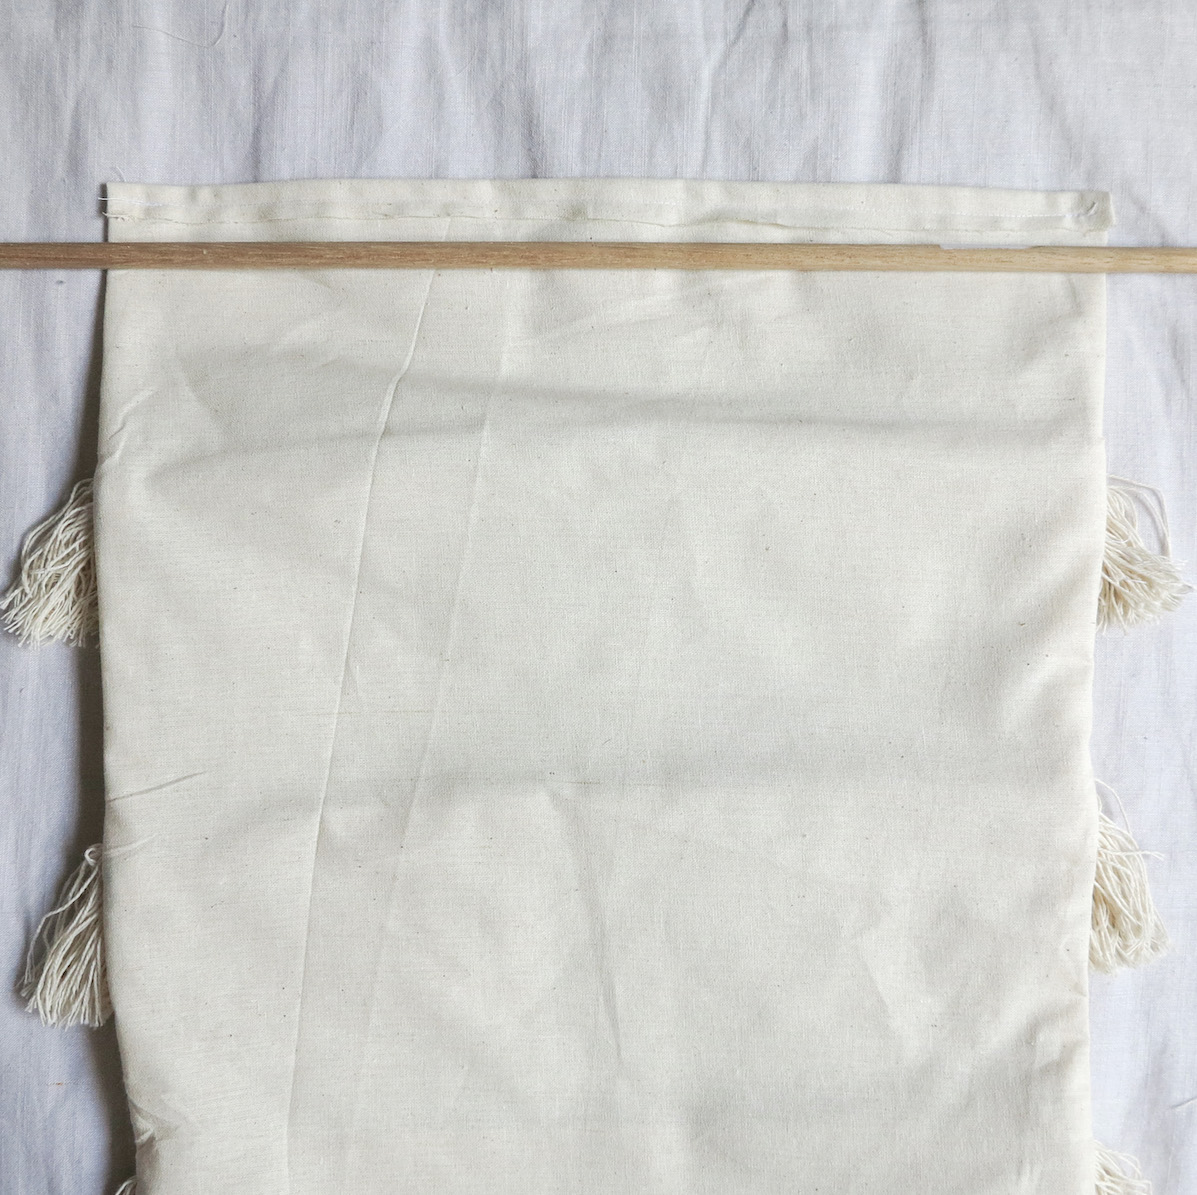
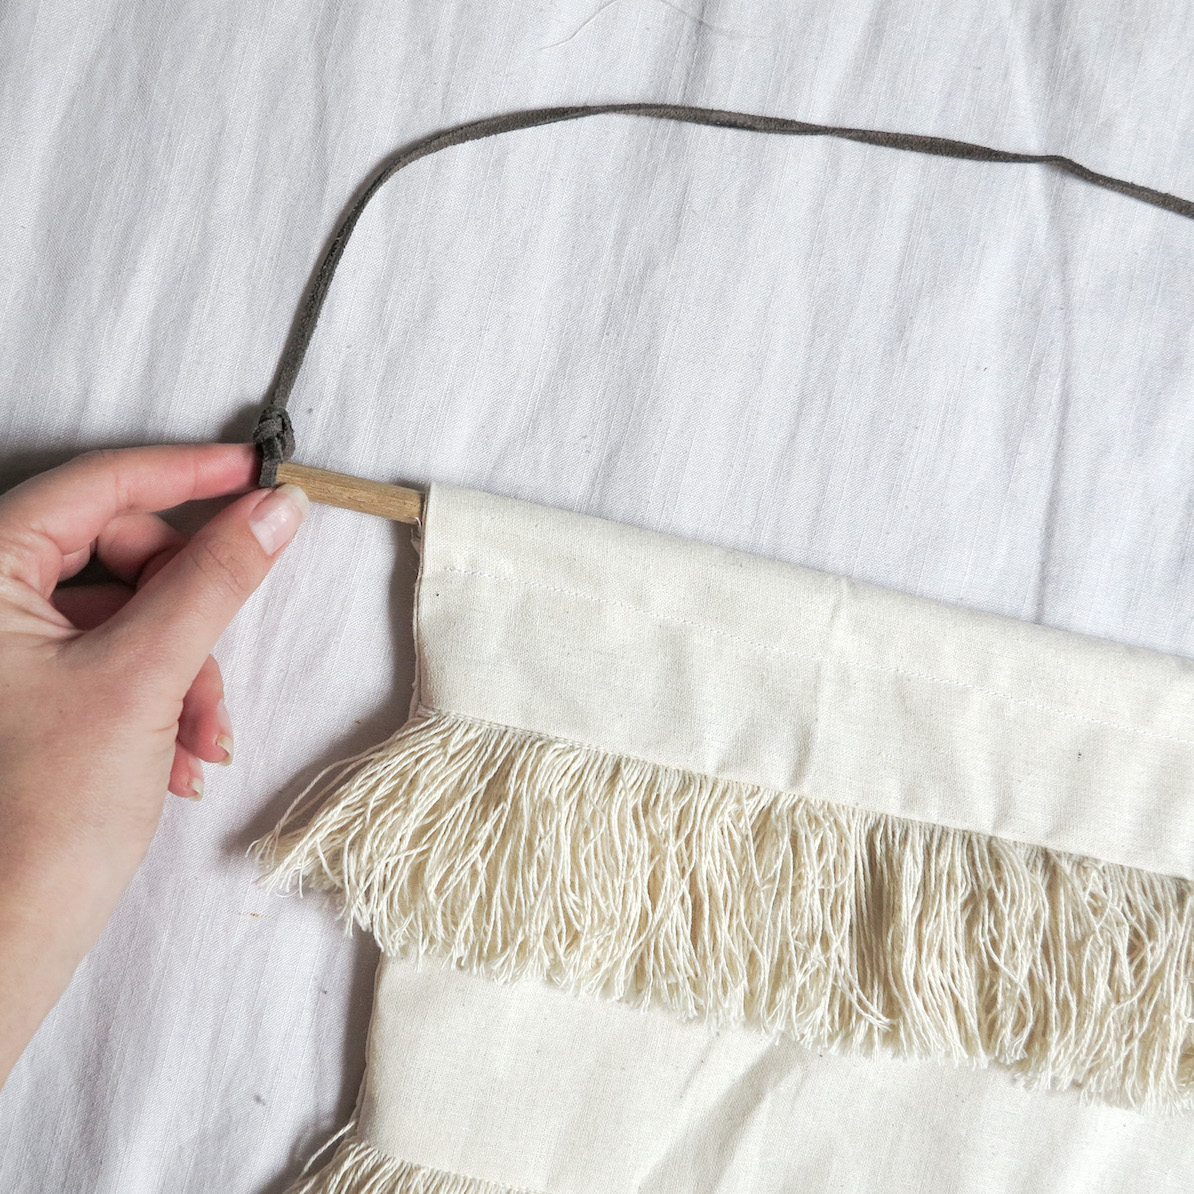
PREPARE TO HANG
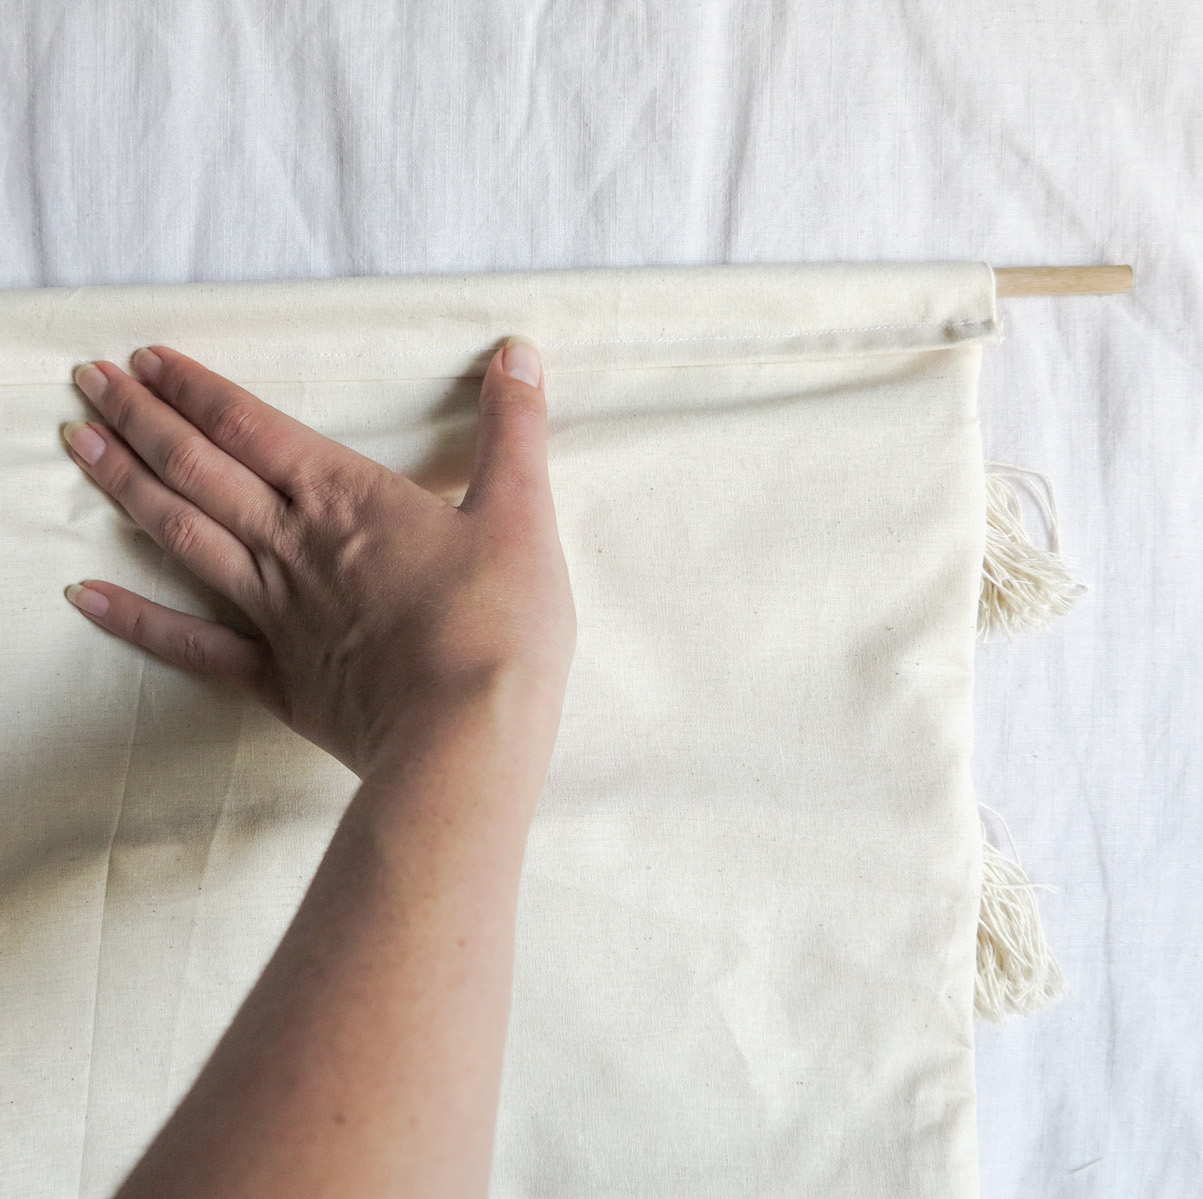
With all the good sides facing out now, it’s time to clean up the top edge.
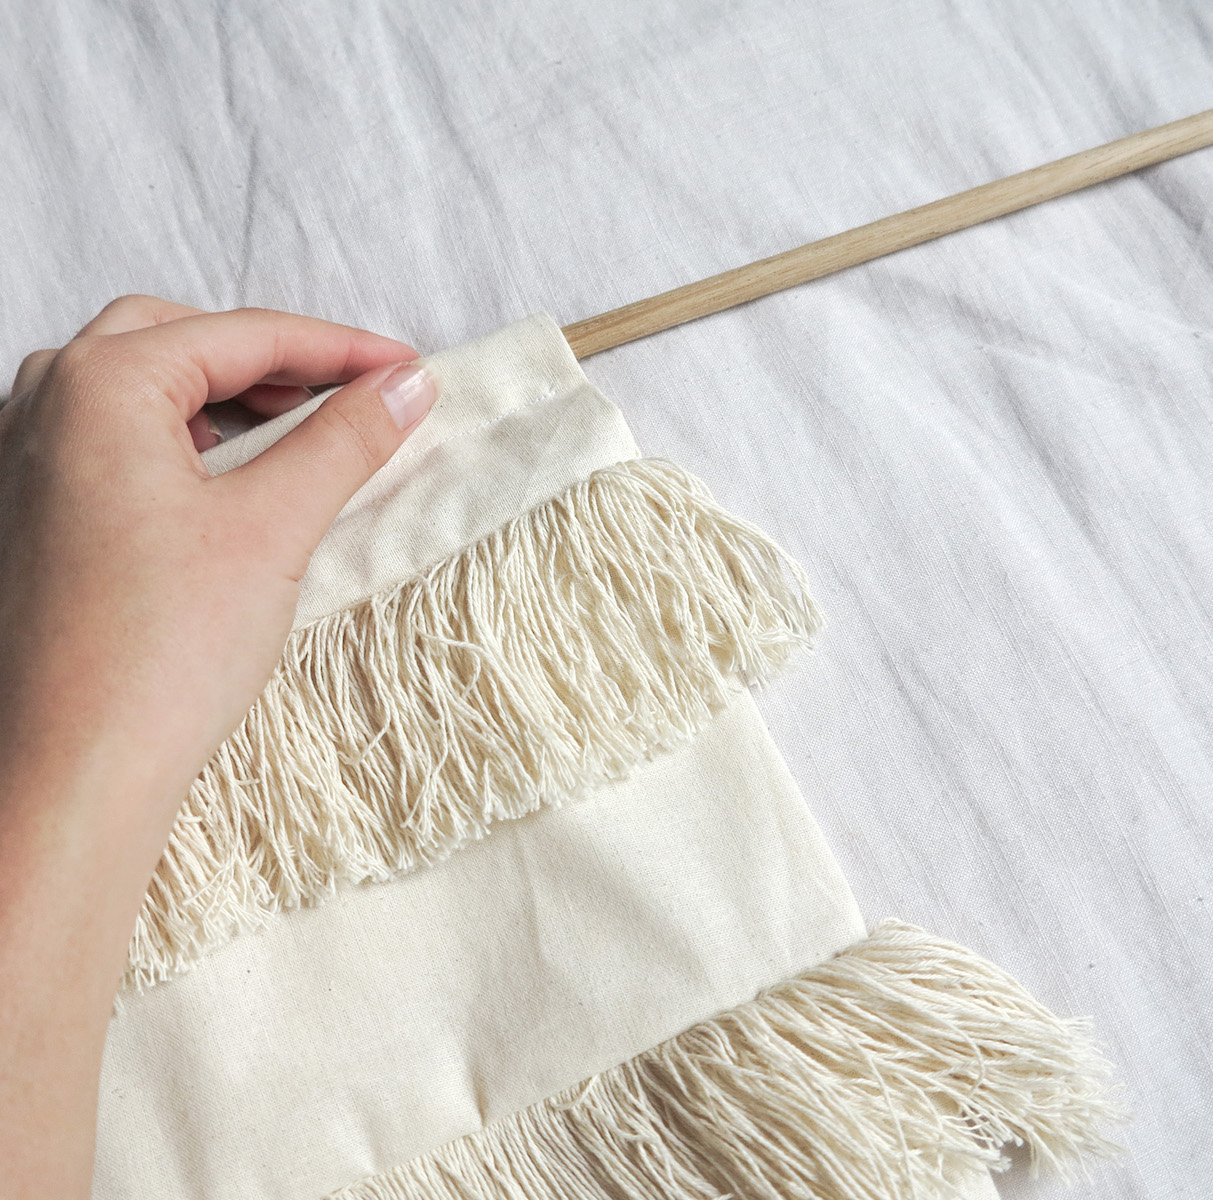
Do a small hem of about 0.5-1cm across the top (fold towards backside). Then sit the dowel in place and fold the the top fabric over to measure how much you’ll need the next hem to be. Pin in place and remove dowel so you can sew it down.
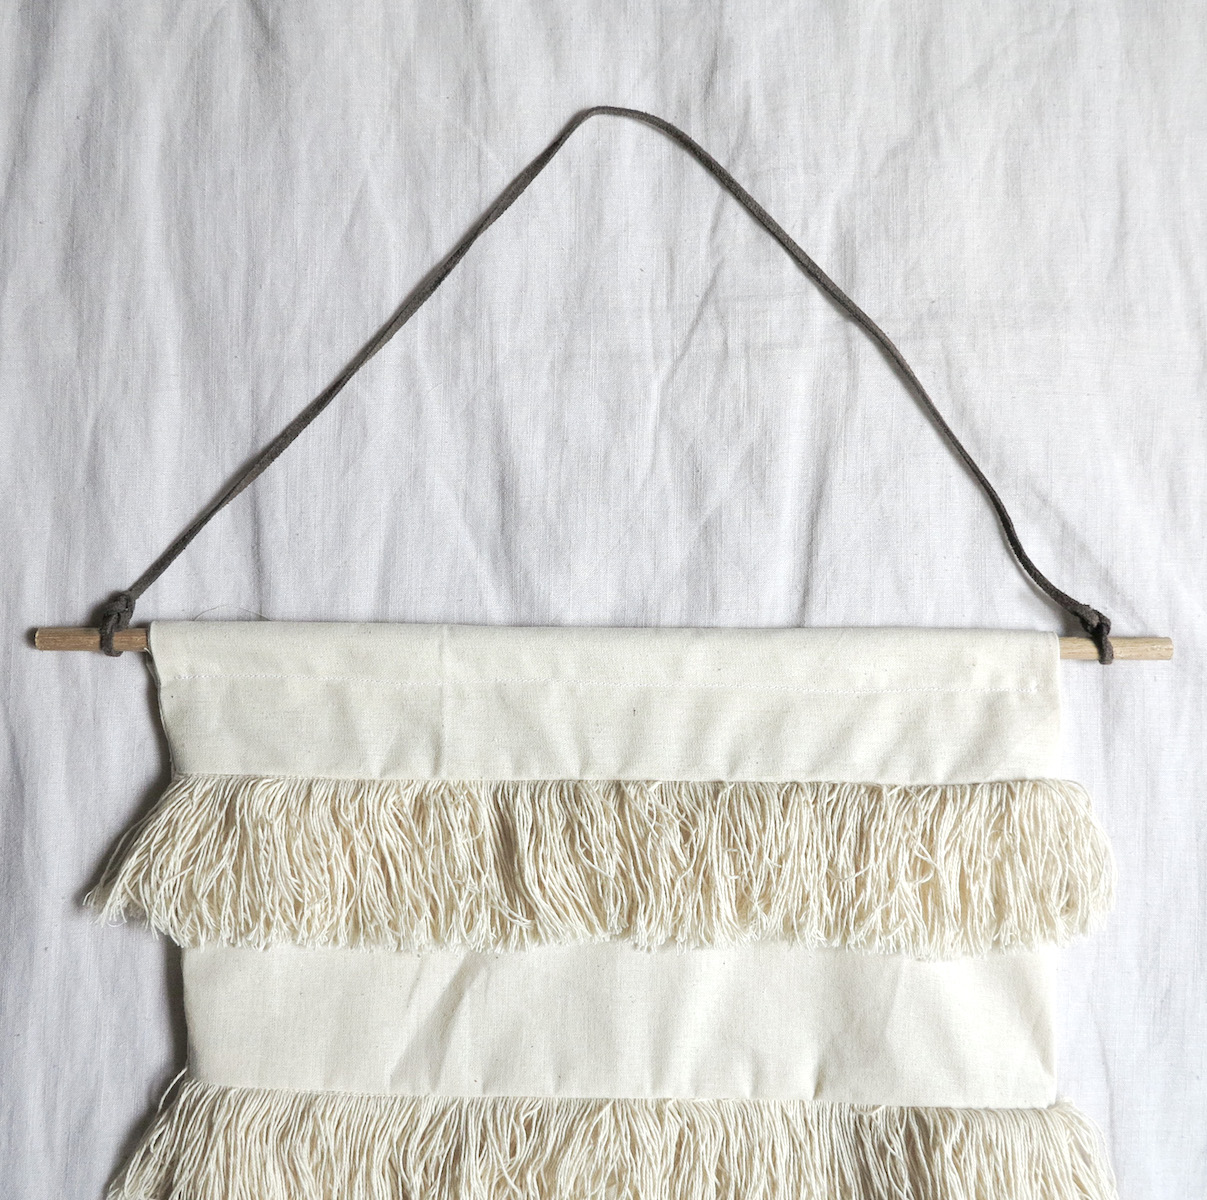
Slide dowel back through and tie string on either end.


You can see in the pictures the pillow with the same fringe feature. Well I followed the same steps from this tutorial but without the angled bottom and made it too!
Hope this was helpful! As always, let me know if you give this tutorial a go and how it turns out. Hashtag the outcome #essentialsclub on social media.