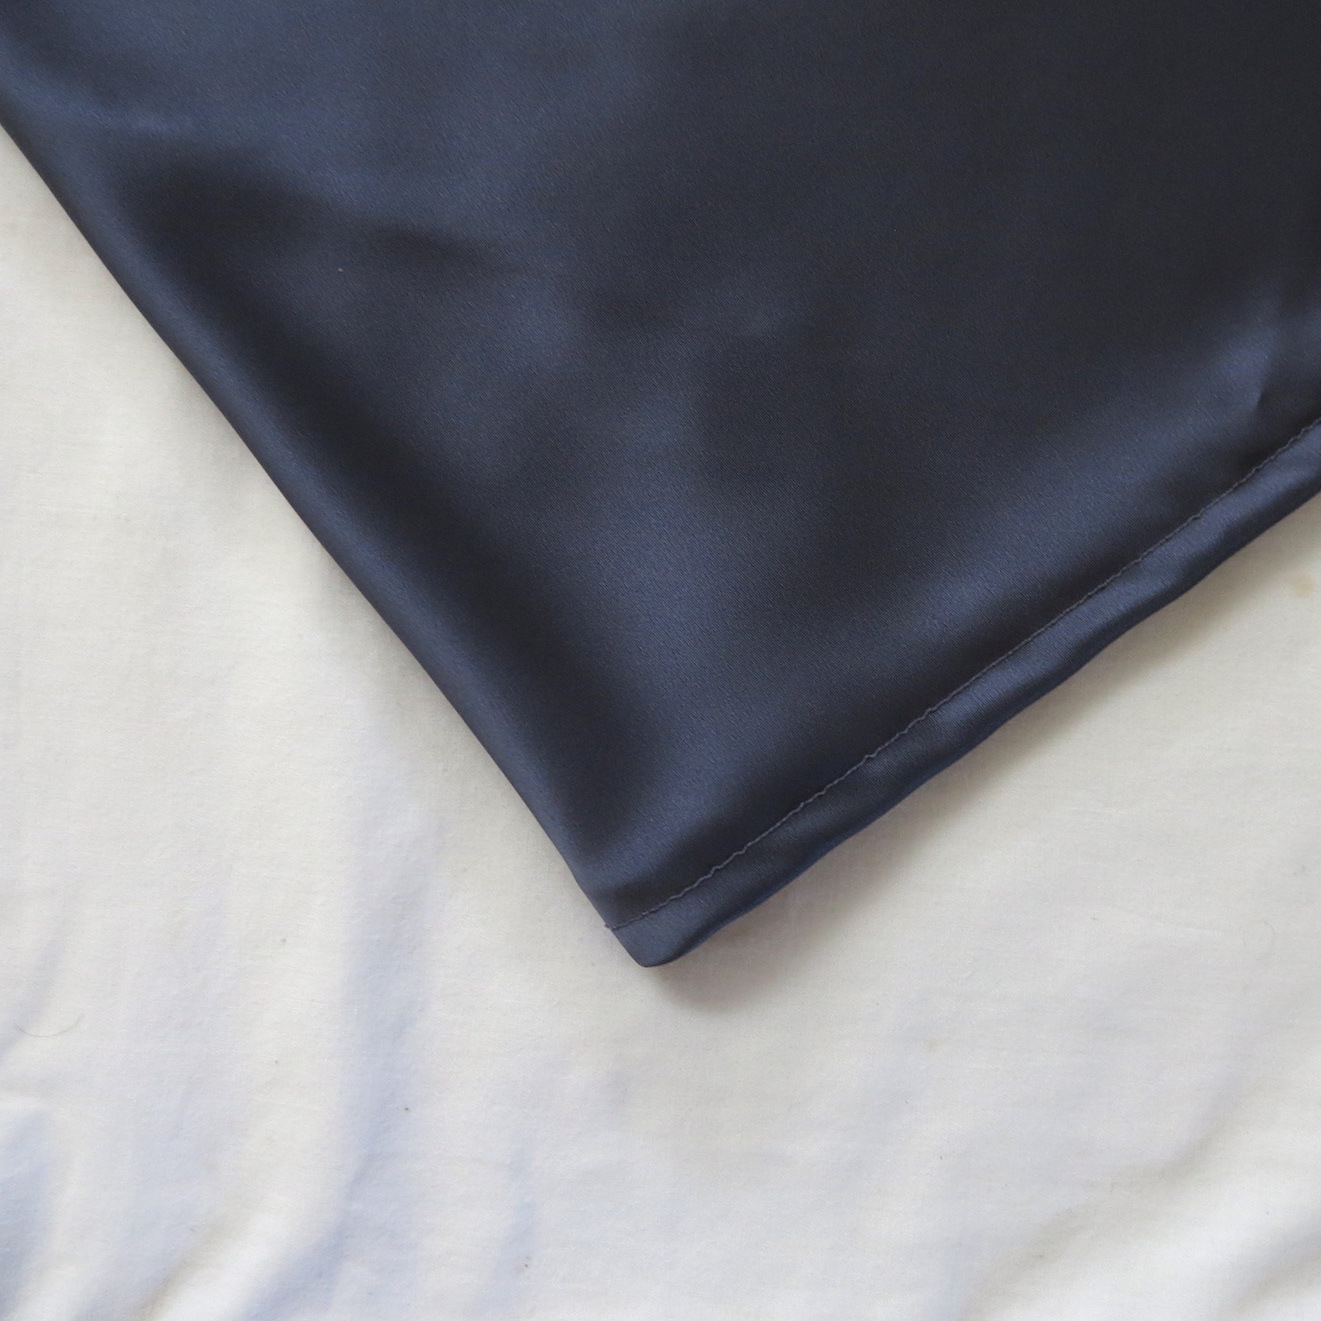
DIY: Silk Bias Slip Skirt

I hope you enjoy this minimal staple piece tutorial for as slip, silk skirt made by utilising the draping effect when cutting the fabric on the bias.
It’s the ultimate go-to garment that’s easily dressed up or down with simple styling choices.
As always, this is just a guide that can be altered to suit your style - don’t be afraid to get creative and let me know how it turns out.
Find the steps outlined below in both written and video format!

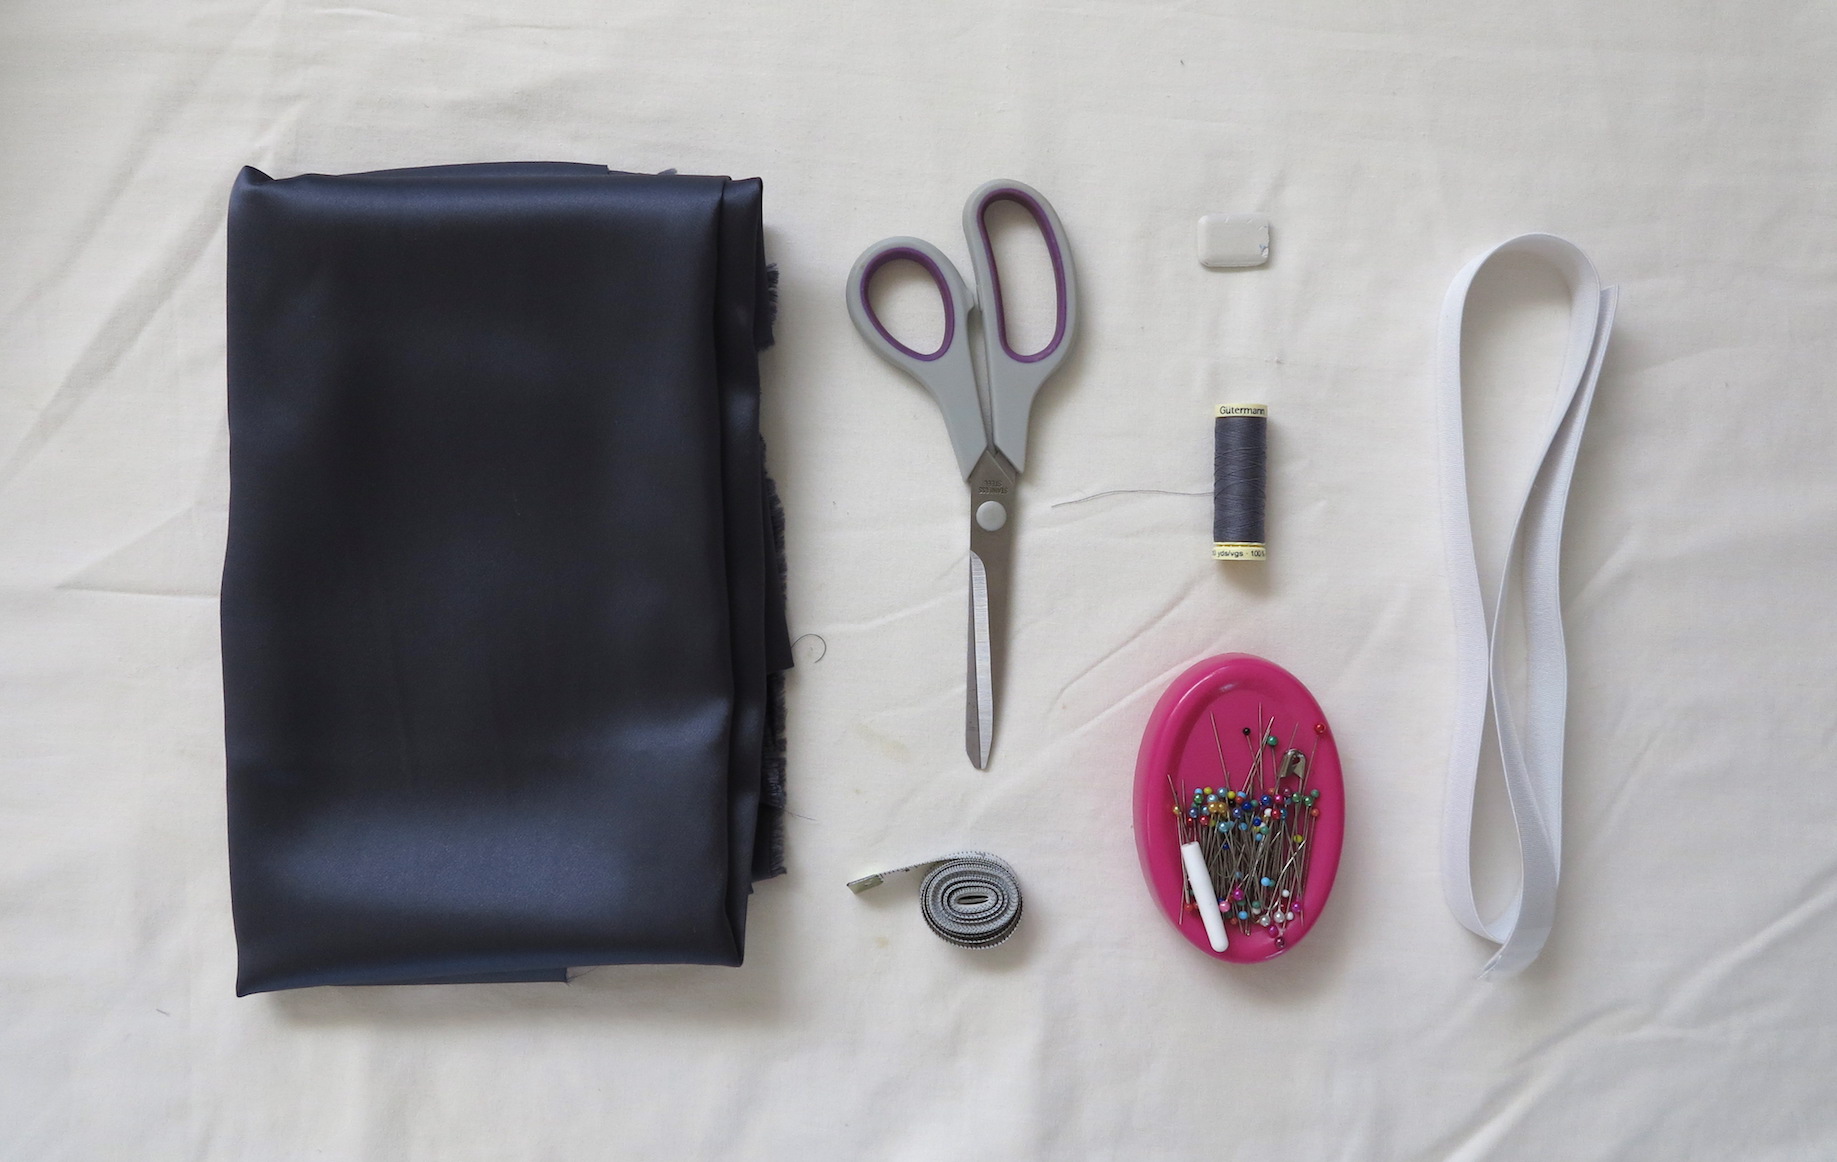
The Essentials
- Size 6-10 Approx 1.5-2m / Size 12-14 Approx 2-2.5 (AUS SIZES)
- Matching Thread
- Elastic
- Scissors
- Measuring Tape
- Fabric Chalk (or equivalent to mark sewing lines)
- Pins
Steps.
01

Begin by finding the measurements to cut the fabric to your body.
SKIRT PANEL WIDTH: Measure your full hip measurement, or widest point that the skirt needs to slip past, and add min 2 inches for seam allowance.
SKIRT PANEL LENGTH: Measure from your waist down to where you’d like to skirt to finish (to below knees is the dimensions I used) and add 3 inches for seam/waistband allowance.
ELASTIC WAISTBAND: Without pulling the measuring tape too tight find your full waist measurement and add enough overlapping allowance to be able to sew the ends together - 2 inches should be plenty.
02
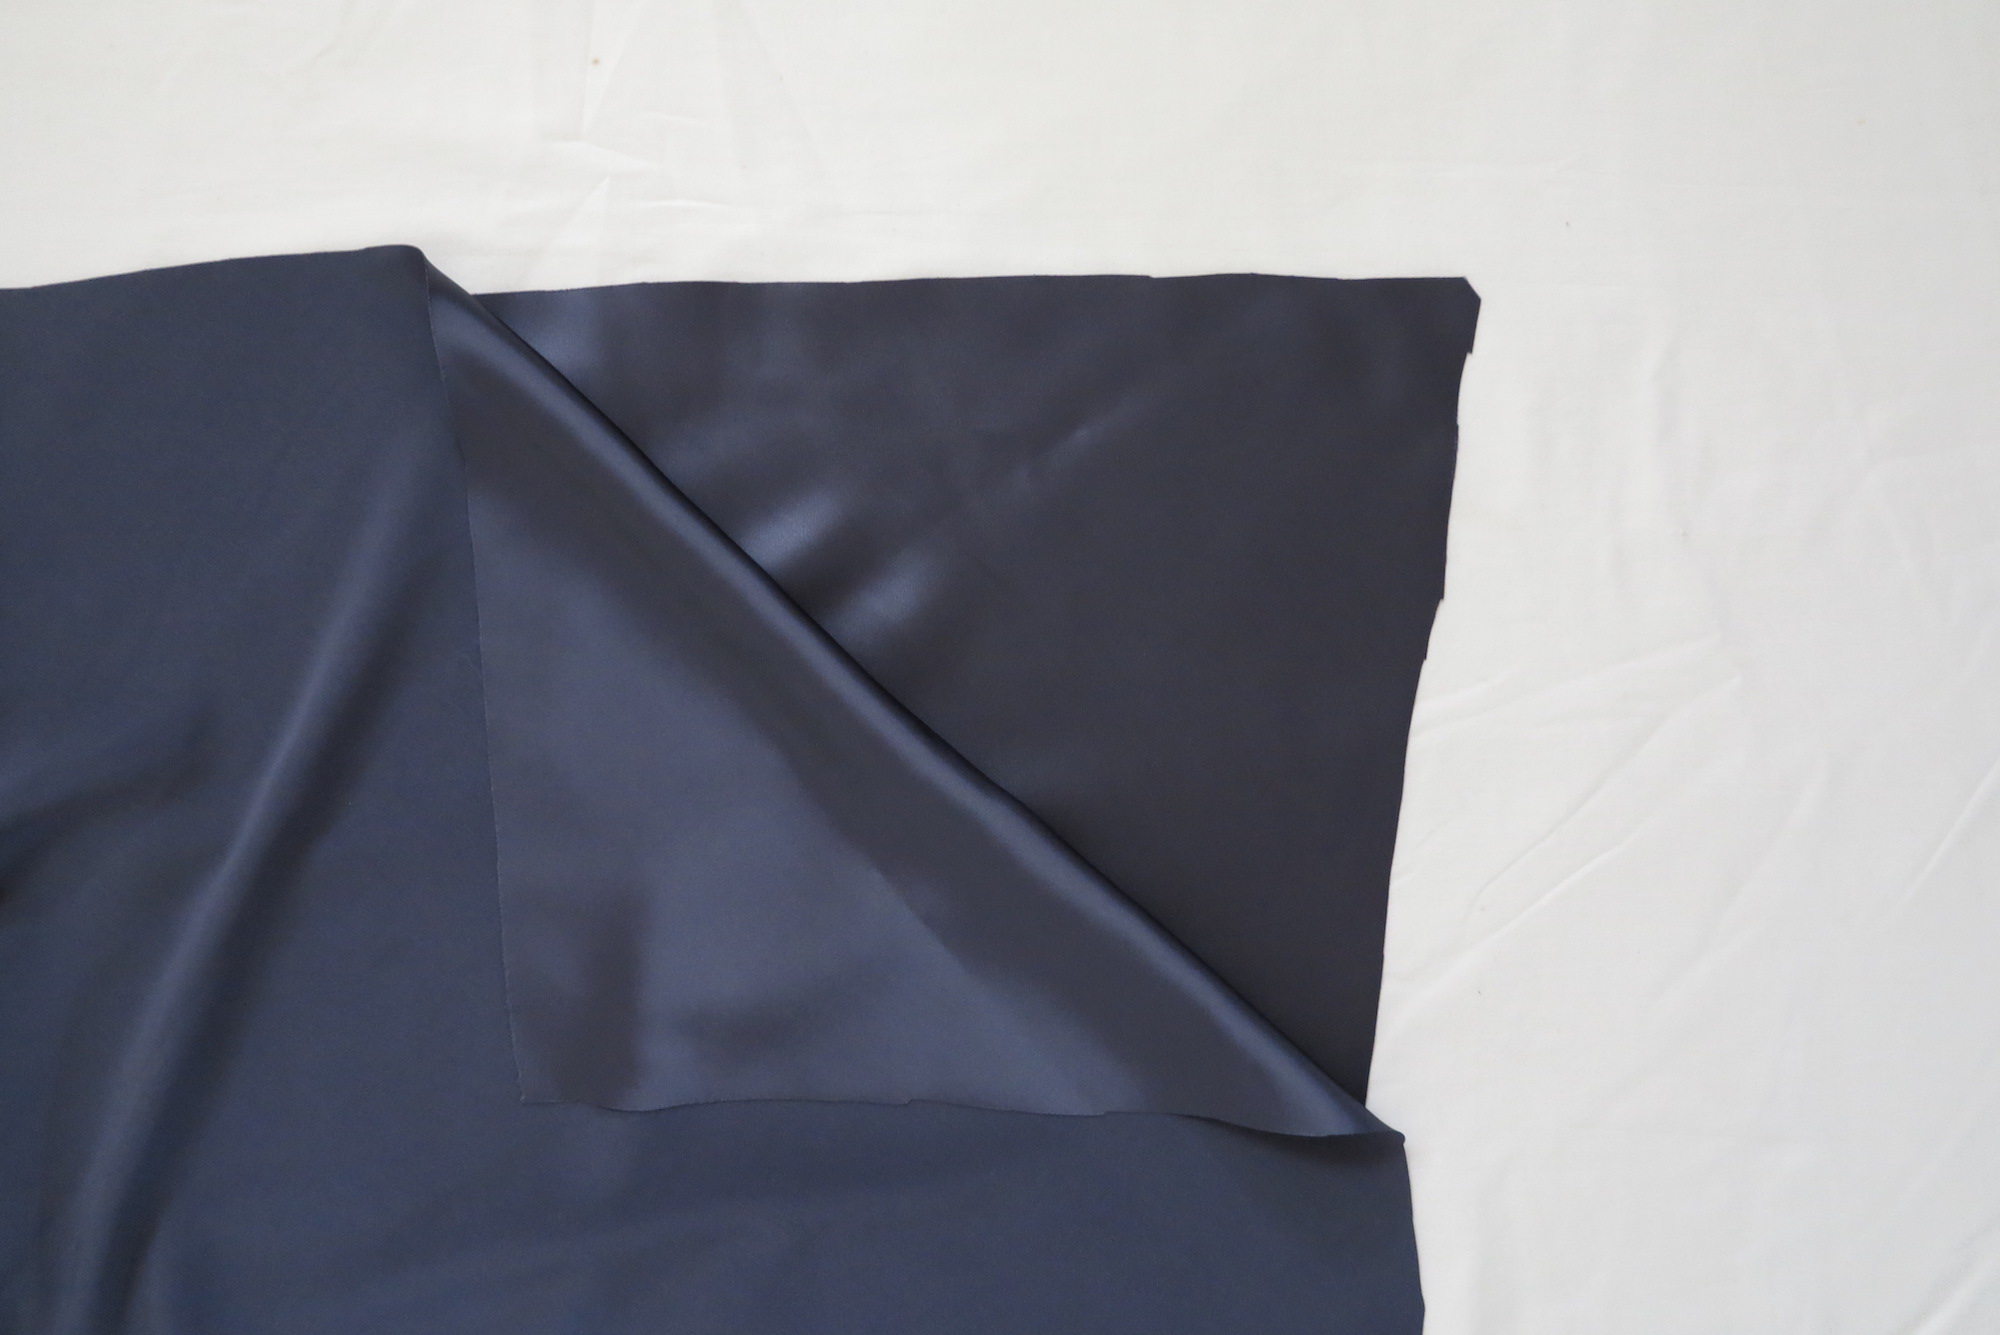
CUT FABRIC ON BIAS
Now you have your numbers to get started.
Cutting on the bias means that instead of laying your fabric out and cutting parallel to the rectangle you have, instead turn in 45 degrees and measure out the panels on an angle. By doing this is helps the fabric drape better to your body and gives it that lovely flowing effect.
It might help to pencil/chalk out your measurements on the angle first then begin cutting (especially if you’re using a silky/satin fabric as it can tend to slip over the place)
— watch video further down if you want to see this step in more detail.
03
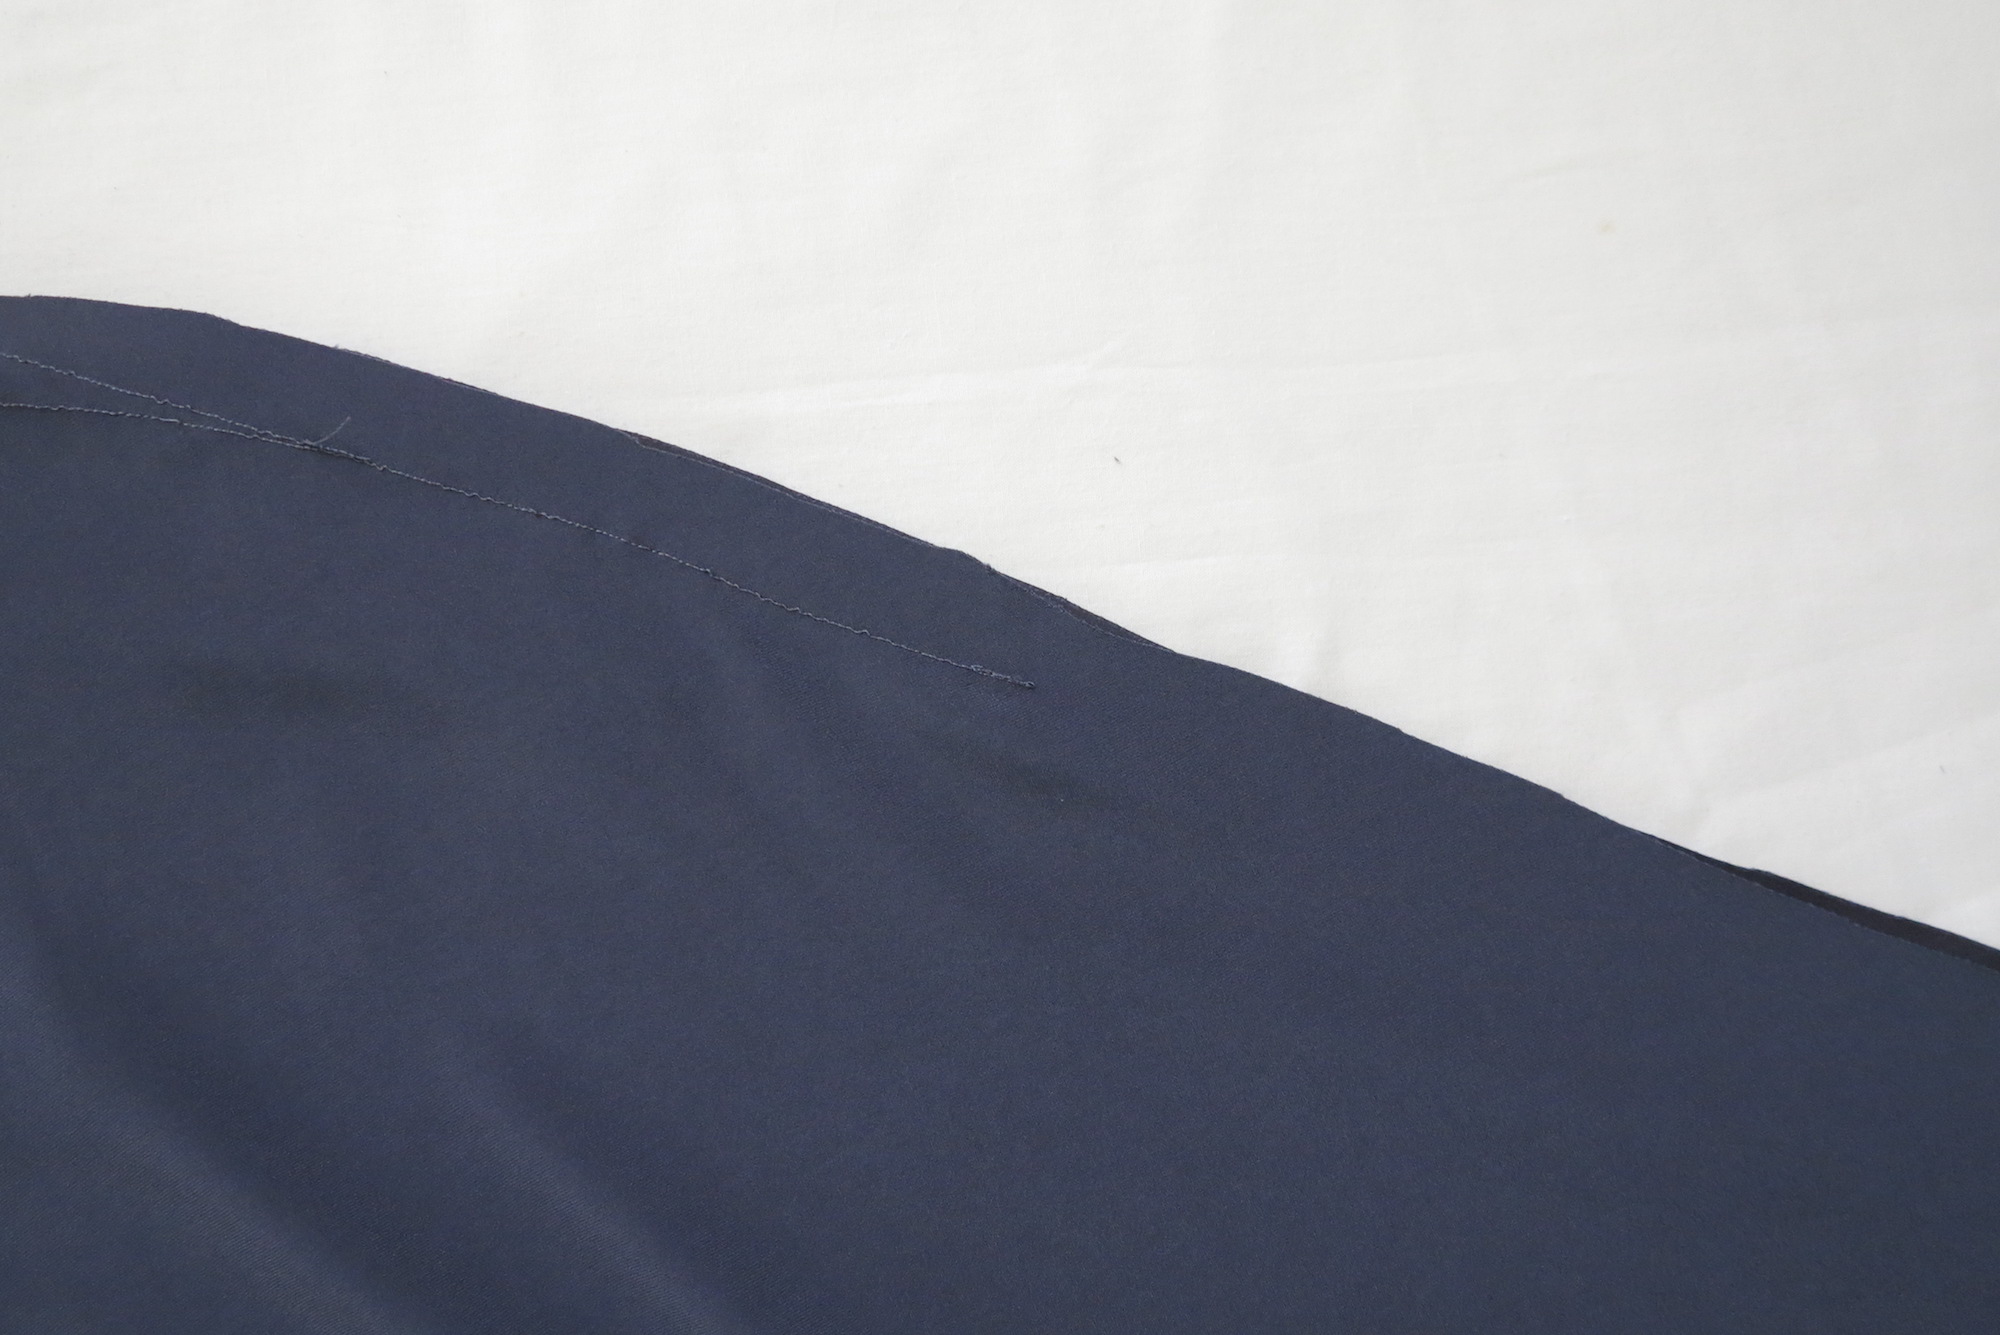
SEW DOWN SEAM
This garment only has one side seam allowing you the ability to change where it sits when you wear it.
If you want a leg split this is the point you should measure from the bottom hem point to how far you want it to split up your leg and put a pin in place to indicate where to stop sewing.
Then fold your fabric good side in and pin down the seam from the top until the split point and sew at least 2cm in from the edge down this side seam.
DOUBLE CHECK FIT
Now you’ve sewn down this side seam slide it on the double check the split ends where you want it to and the width slips perfectly over your widest point and is a nice fit without being too oversized or too tight. Adjust where need be (I ended up having to take in the waist area so it was more snug around the hips when I slipped it on meaning the elastic won’t bunch as much by keeping it to measurement)
04
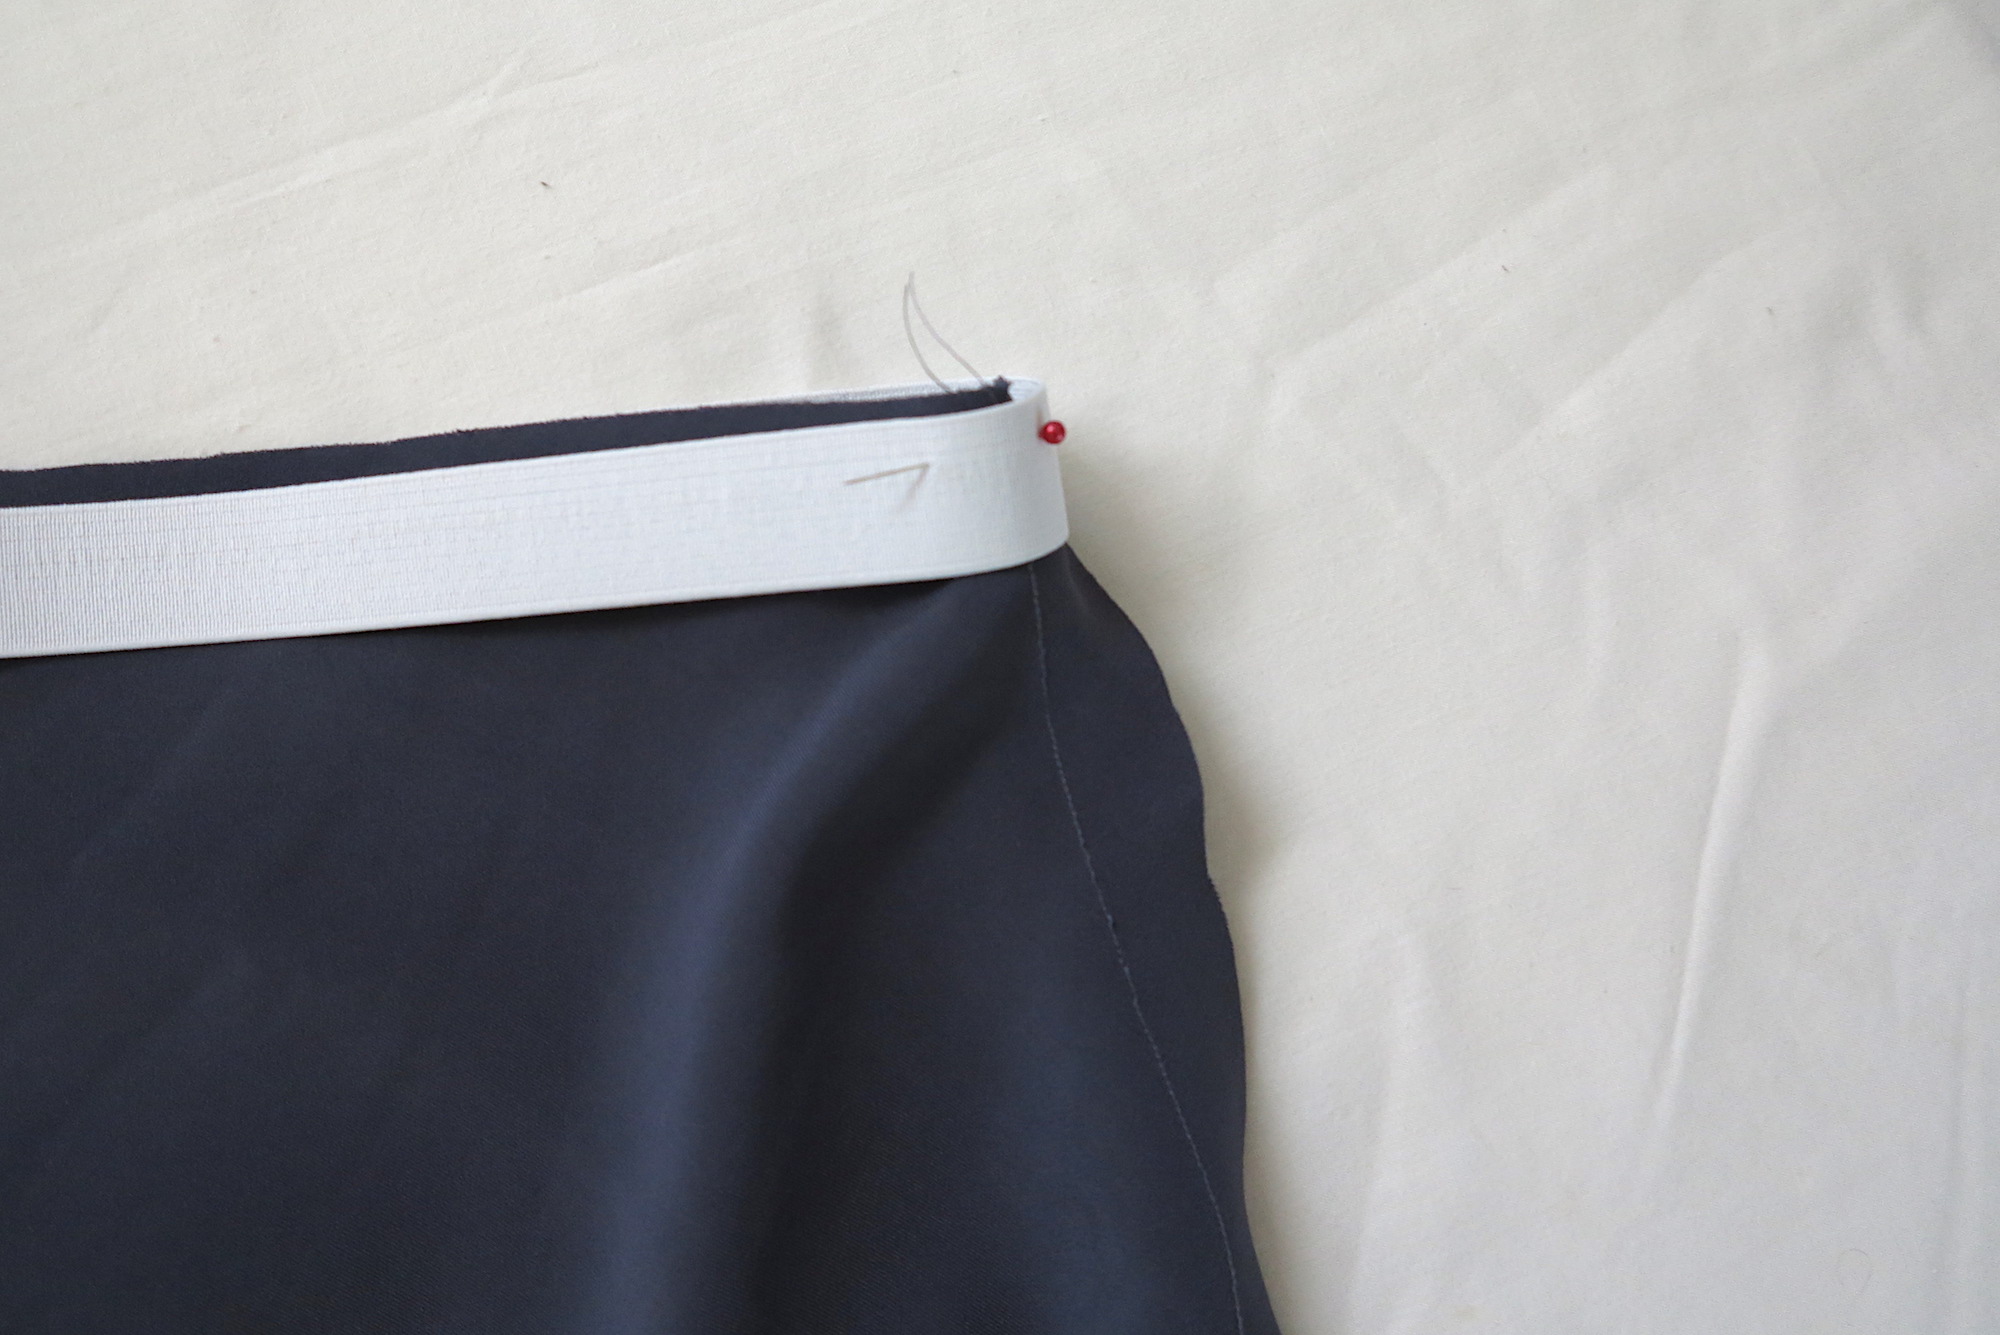
PREPARE ELASTIC WAISTBAND
With outing stretching the elastic wrap it around your waist so it sits at a desirable fit then add 2inches for seam allowance and cut.
Where these 2 inches overlap sew together using a zig-zag stitch with a few backstitches to make sure it’s nice a secure.
Now the elastic is sewn at the ends to make the final waist circumference it’s time to pin it in place on the silk skirt. As the elastic is a smaller size than the waist section of the skirt you’ll need to pin in stages. First align the elastic to the top and place so it’s facing the bad side of the fabric and pin where the seam is. Then by folding the elastic in half as well as the silk pin matching point together.
— watch video further down if you want to see this step in more detail.
05
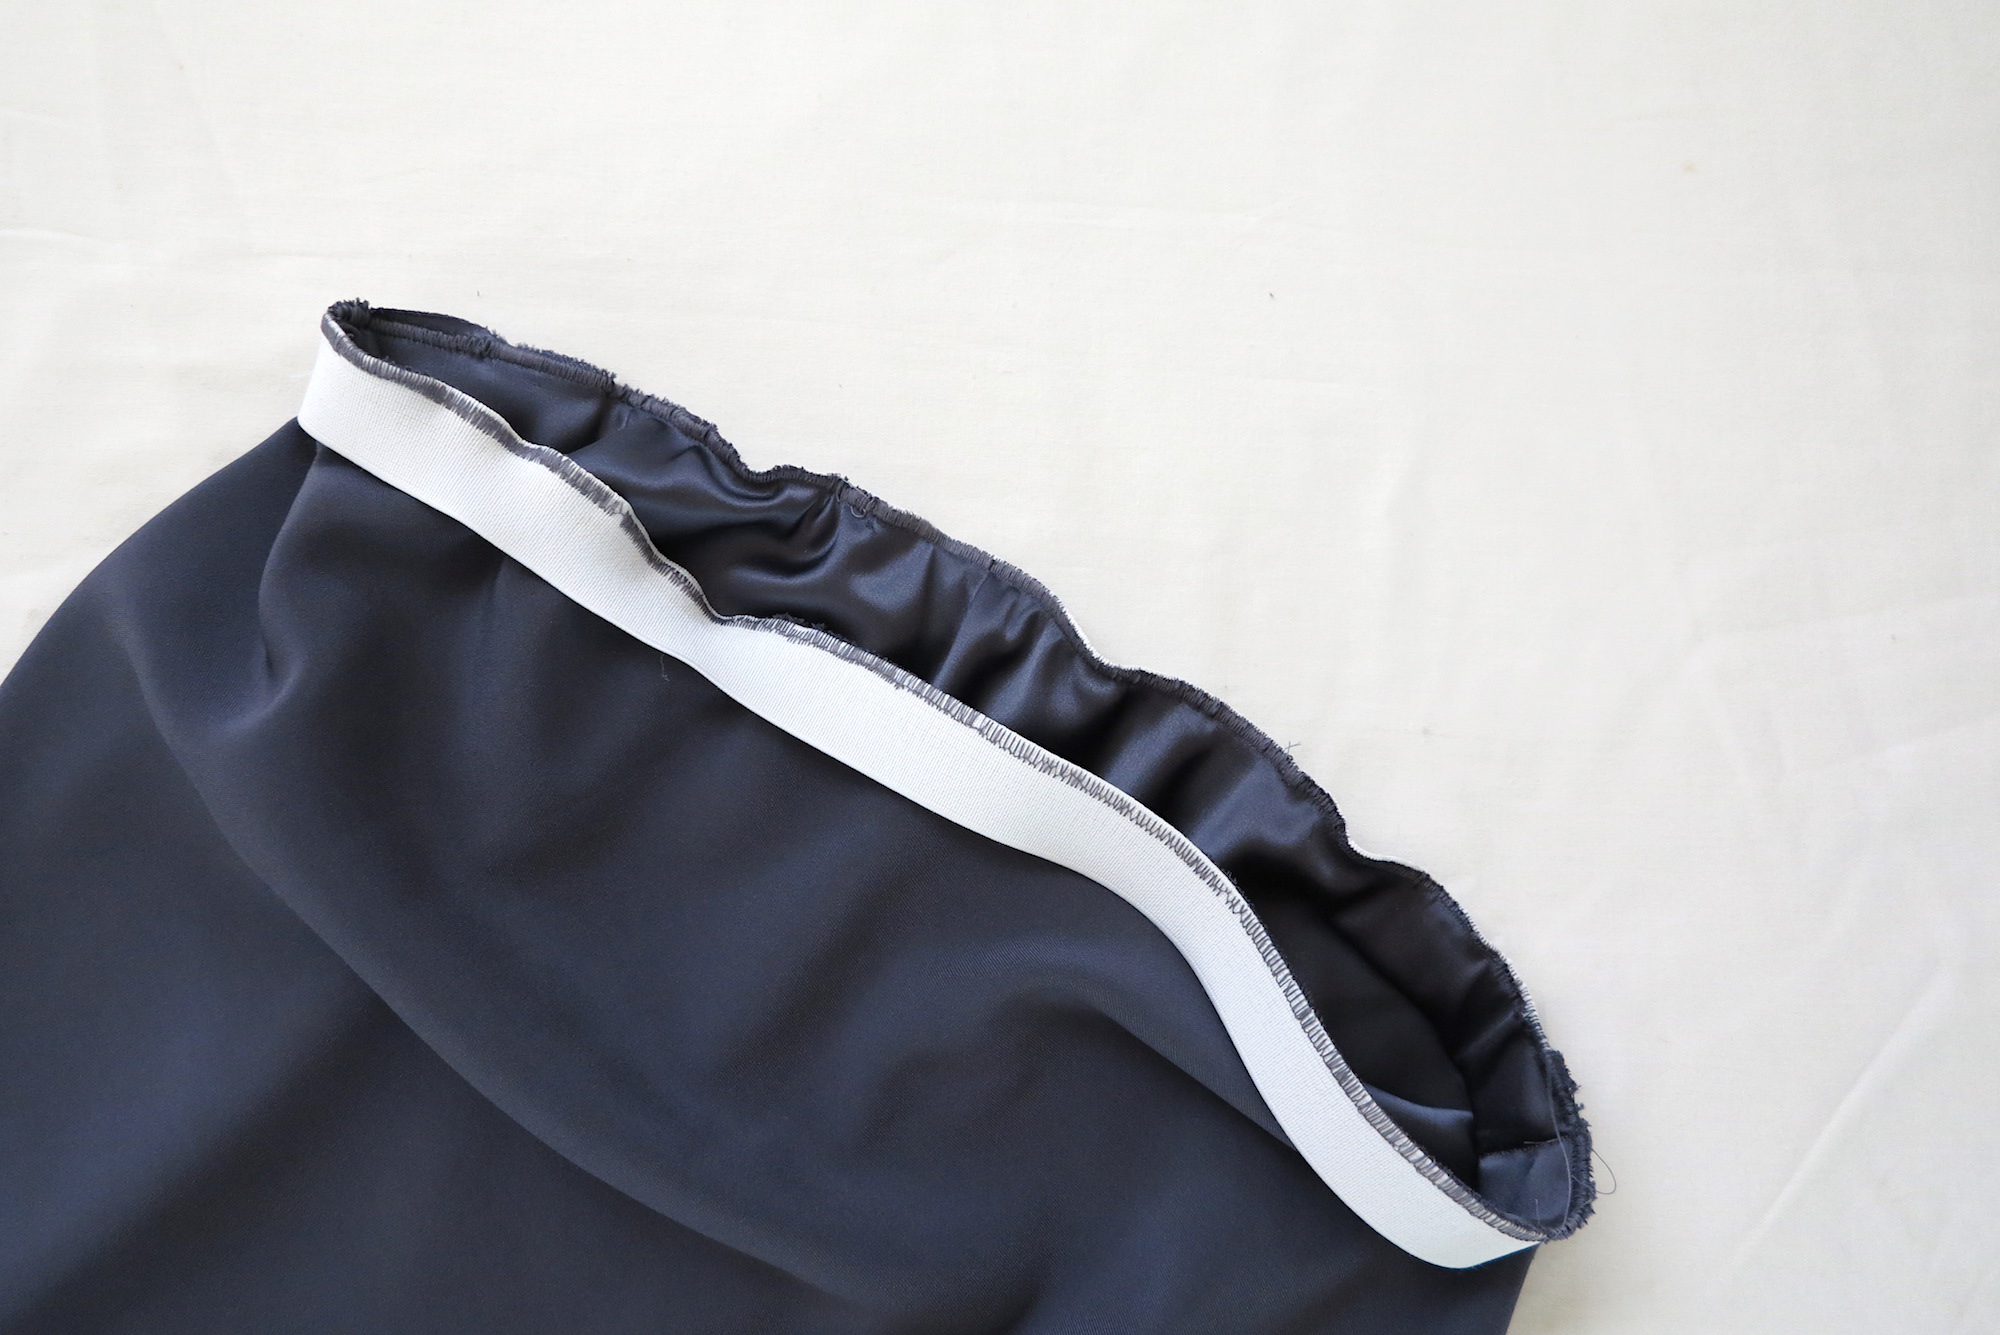
ATTACH ELASTIC TO SKIRT
Now that the elastic is all pinned in place it’s time to sew it.
As mentioned before the elastic is a different circumference than the silk waist area so as you sew you’ll need to stretch out the elastic to fill in the appropriate area as you go so that there’s an even ‘bunching’ across.
The just use the zig-zag stitch on the sewing machine (or even a overlocker) and sew across the top and where the edges meet.
06
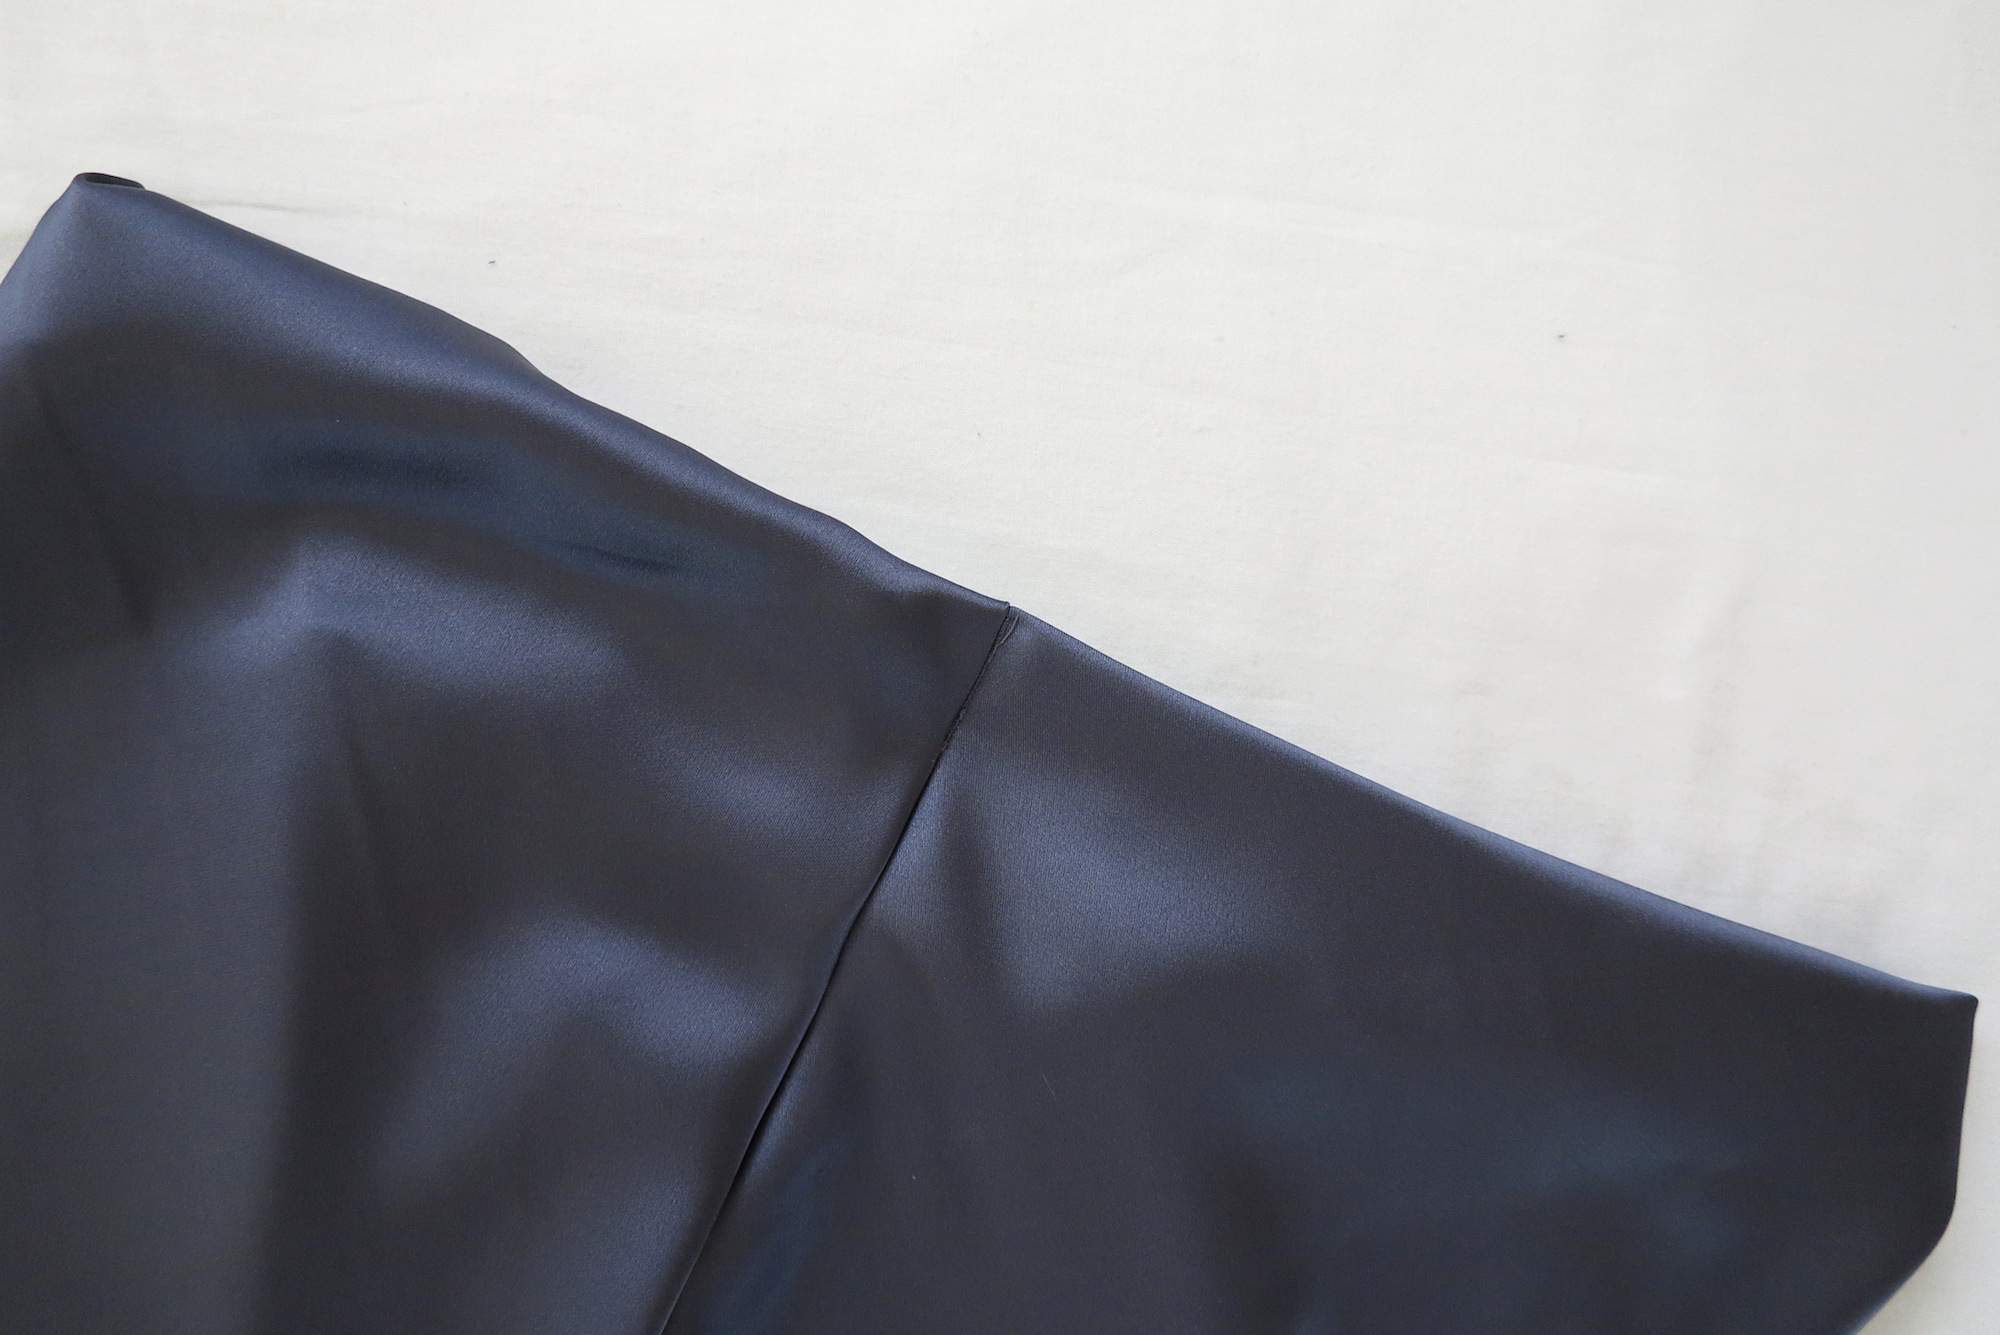
STITCH IN THE DITCH
To help keep the elastic folded and hidden away fold the elastic waist band inwards so more of the good side of the silk covers it and then stitch in the ditch at the top of the side seam to help keep it sitting flat and how you want it.
07
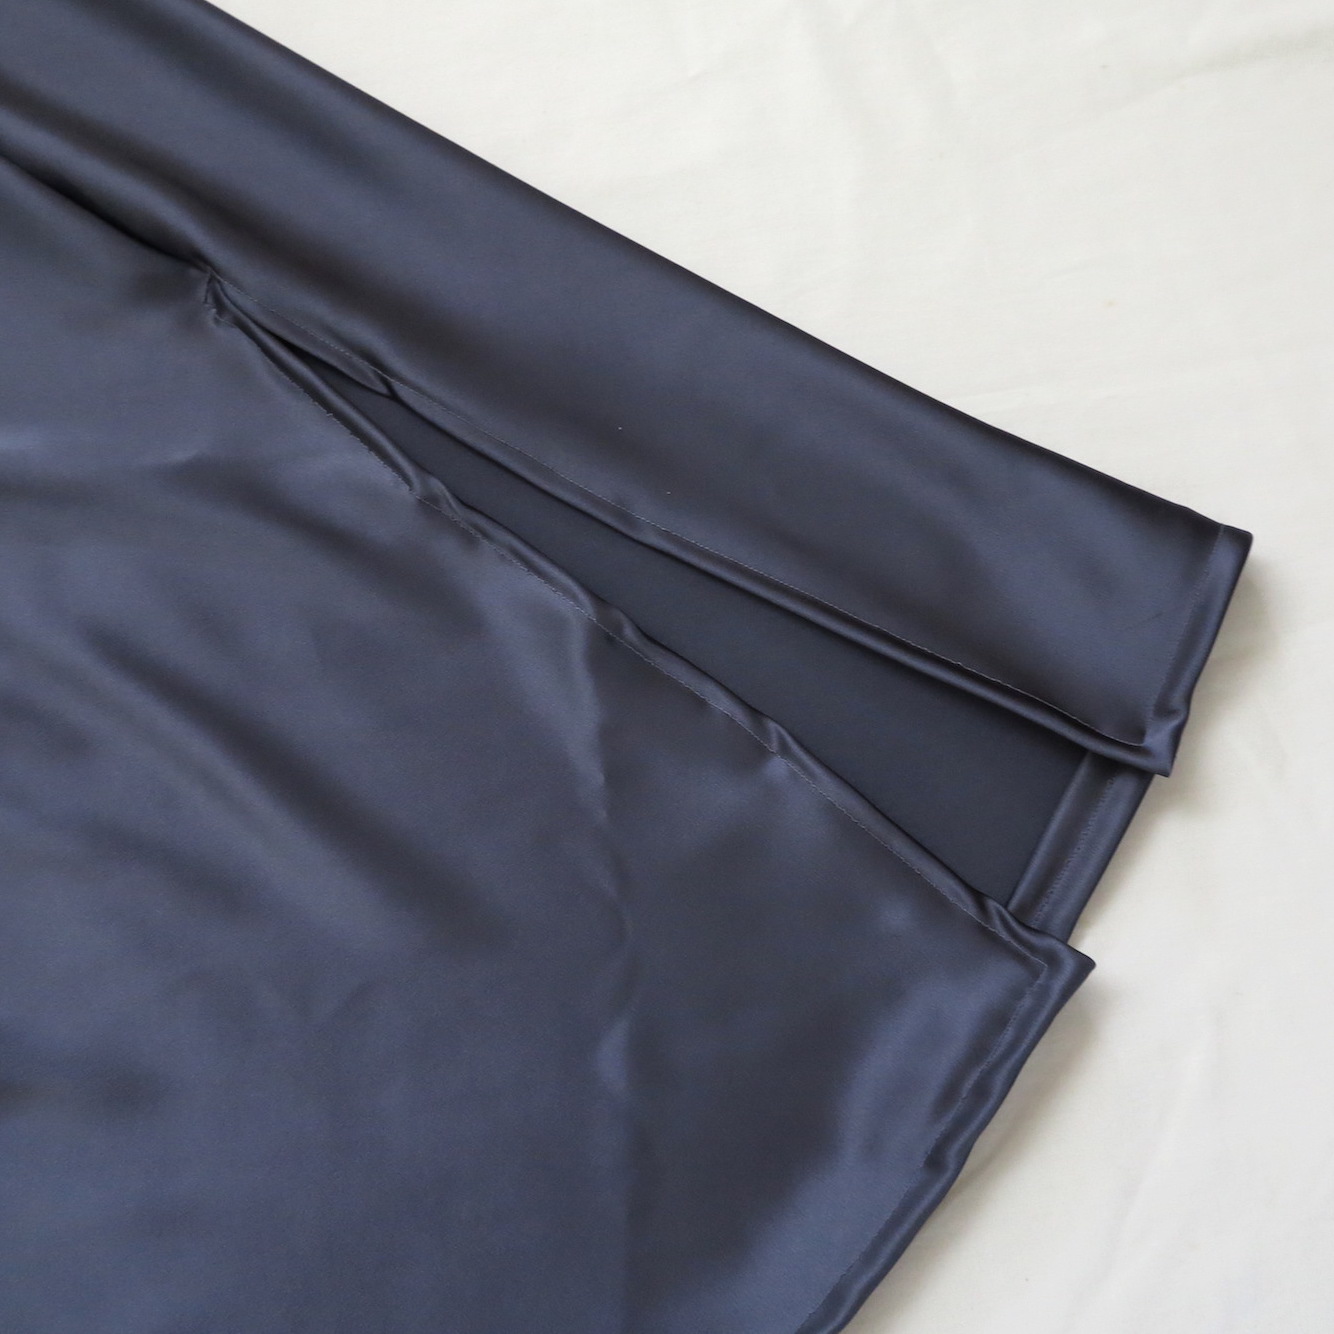
CLEAN UP BOTTOM HEMS
Lastly, double fold all the bottom hems and sew to clean up and finish your new silk skirt!


DIY VIDEO TUTORIAL
If you need any clarifying of the above steps check out the below video version of the tutorial which dives deeper into the details of each step.
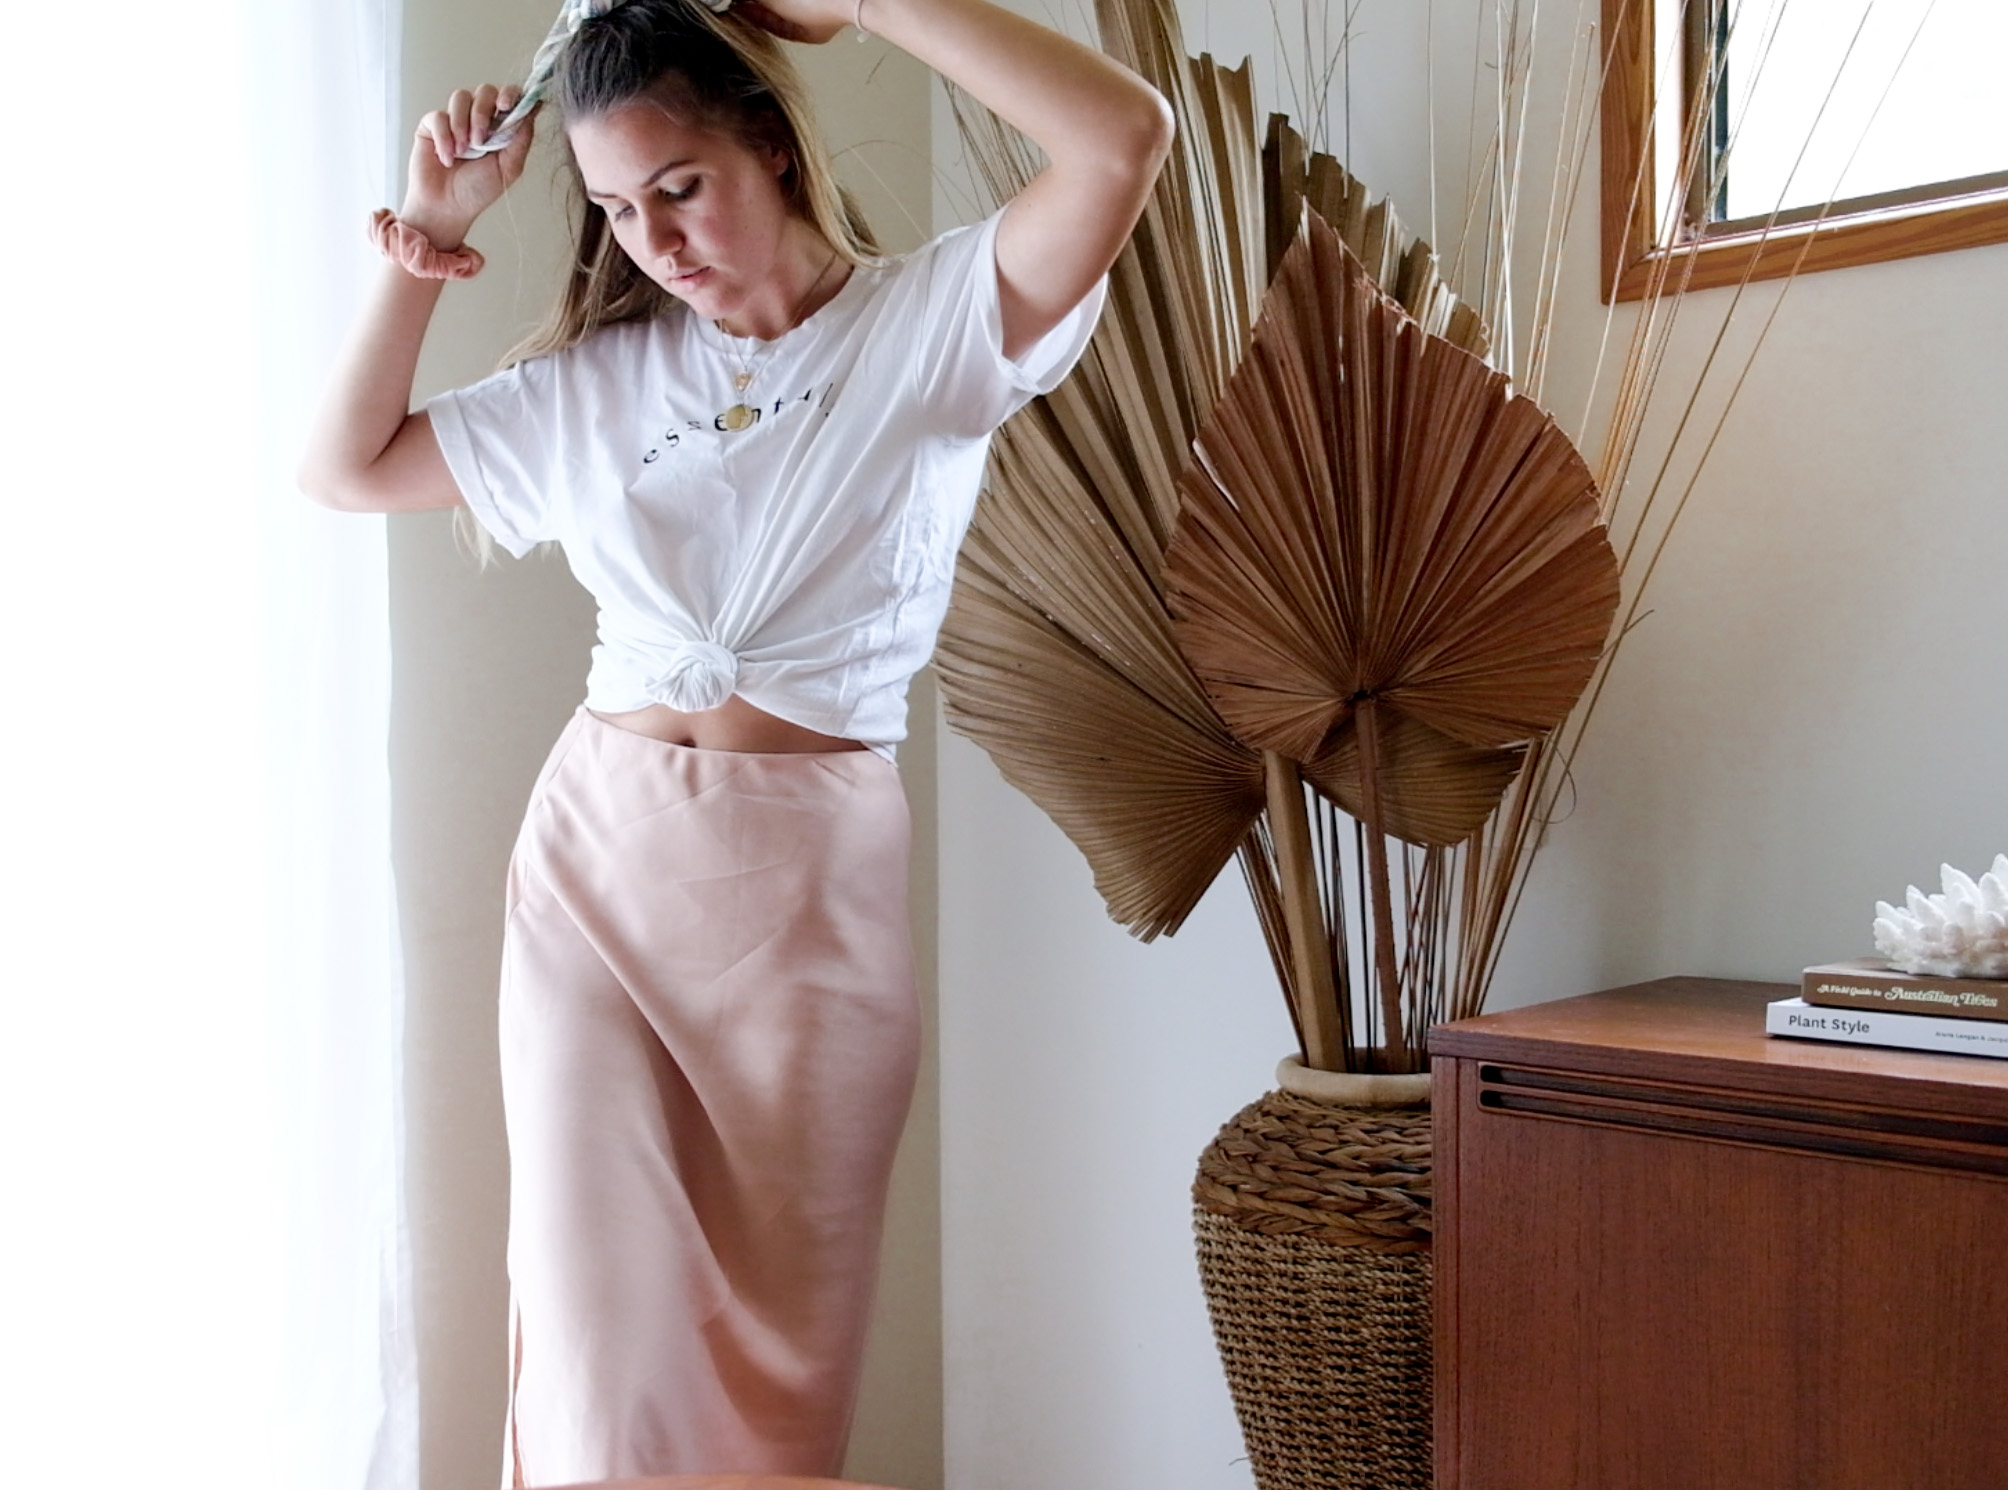
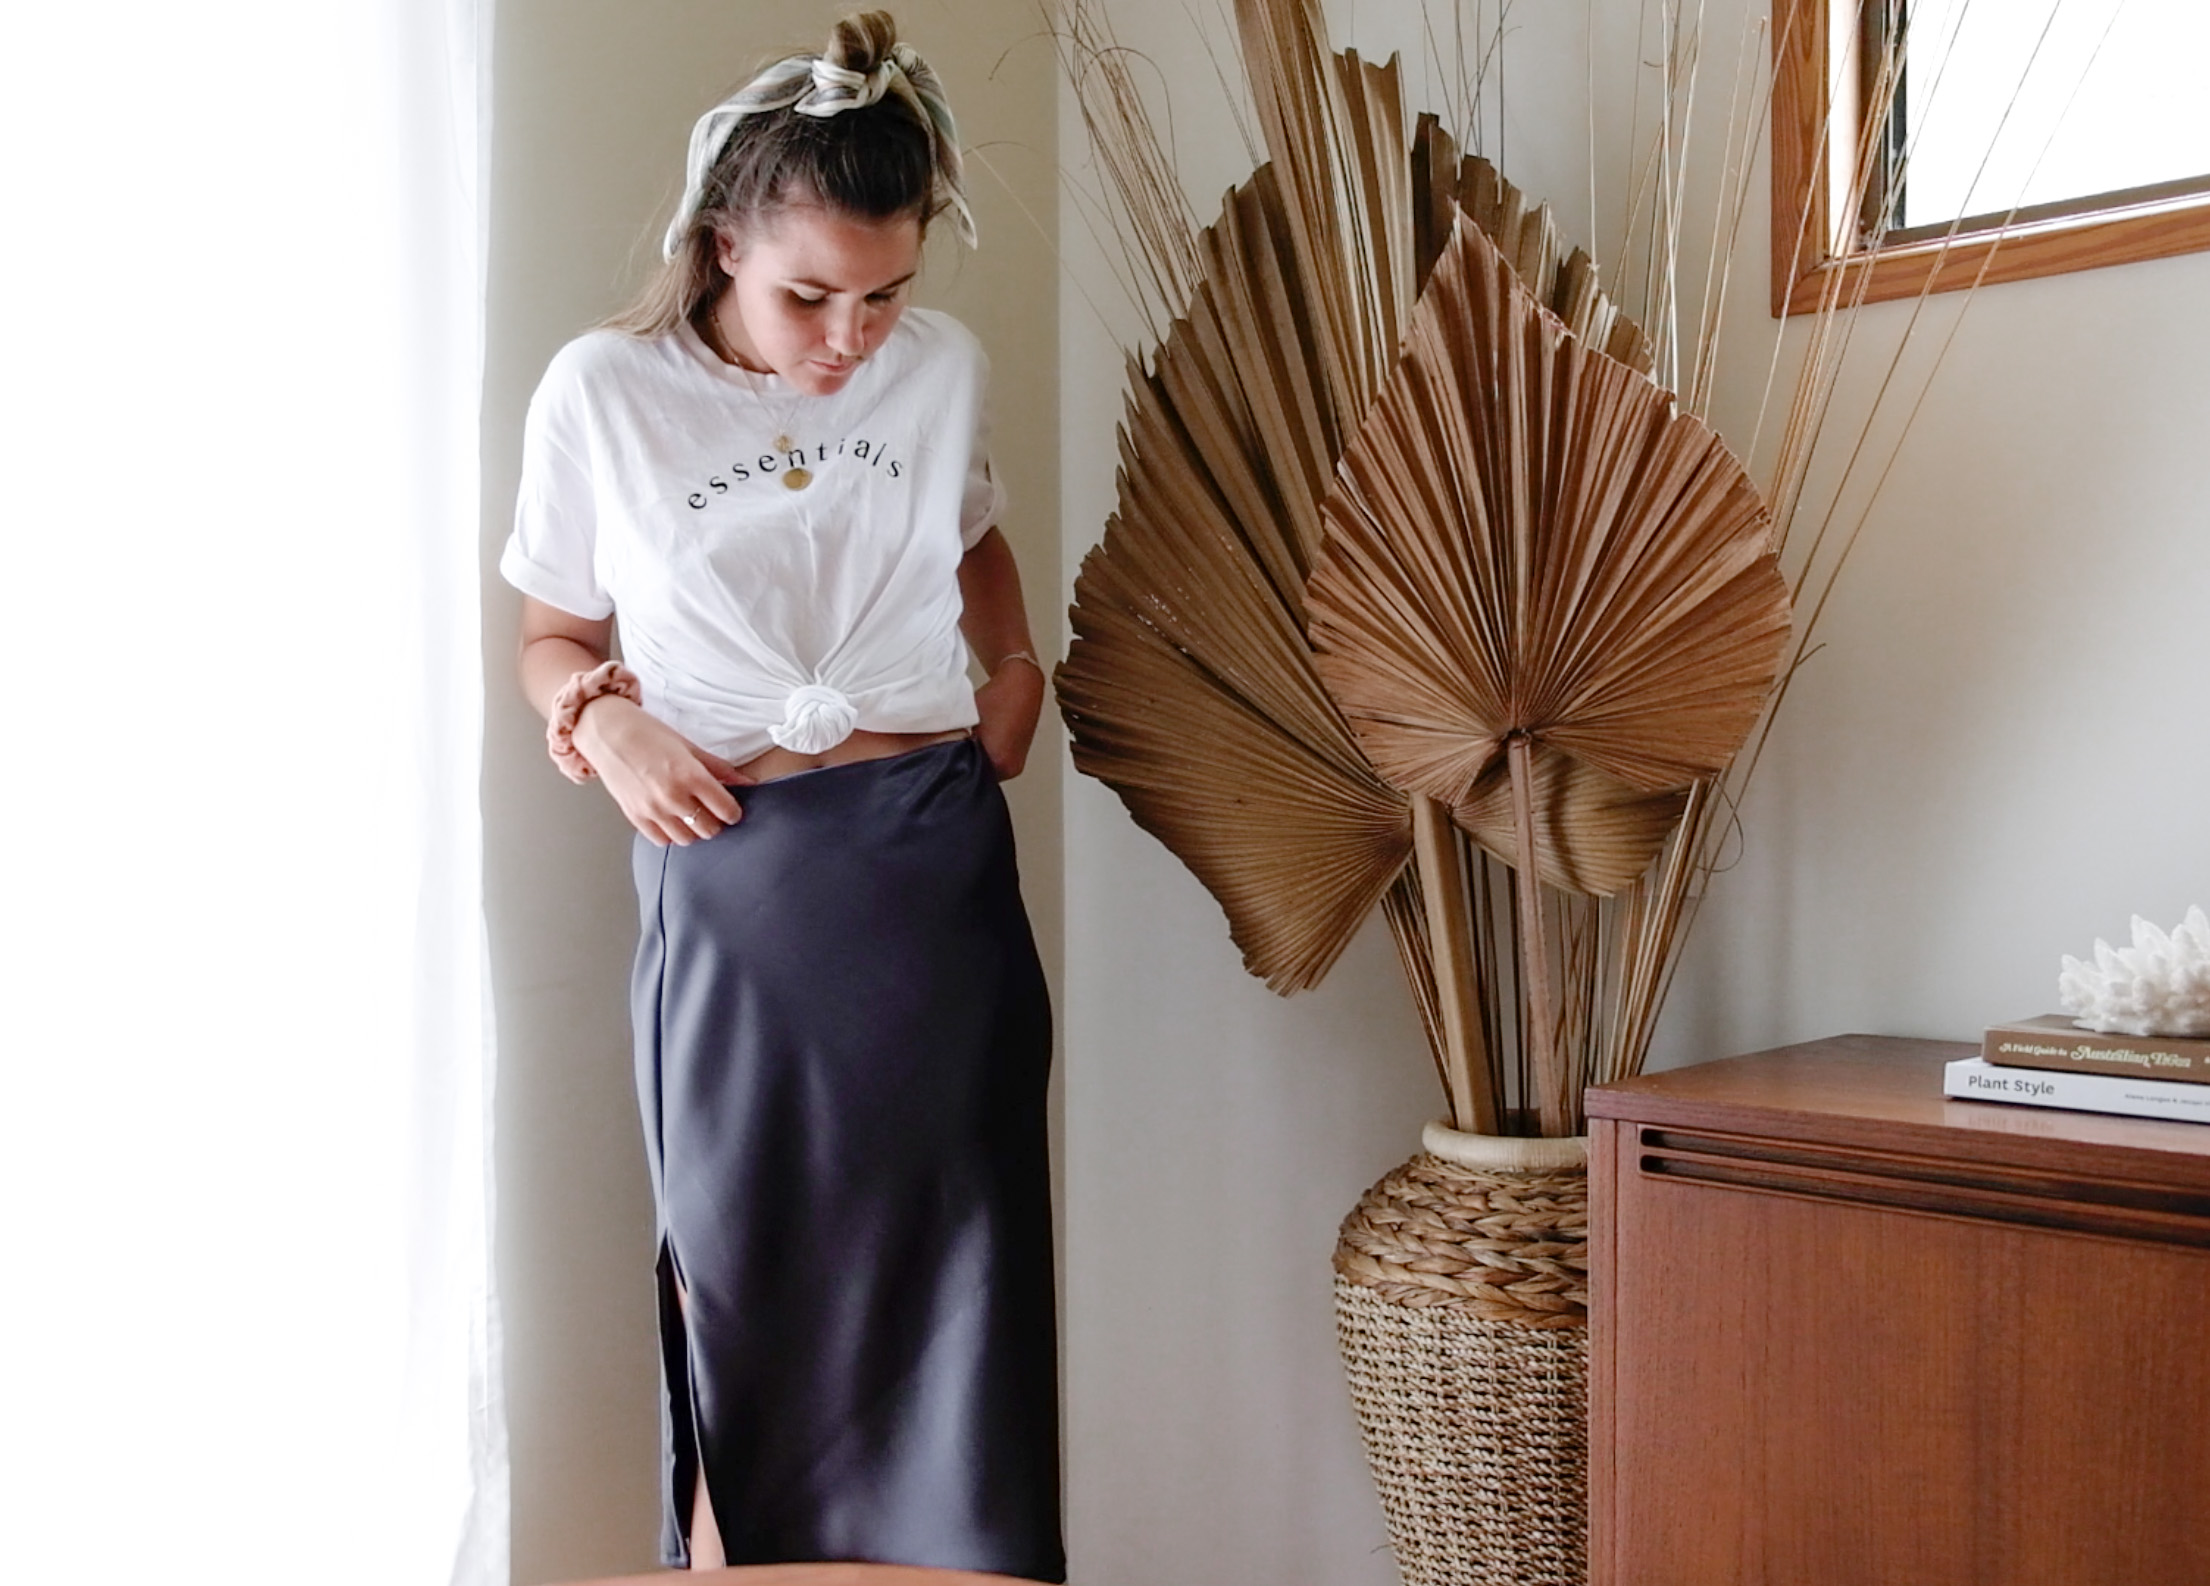
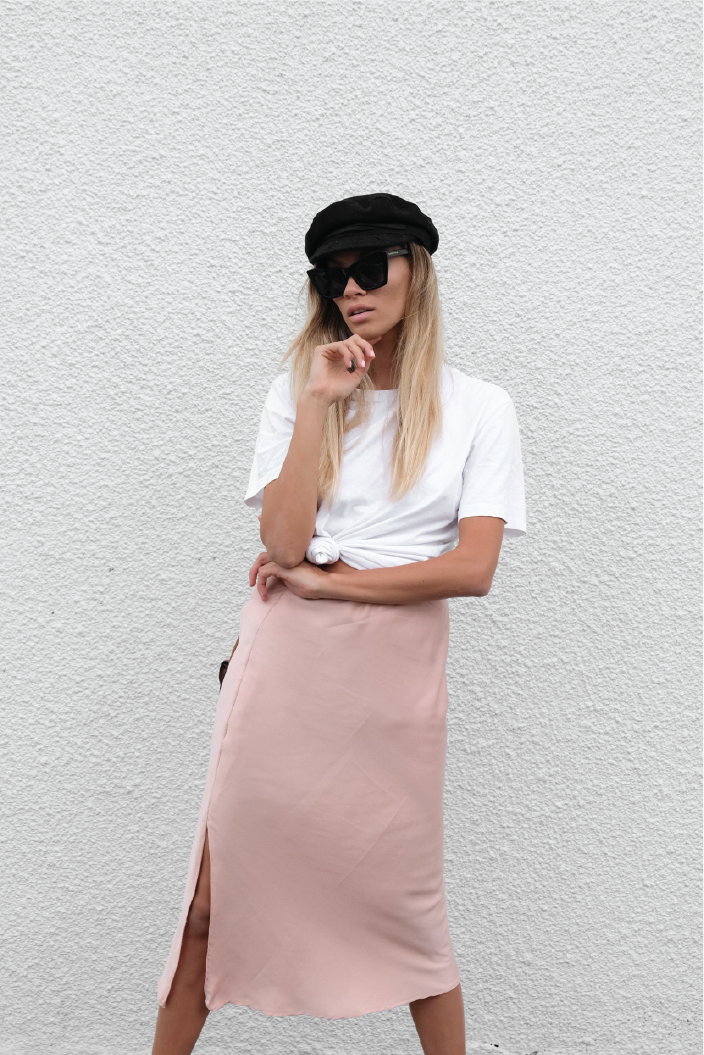
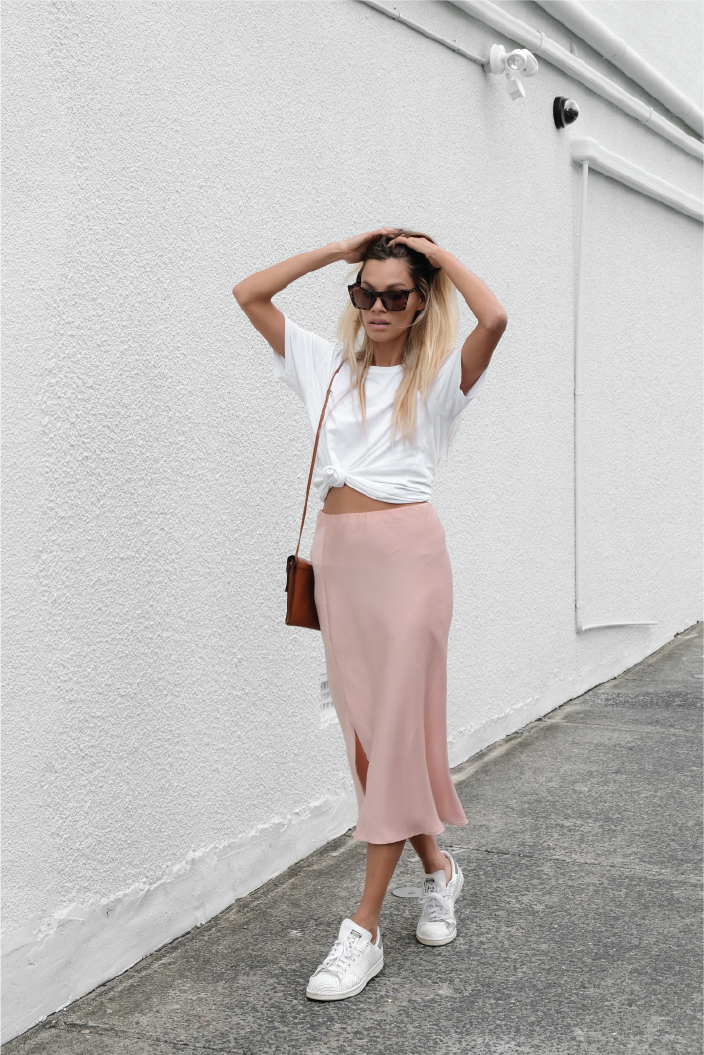
SIMPLE SILK SKIRT STYLING IDEAS
Now you’ve made your own garment, here’s a few tips on how you could style it!
If you wish to show your appreciation for this blog and support the future creation of tutorials, any donation is welcome through the below link:
Hope this was helpful! As always, let me know if you give this tutorial a go and how it turns out. Hashtag the outcome #essentialsclub on social media.